Posted March 1, 2014
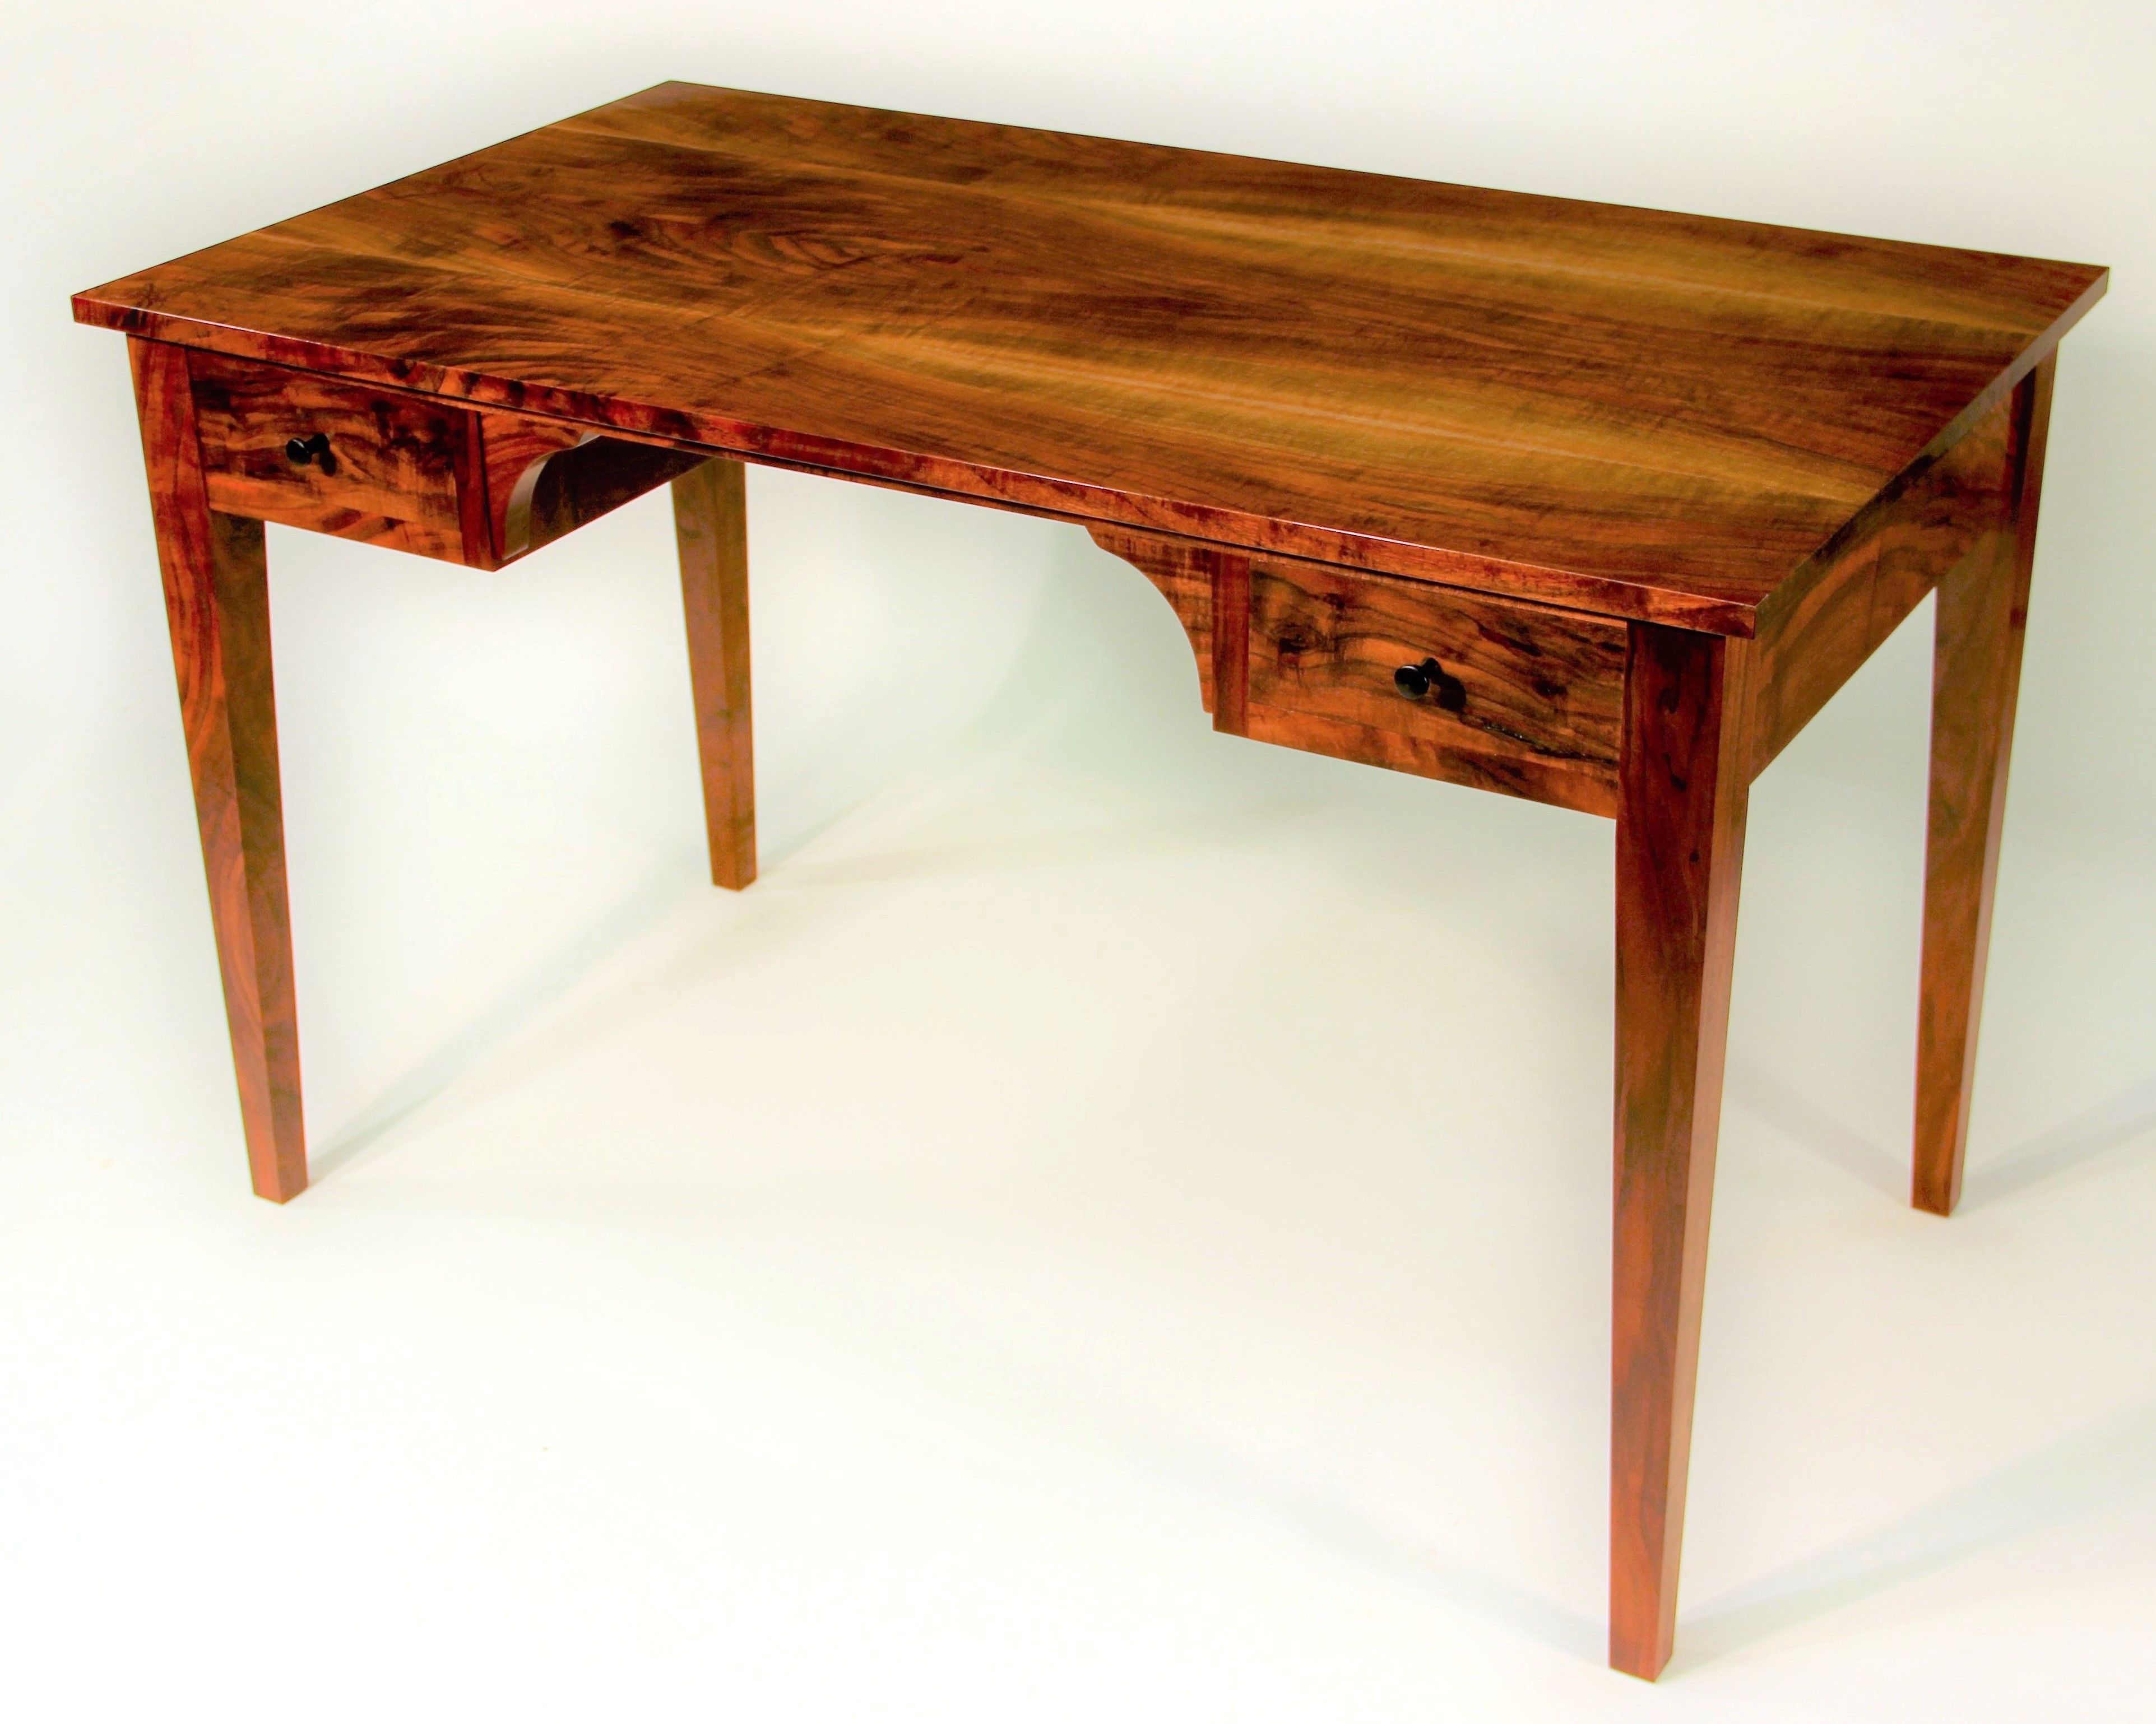
Rori has wanted me to build her a small writing desk for sometime now, preferably out of a darker wood like walnut. We found some walnut from an ornamental yard tree somewhere in Oregon that had been down for as long as 20 years before even having been milled, so this was a very old tree.
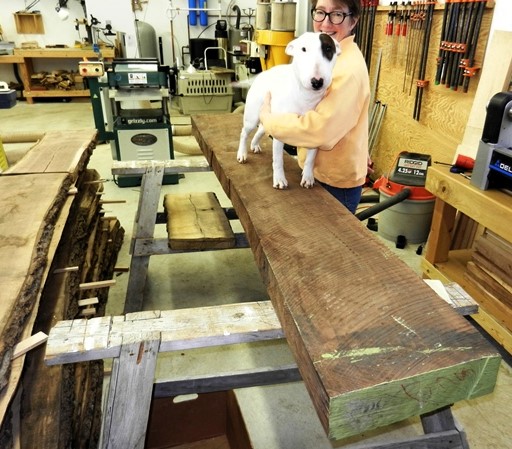
We settled on one large, expensive piece --about 16' long, 5" thick and roughly 18" in width. It had been sealed at both ends and exhibited little checking or knots. It was all the three of us could do to load it into a pickup.

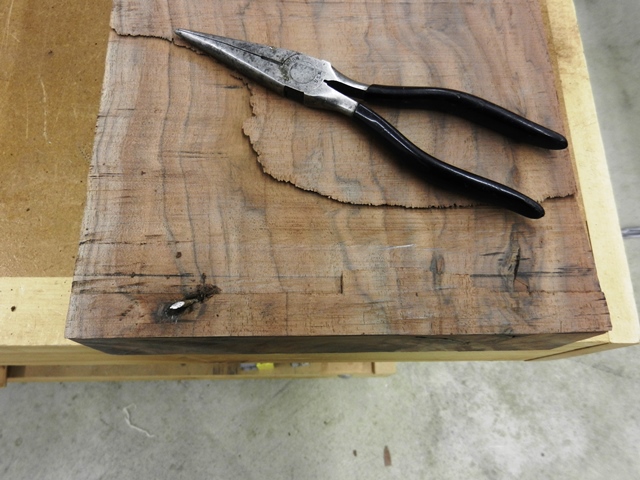
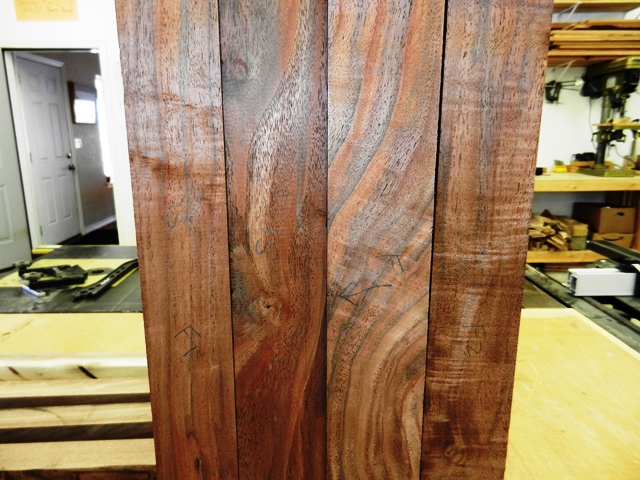
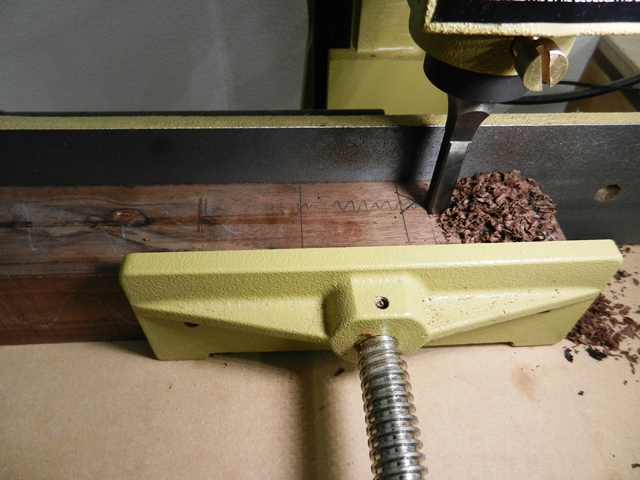
Time to make that all so critical first cross cut, looking carefully for knots, checks, twists, and other defects that could determine how to select potential parts from the slab. First I crosscut one end of the slab at approximate leg length, ran it through the jointer to get one flat edge and then started resawing on the bandsaw. Right off, I found one of the drawbacks to working with boards from ornamental trees in someone's yard for maybe 100 years -- old nails, long embedded in the log. This one (of several) immediately dulled my band saw blade and caused it to track improperly, resulting is some wasted cuts and having to refigure my cutlist.
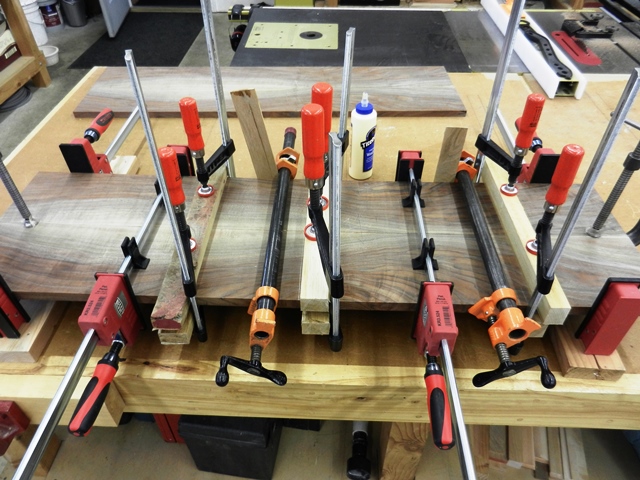
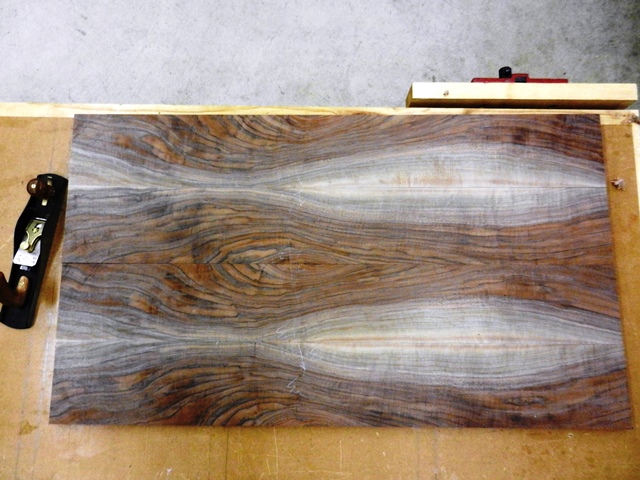
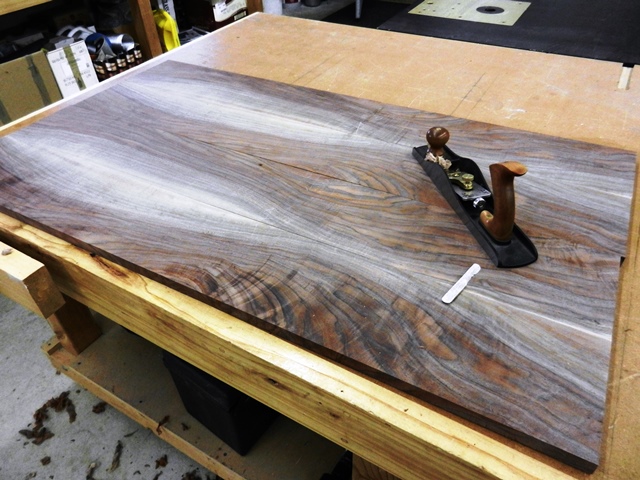
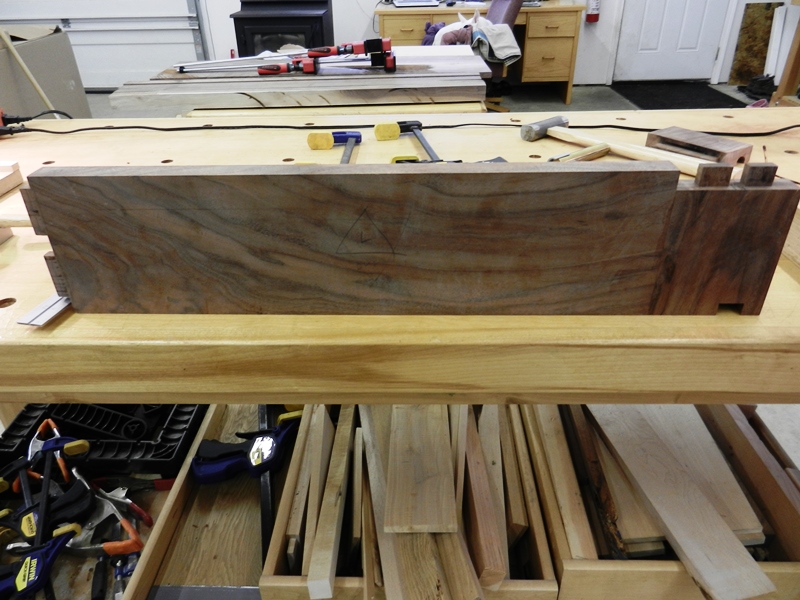
After replacing the bandsaw blade, I was able to successfully resaw the slab into some sizes that would work with my cutlist and minimize waste. The resawing yielded pieces of spectacular color and stunning figure. As I be building the entire piece from the slab, I would be making the "project fit the wood" instead of typically the other way around. Usually, I would select and glue up the pieces for the top late in the project, but in this case it was necessary to build the top first (as that requires the longest, straightest pieces) and then build the case to fit it.
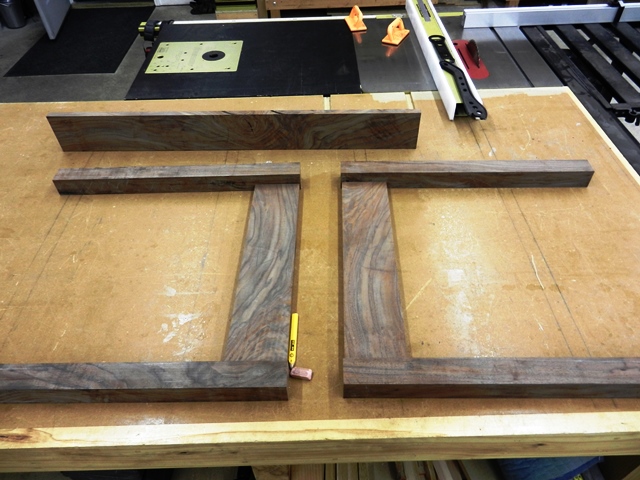
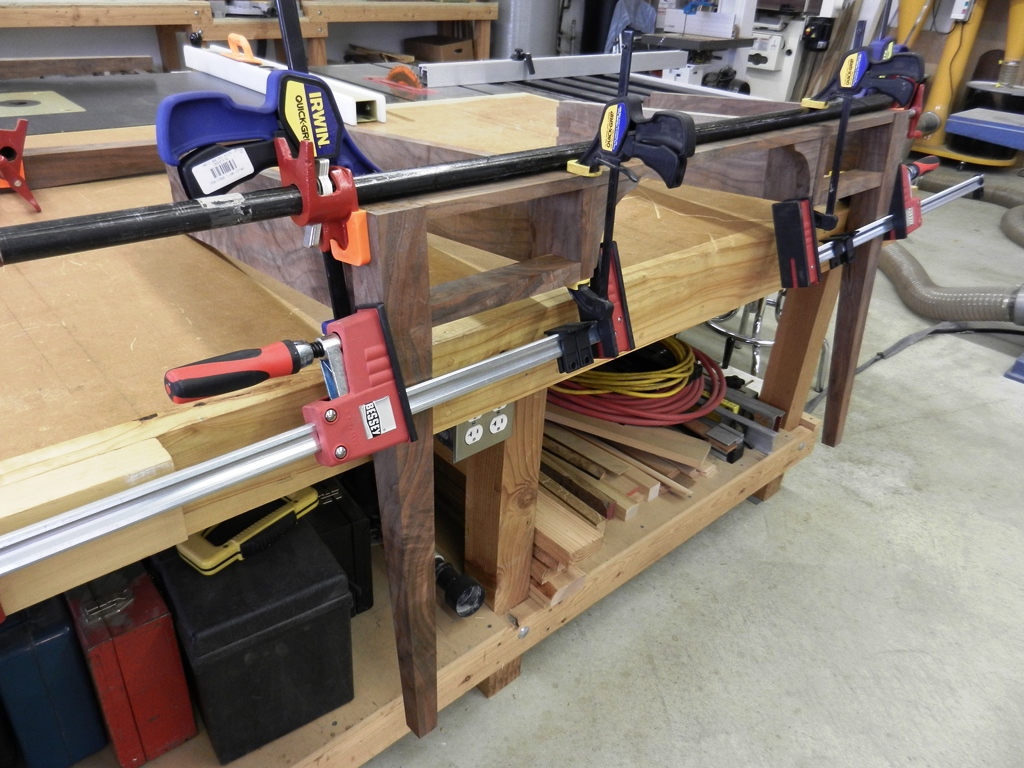
The top is glued up and I begin the case by mortising the legs for the aprons. All of the tenons are cut on the table saw with the dado combo. Legs and side aprons are fitted together. The more I work with this wood, the more I'm impressed by the color and figure.
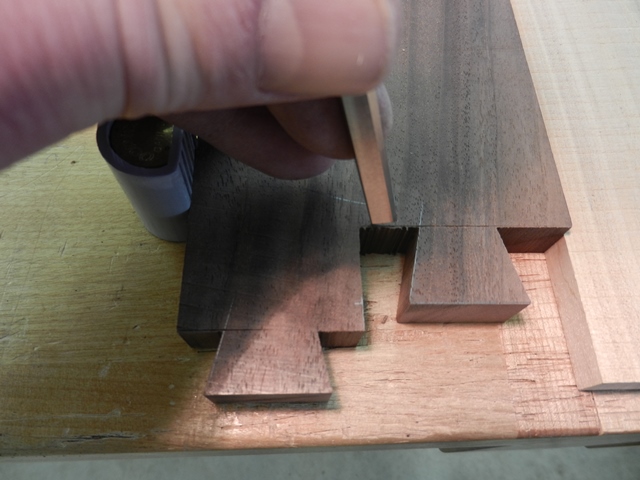
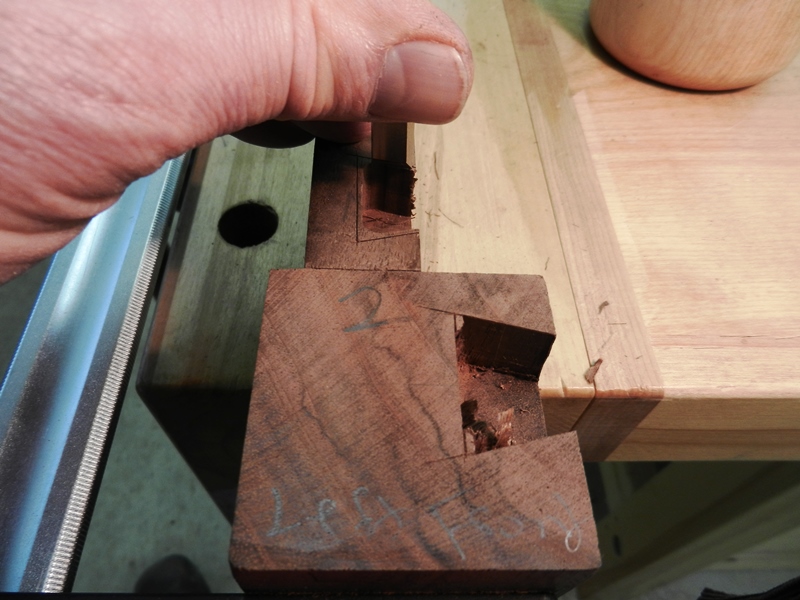
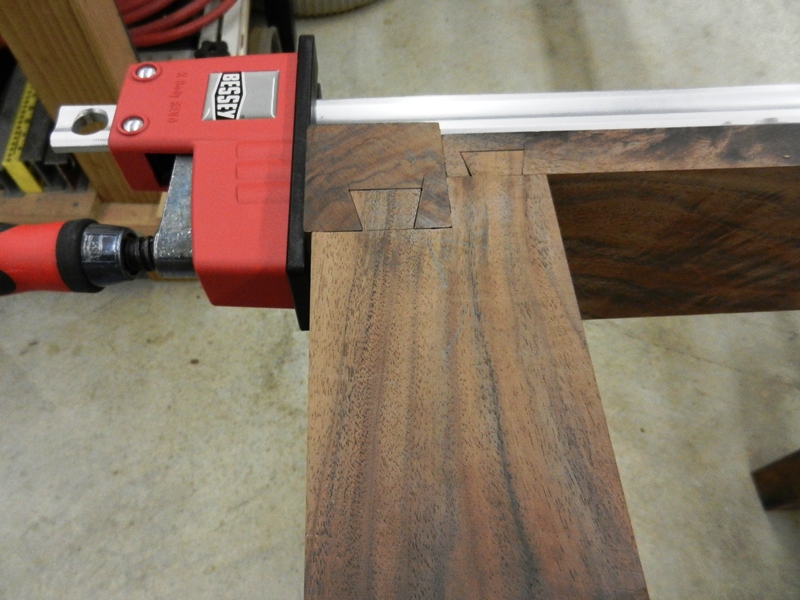
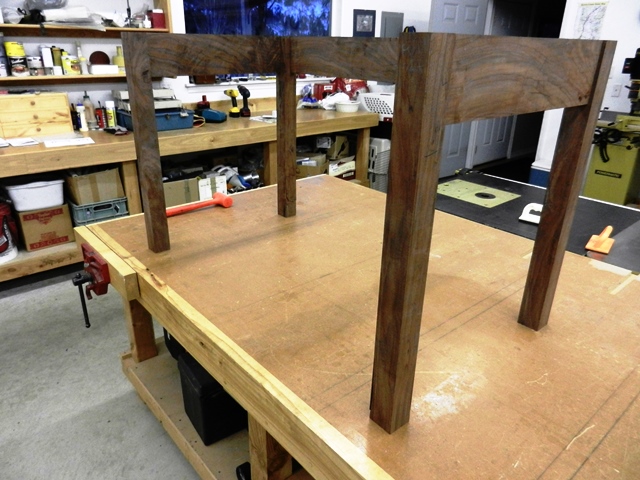
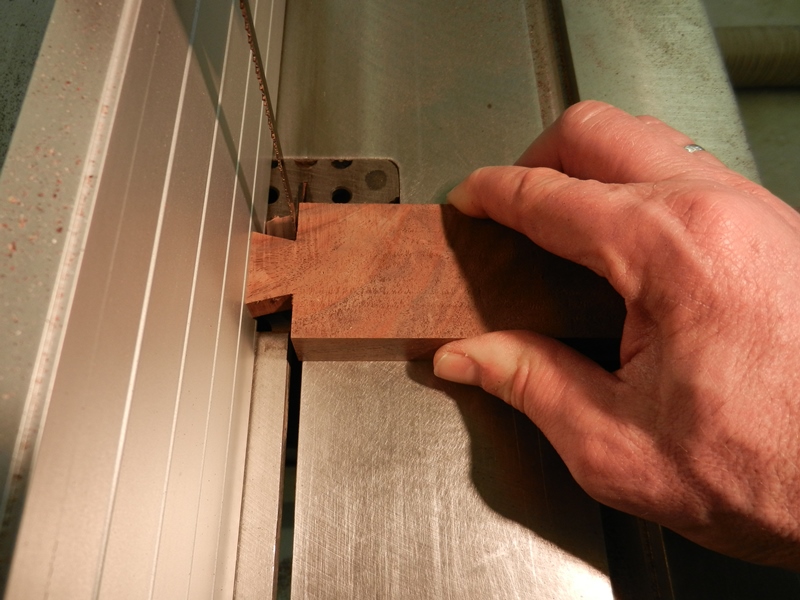
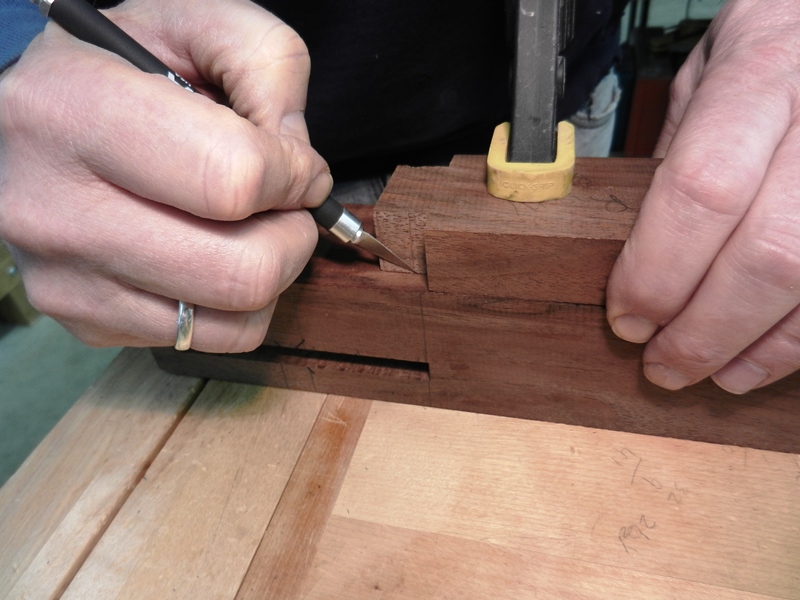
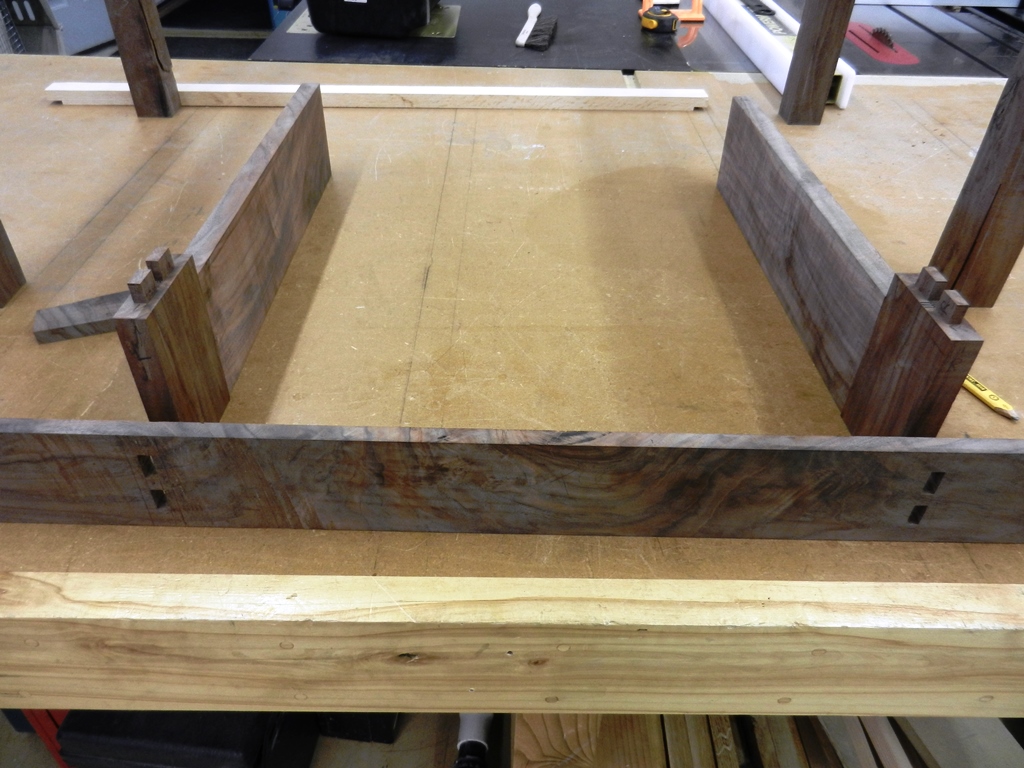
The top stretcher is clamped across the front while using a spacer stick to keep the legs at the same spacing as the rear apron. Next, I trace the position of the legs and aprons onto the stretcher and then mark the dovetails onto the ends of board and cut them out on the bandsaw. Clamping the stretcher back on the legs and apron allows me to scribe the dovetail layout on the pieces and then notch them out with a chisel.

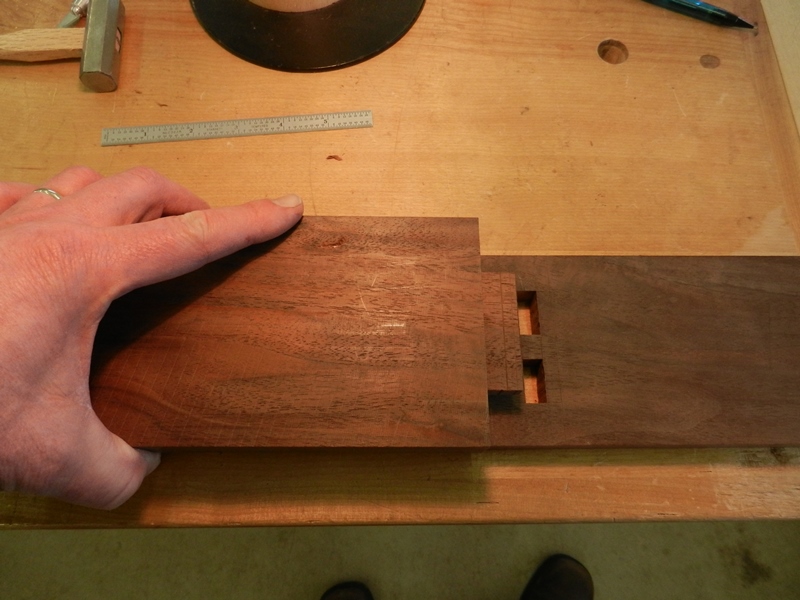
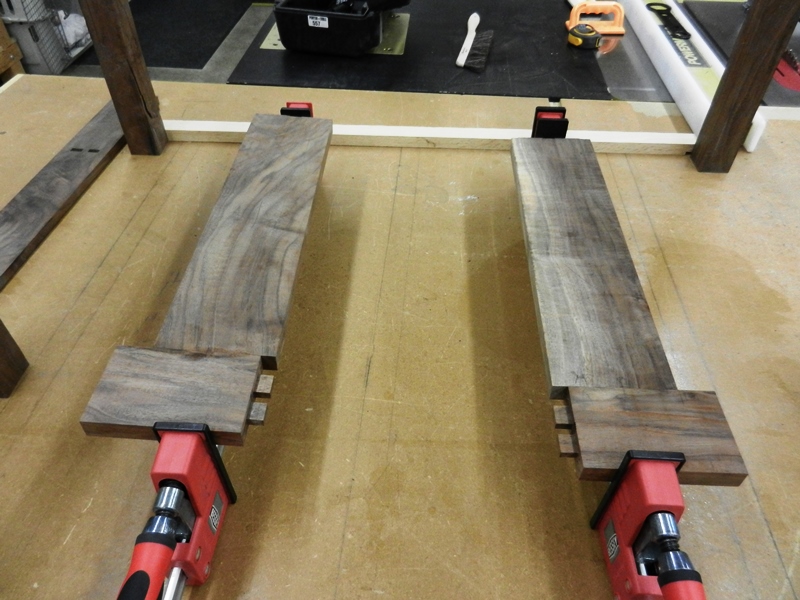
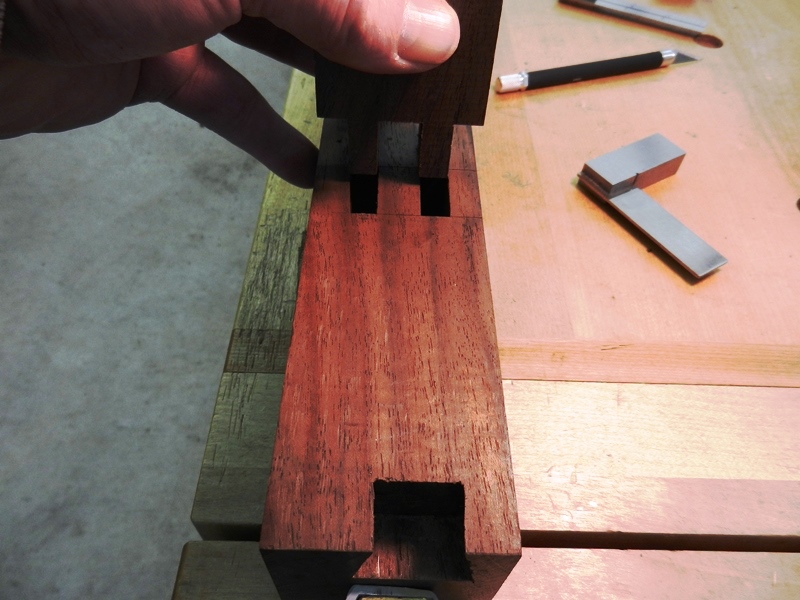
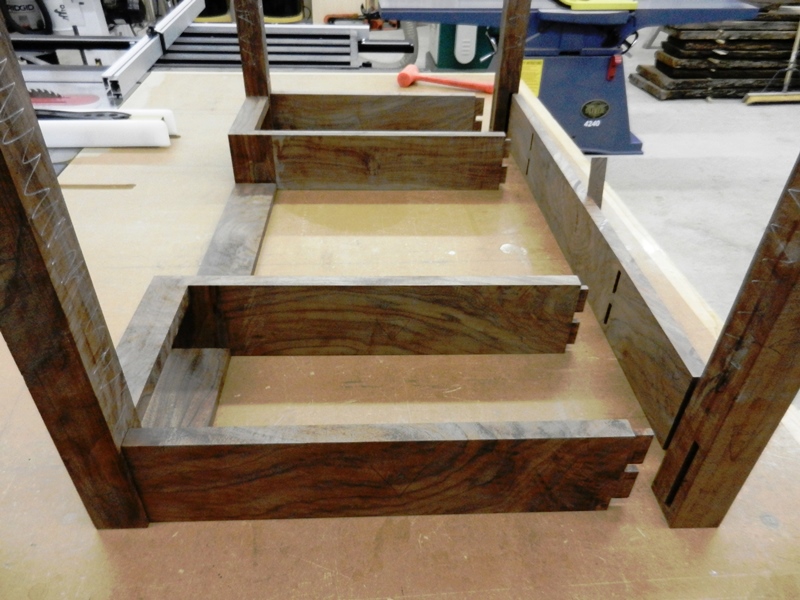
The front stretcher is completed and fitted into the legs and aprons. Next I cut the mortises into the stretcher where the divider tenons will meet it. The dividers will be mortised into the back apron and then connected to the front stretcher. I rough out the divider ends by cutting tenons on a over-size board on both ends and then cut the board in half, one for each divider. After fitting each piece to the mortises, I rip them to the correct width and biscuit them to the ends of the dividers.

After the glue sets, the end caps are crosscut to the same width as the dividers.

The front lower aprons are connected to the legs with mortise/tenons and dovetailed into the bottom of the dividers. Front lower drawer aprons are double-tenoned into the legs and then connected to the under side of the dividers with dovetails. Because this desk has quite a span across the front, with nothing but the stretcher for strength, the joinery needs to be stiff and strong, and additionally, I will add some corbals for some additional support.
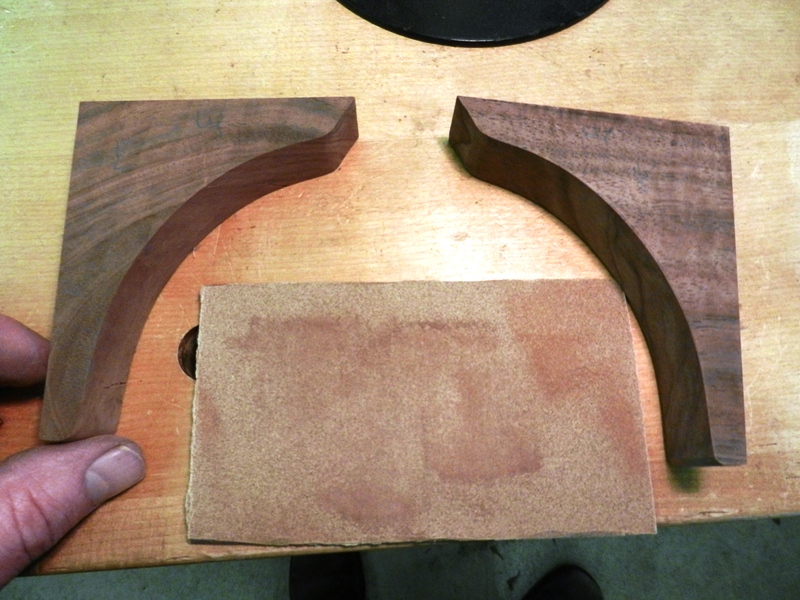

After cutting out the corbels on the bandsaw, I add slots for biscuts to the two flat sides of the them, as well as the adjacent sides on the dividers and upper stretcher that they will attach to.
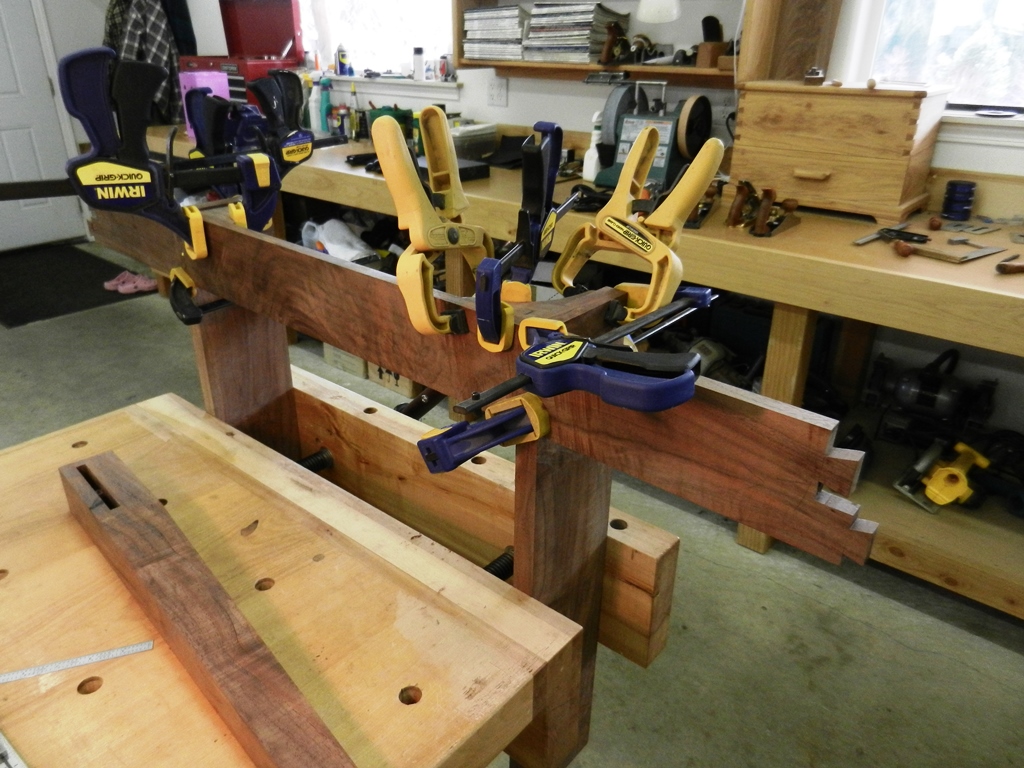
Glue up will be done in a different order for the desk. Normally, I would glue the sides first, and then add back apron and front stretcher. In this case, to allow for the dividers glued into the rear apron, first the mortise and tenon joints are glued together with the front stretcher and the dividers. After tapering and planing the legs (not shown), the front of the desk, including legs, stretcher, dividers and drawer aprons, are glued up as a separate unit. The corbels are also glued in place.
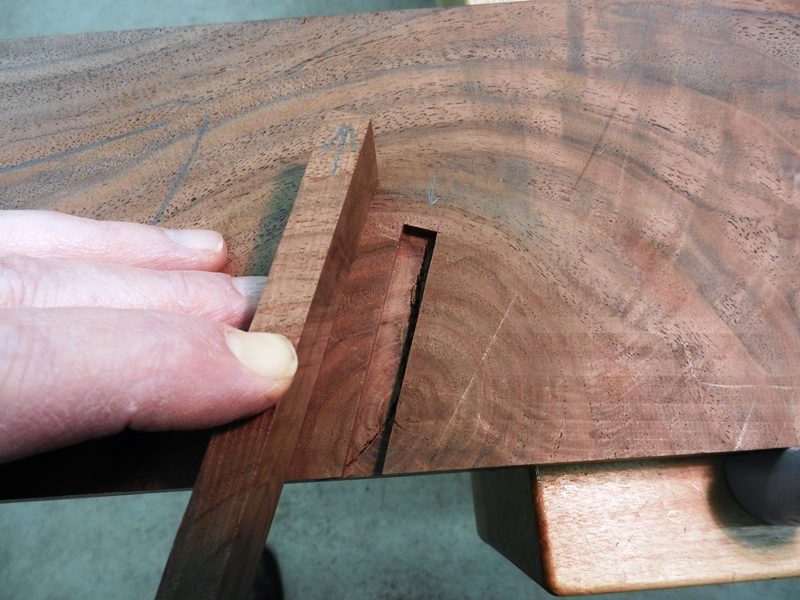

Part of making do with my limited supply of claro walnut necessitated repairing some checks around a knot in the back apron. While the check did not detract structurally from the piece, I found it unsightly. It was fixed by cutting a 3/16" groove over the check, milling a piece of similarly grained scrap to the approximate width and then gluing it into place. Next, the back legs and back stretcher will be glued up as a separate piece as well. This piece will then be glued to the previously-glued front section and the finished assembly is complete.
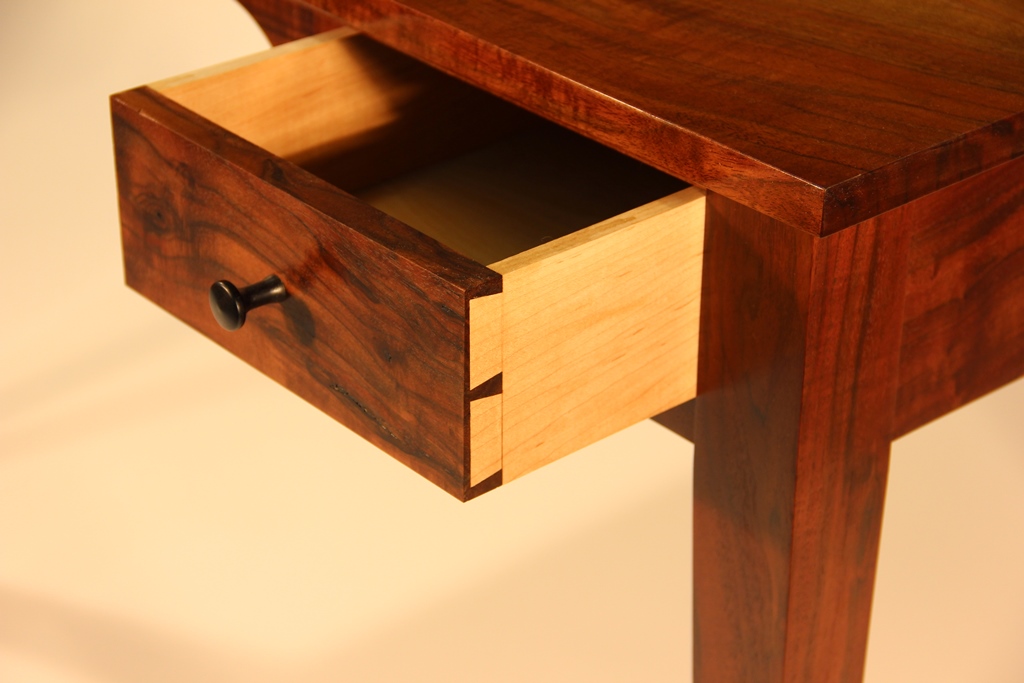
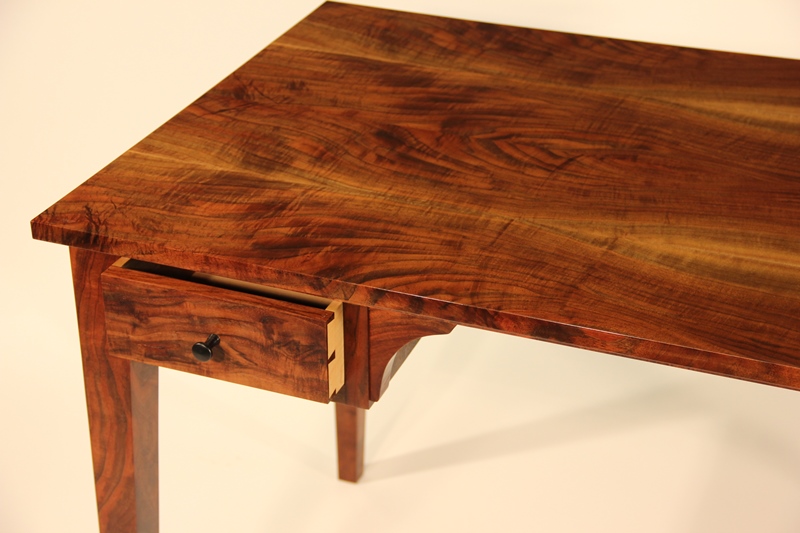
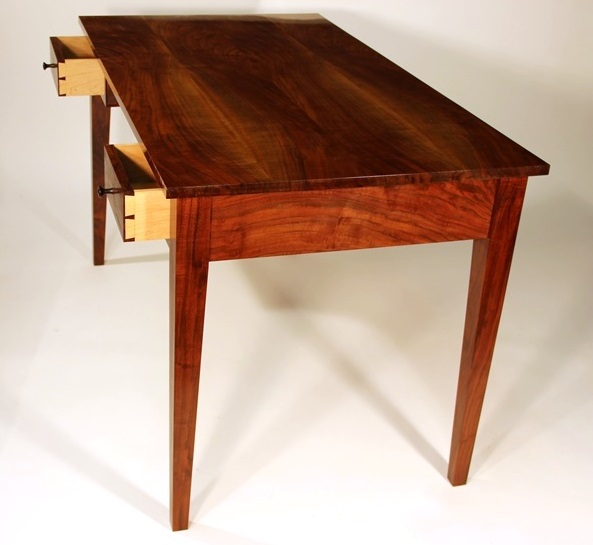
Drawers are done with hard-maple sides and alder bottoms, through dovetails in the back and half blinds in the front using my standard bandsaw/hand cut technique. Knobs are some that I turned from African Ebony. This desk present some real challenges with applying finishes. Originally, I had opted just for wipe-on tung oil finishes and wax, but didn't feel this finish to do justice to the beautiful grain of the walnut. Finally, I ended up with many coats of a polyurethane, sanding down to as fine as 2000 paper to get the look I was after.
Back To Top Home