Posted March 5 2020
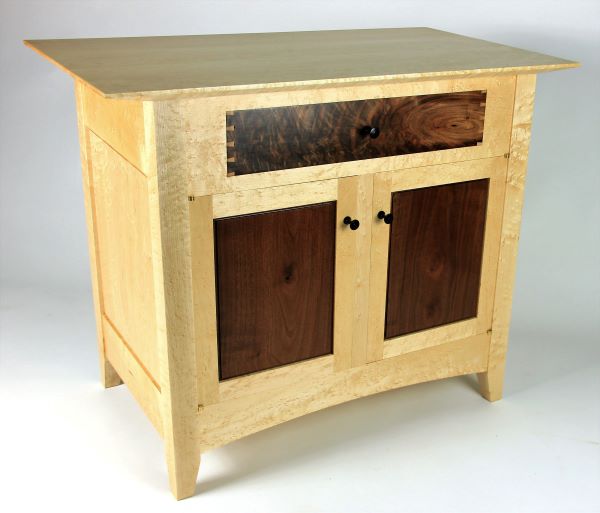

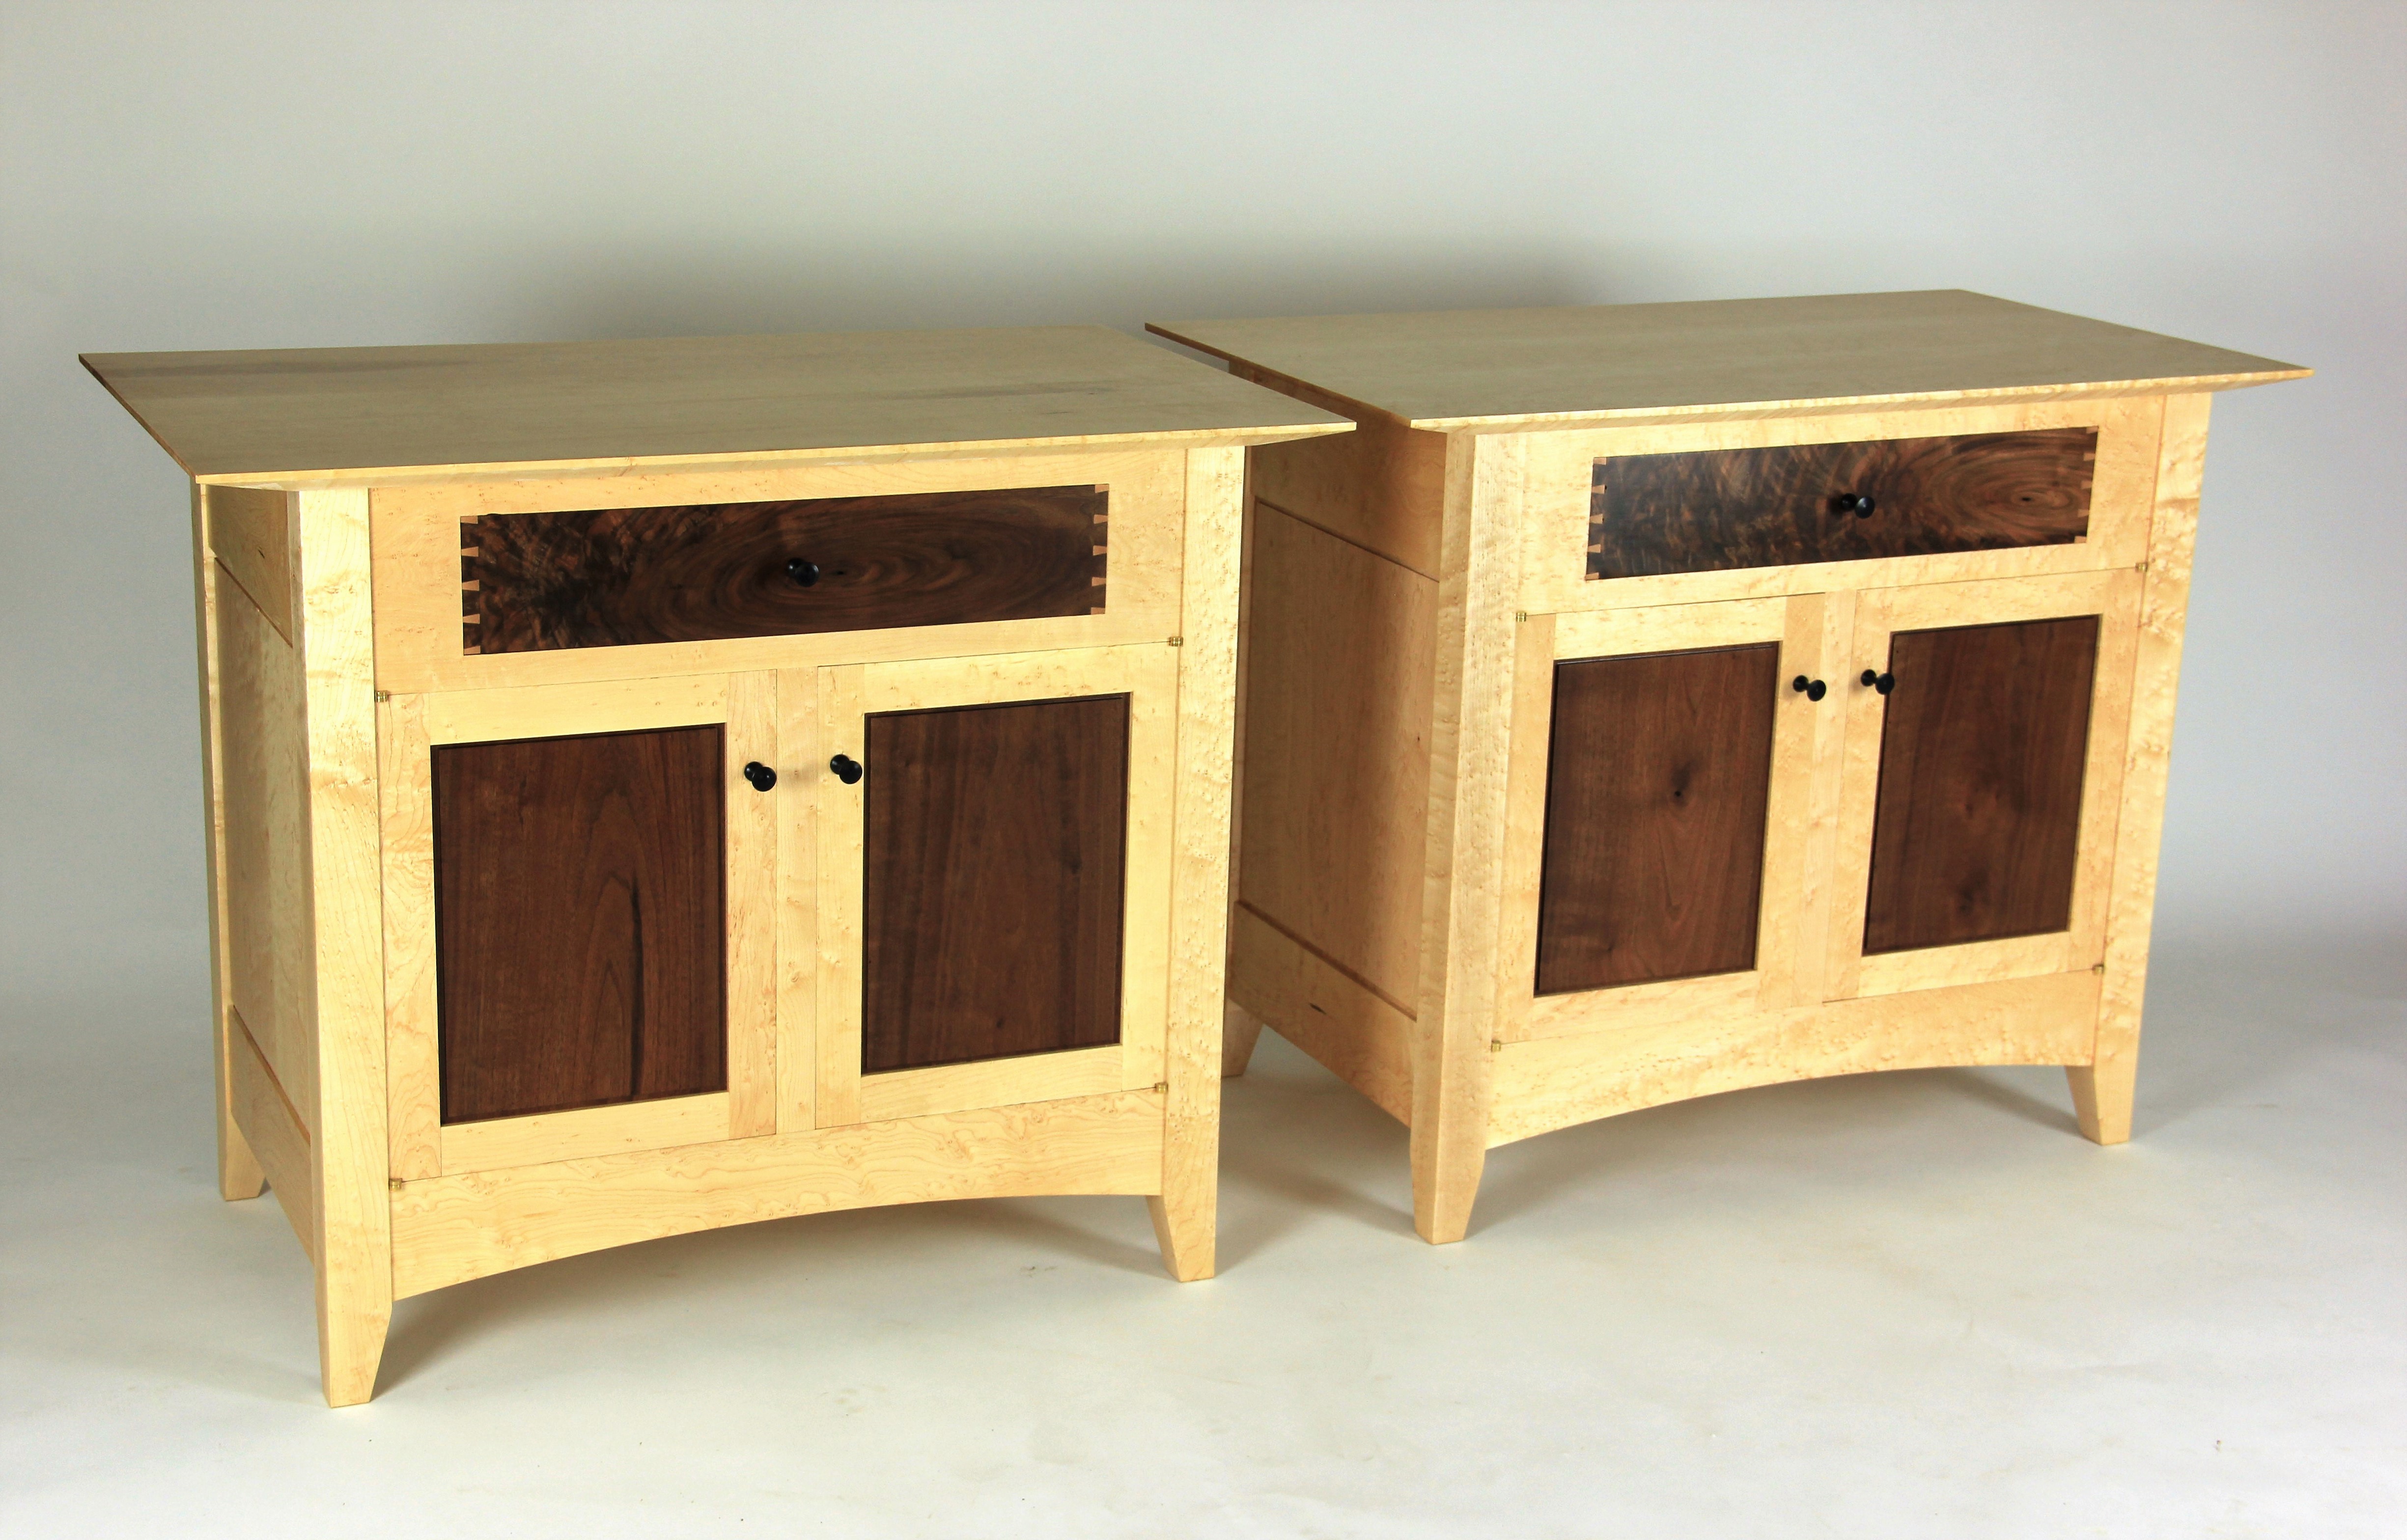
Walnut and birdseye maple should work well together if tastefully combined. I was asked by a friend to build some night stands for his place in Seattle and, after staying in our inn and viewing my Maple Coffee Table . He was much enamored with the top of birdseye maple. After scouting out some birdseye (trips to Portland and Seattle), I was able to secure enough to complete a couple of large nightstands.
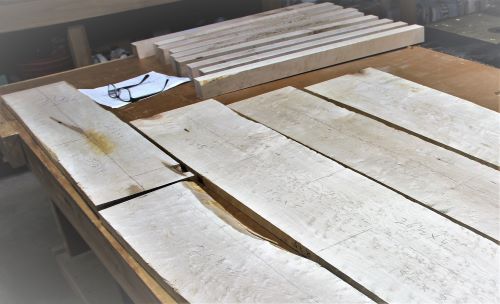
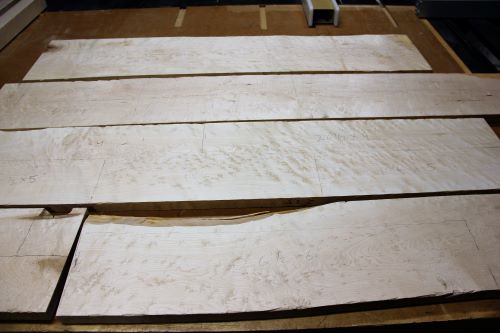
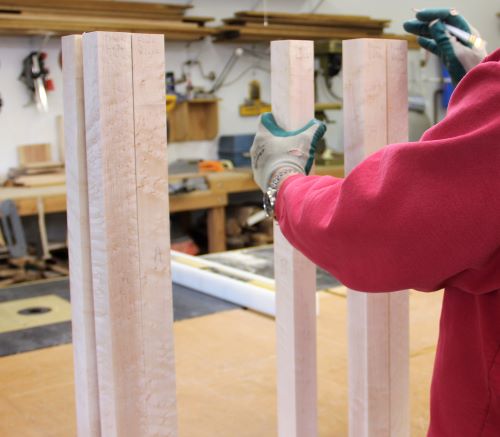
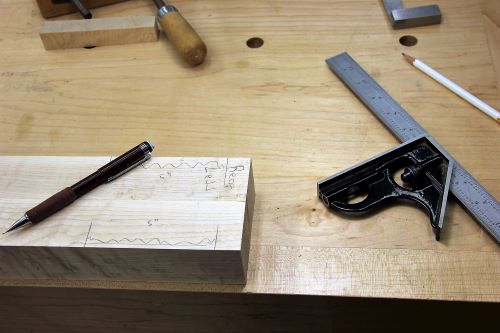
This project will require both 4/4 and 8/4 stock and, while I had a plentiful supply of 4/4, the thicker material for the legs was more precious and will require careful selection. Birdseye grain can be all over the place, some areas highly figured while almost absent of figure in others. I try to save the most figured woods for the areas most visible on the finished night stands. Legs were sorted and positioned to take advantage of grain and figure for their placement on the case. Then they are labeled as to their position and the layout for the 3/8" mortises is completed.
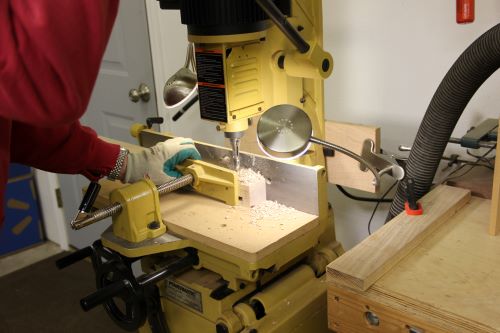
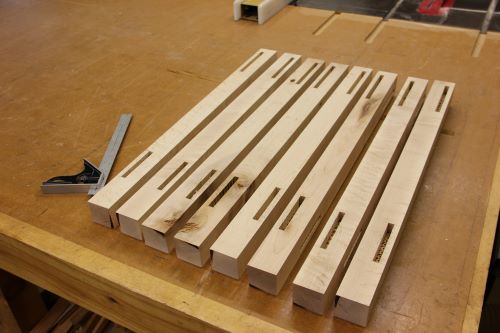
Mortises were cut with the hollow-chisel mortiser on the adjacent 2 sides of each leg for the tenons on the front, rear and side rails. I generally allow about a 1/8" revel where the rails connect to the legs, but it is not critical, as long as they are all the same.
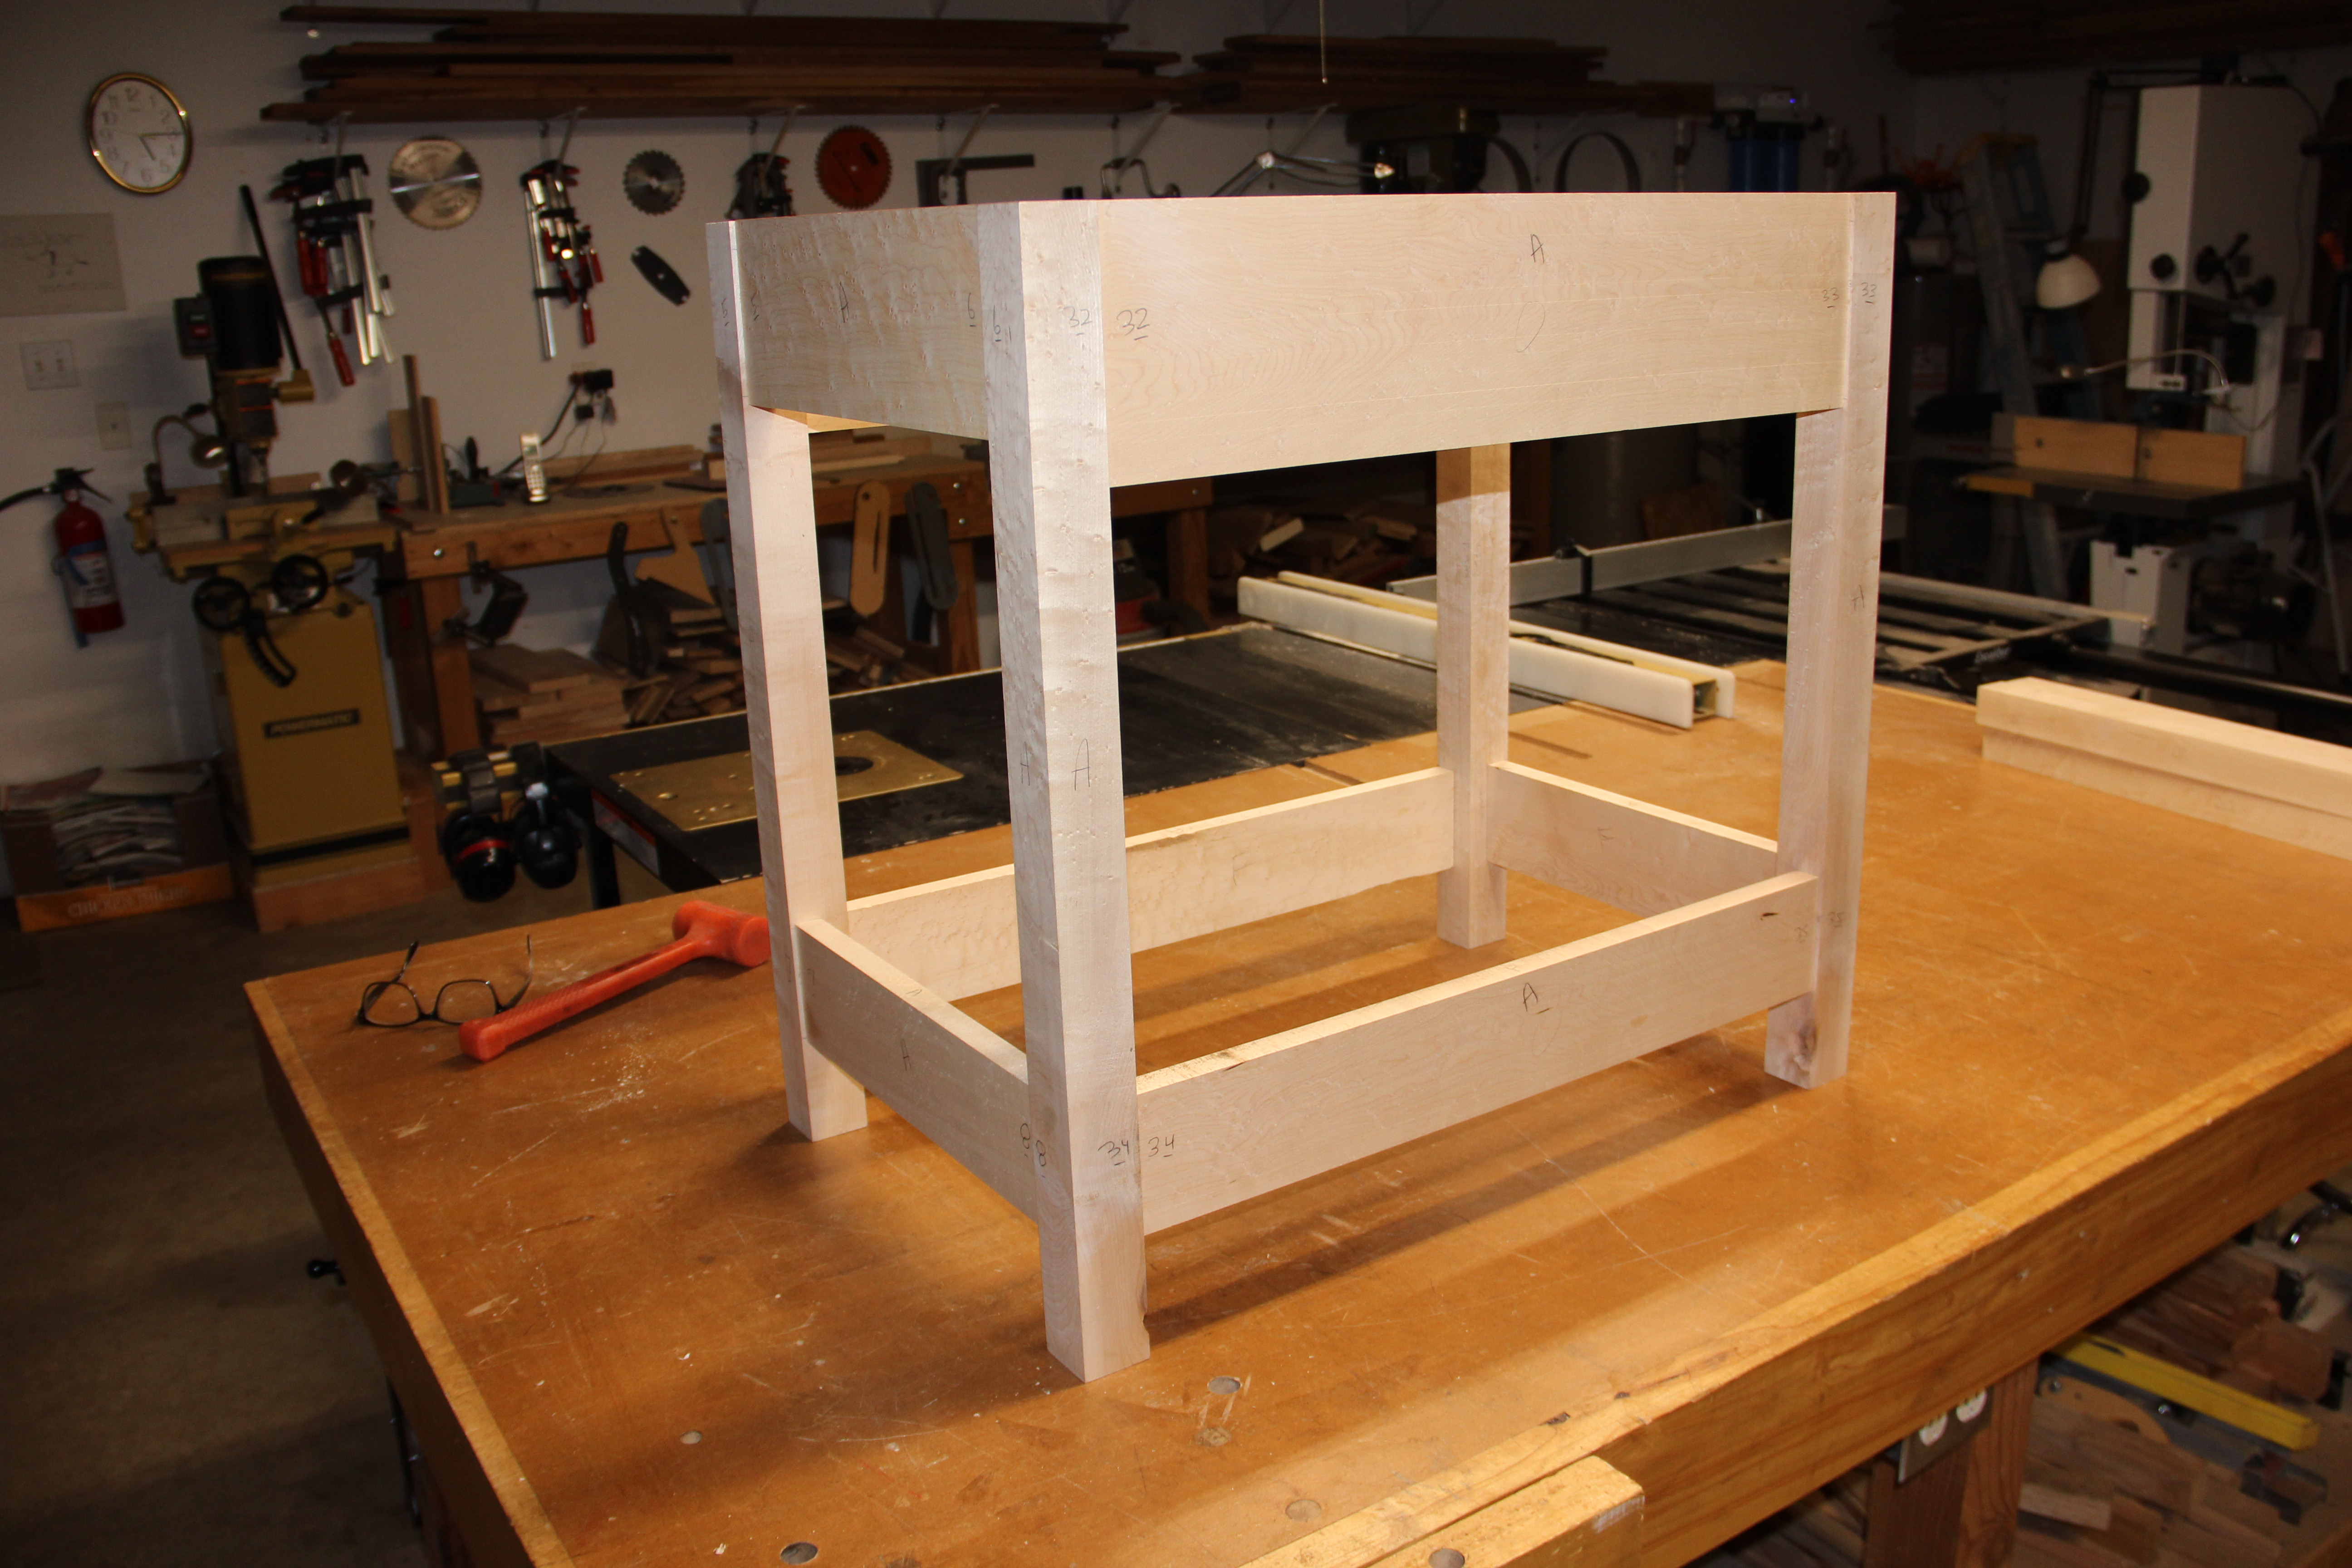
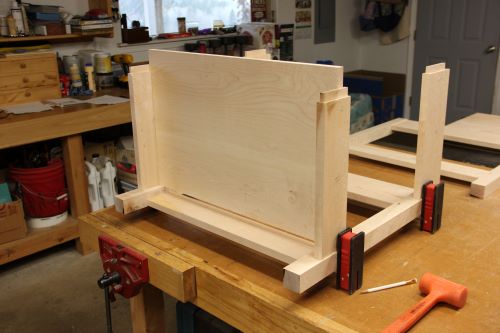
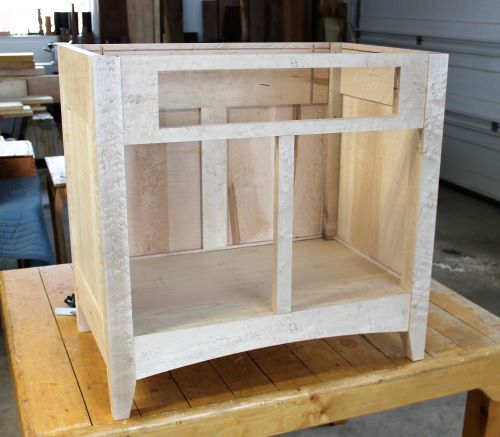
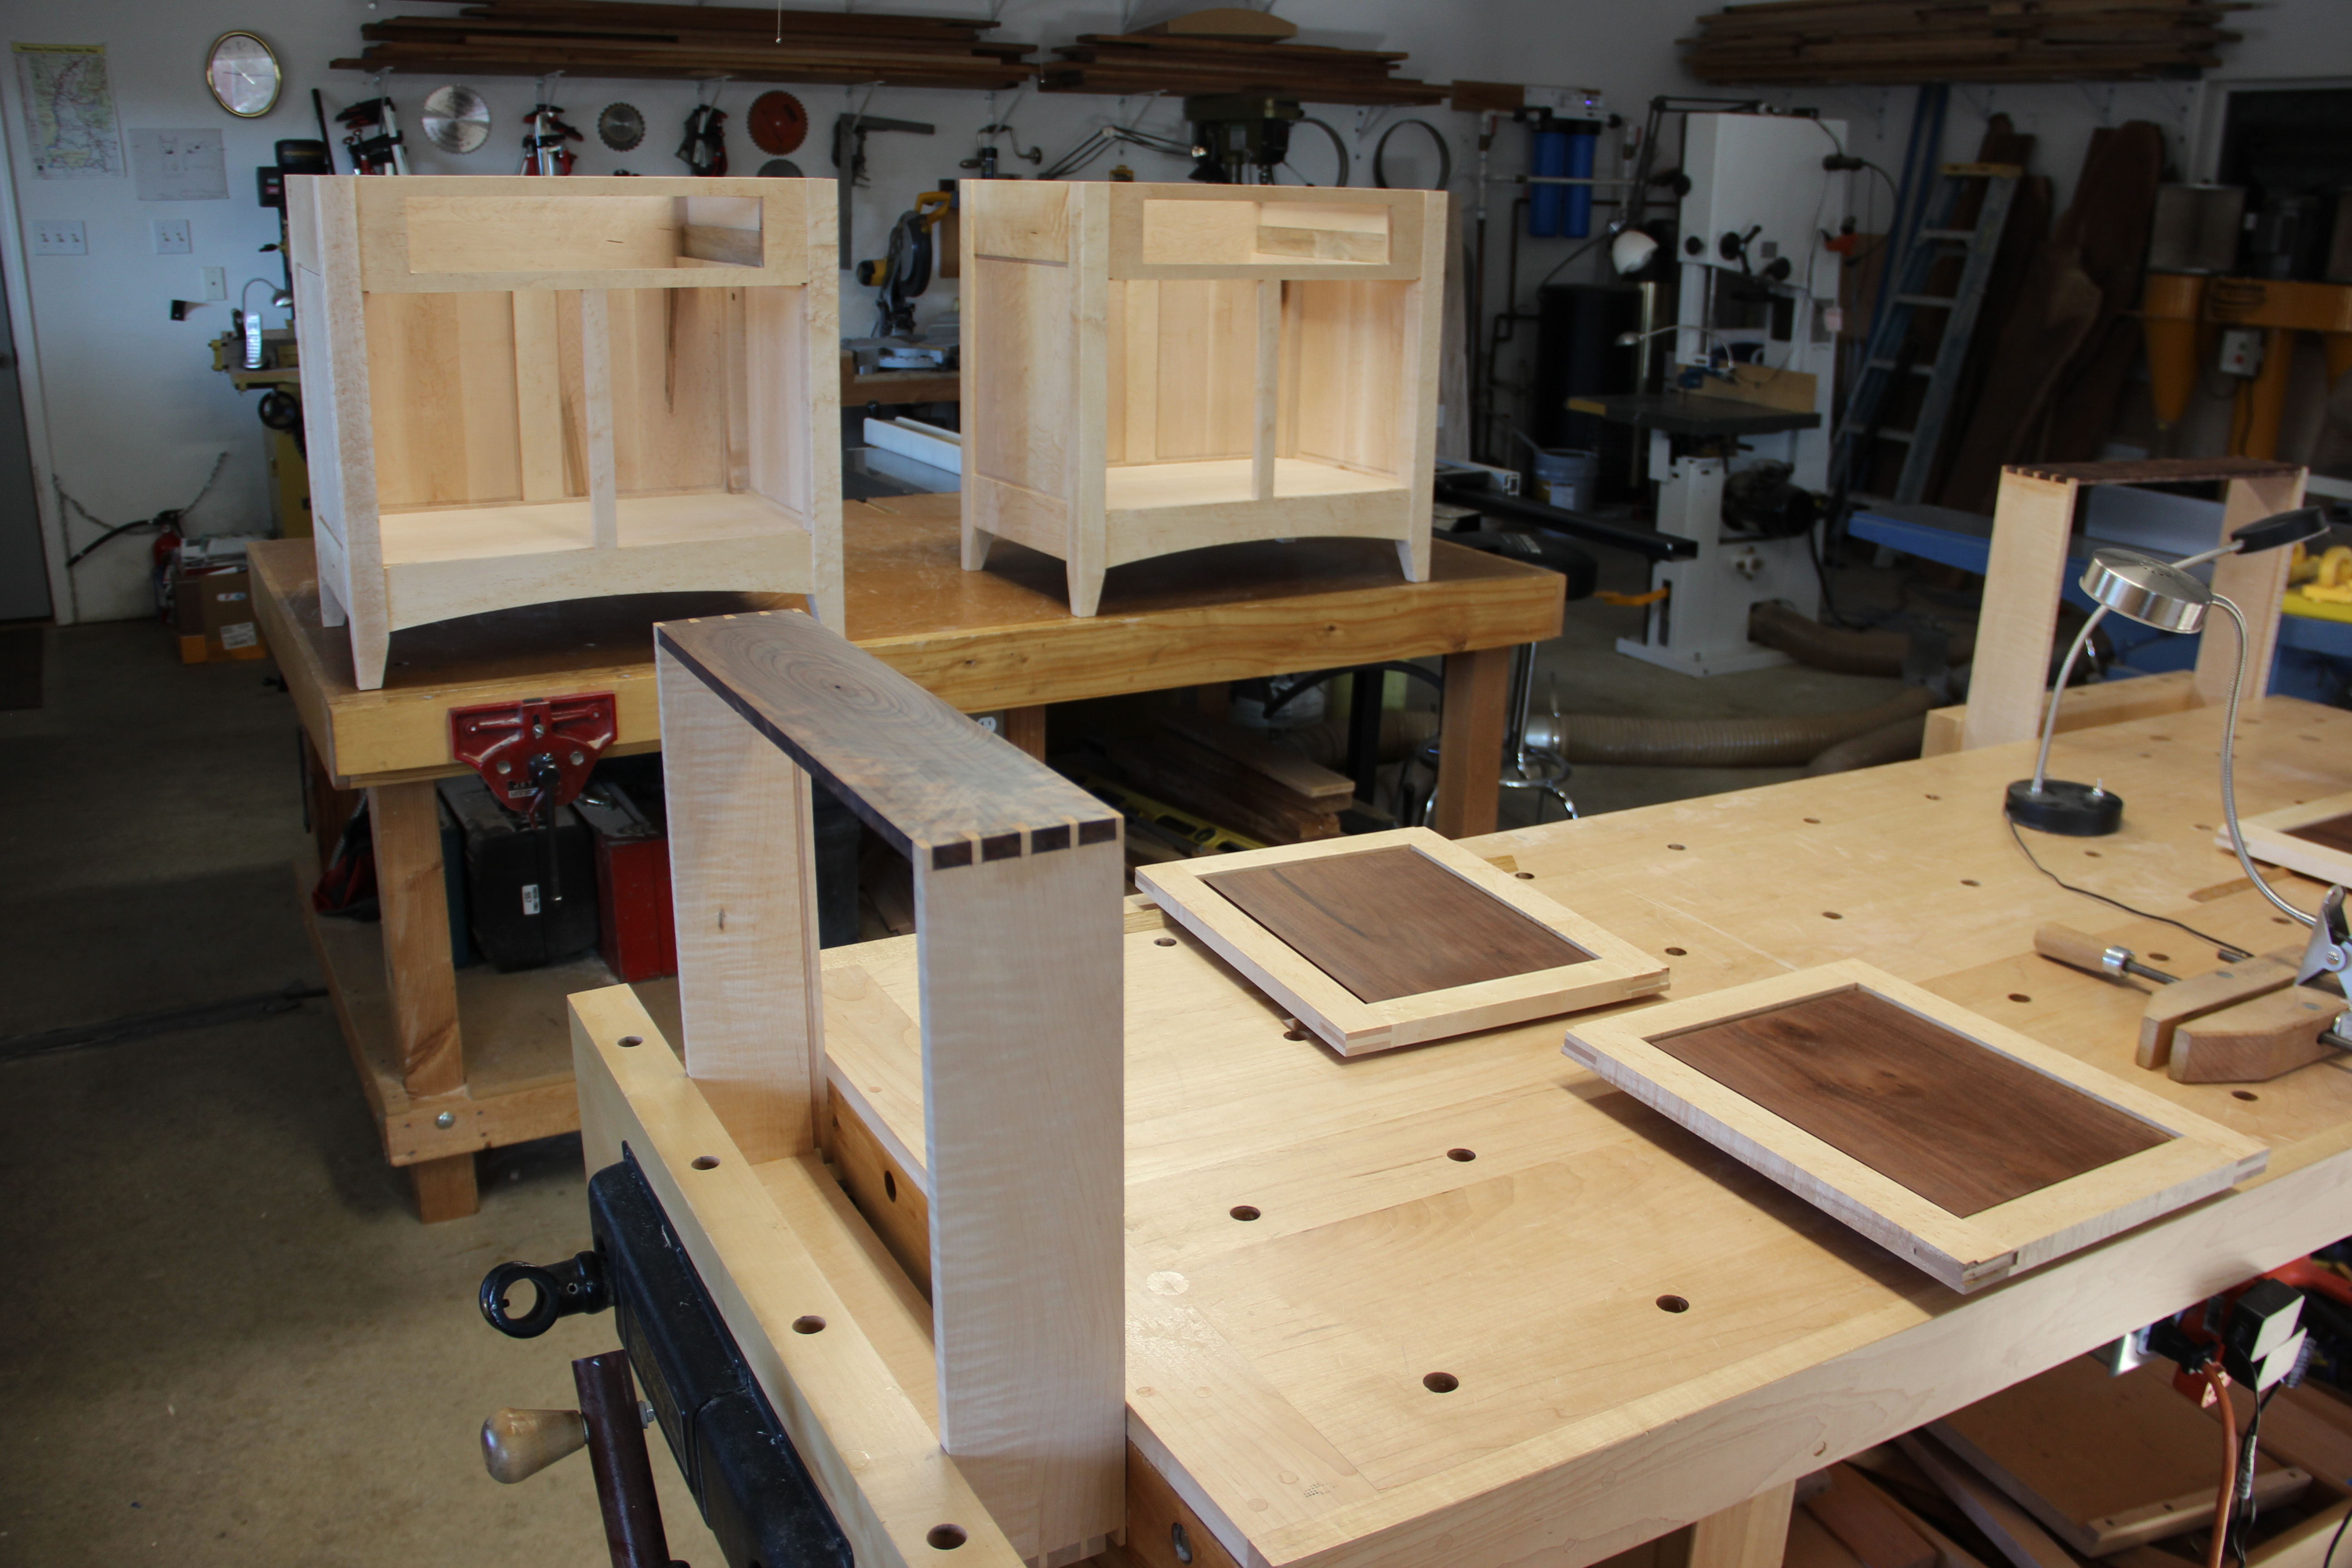
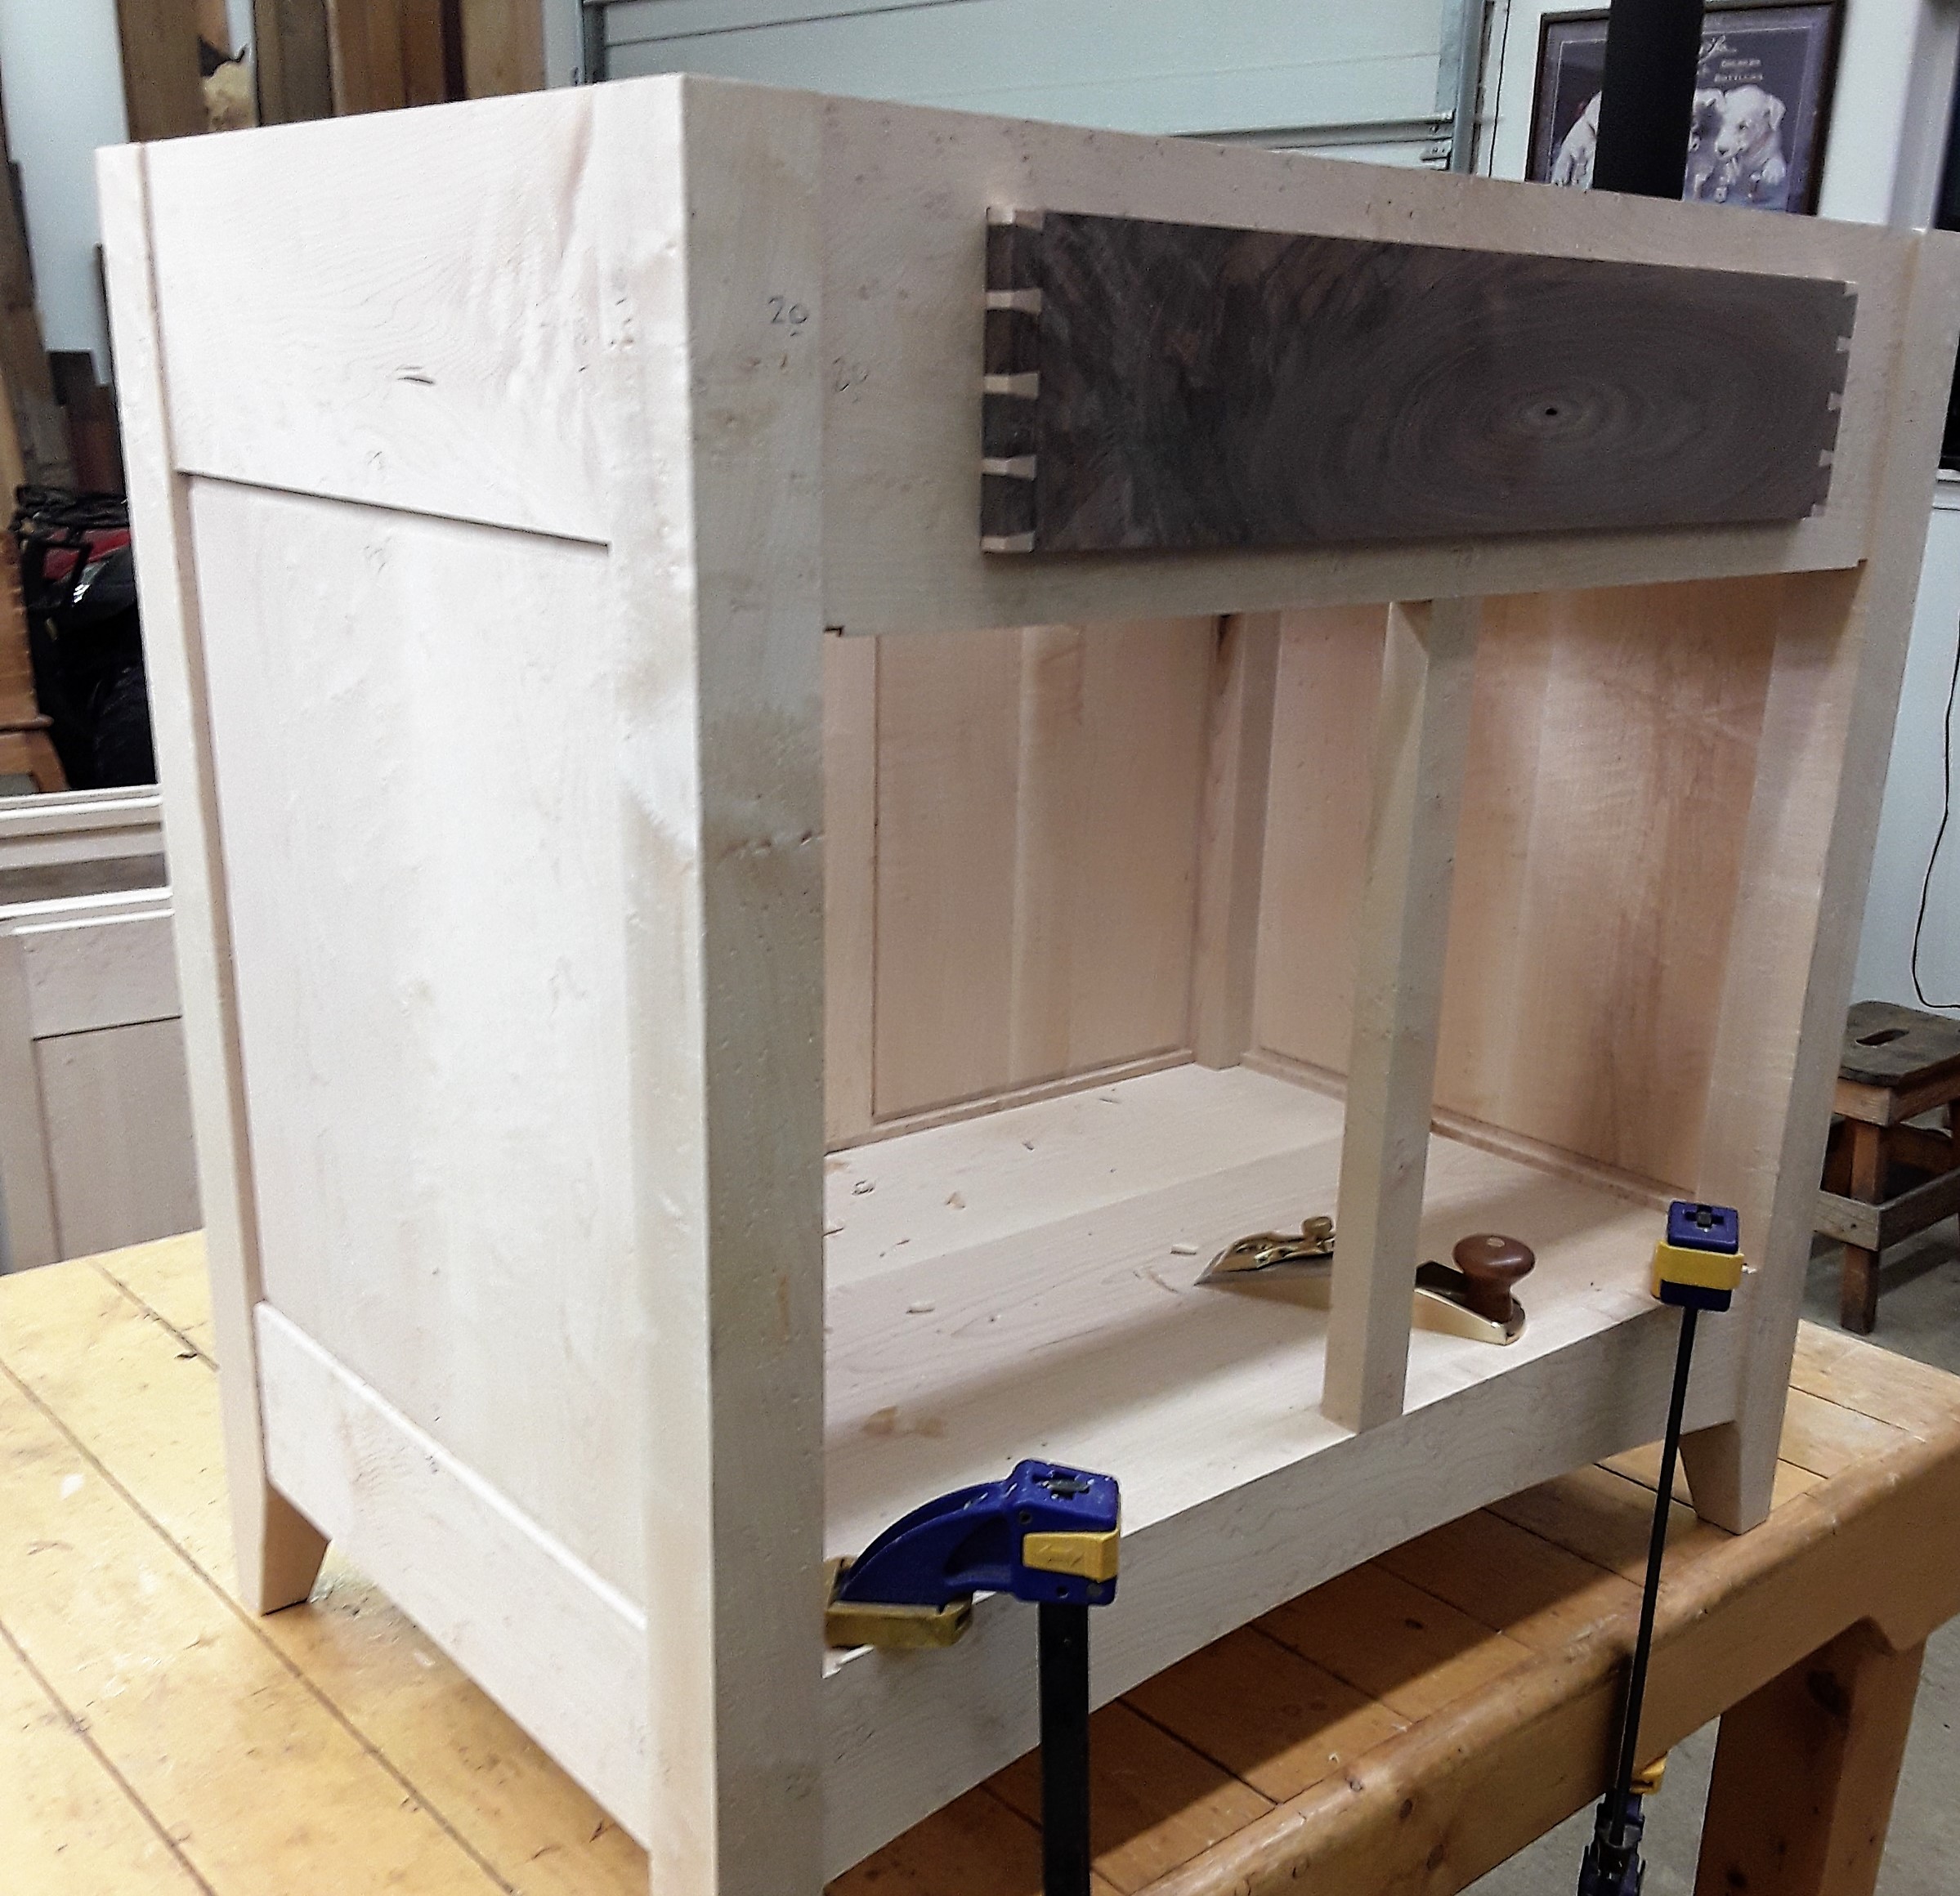
After cutting the tenons with a dado stack on the table saw, the joinery can be completed and the case is dry-fit together. Measurements can then be taken for the dadoes in the lower rails for the bottom shelf. This shelf will be glued to the front rail but then allowed to freely move in the other dadoes for seasonal wood movement. The shelf is notched to fit between the legs and then glued with biscuits to the front bottom rail, after cutting the bottom arc in the rail. Then the entire front assembly can be glued together as a unit, which will be attached to the side rails and panels.

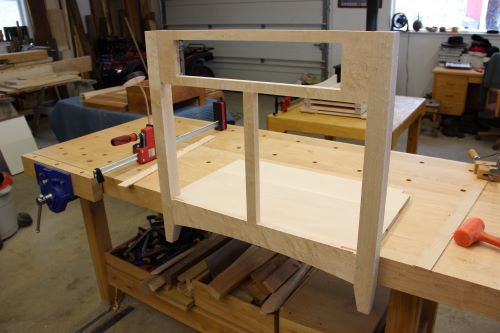
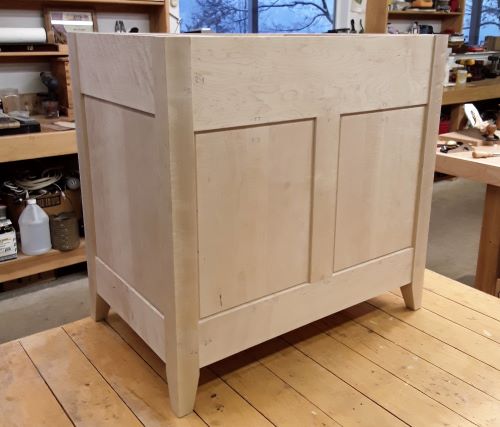
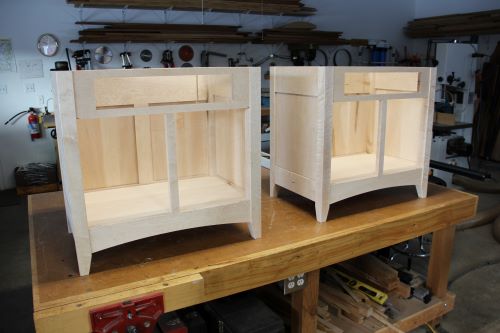
Before gluing up the front assembly, the opening for the front drawer is cut in the front upper rail. The back legs, rails, and panels are glued up separately also as a unit. The front and back units are then assembled with the side rails and panels to complete the case glue up.
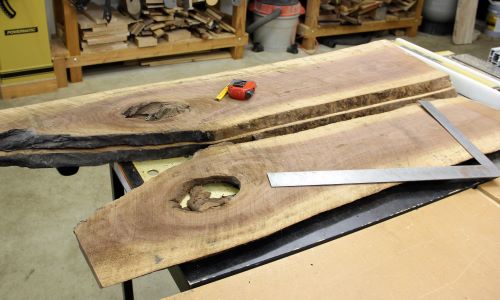
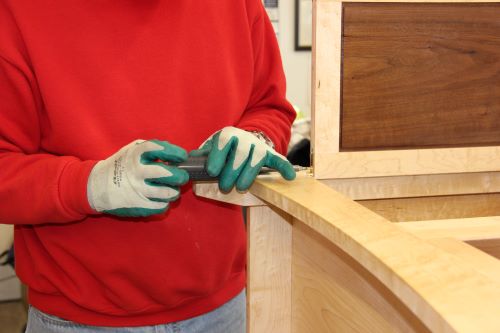
Measurements can now be obtained for the drawer and door sizes. I make then oversize in all directions by about 1/32" to 1/16" and then hand plane them to fit. This also allows for dealing with openings that are not perfectly square.I try to select walnut for the door panels from book-matched stock. The door sides will be birdseye maple and the joinery will be with bridal joints, tenons on the top rails. For the drawer fronts, also walnut, I try to choose some walnut with a lot of figure, but still some match between stands. The drawer sides will be hard maple, which gives a crisp through-dovetail look that will show from the front on the stands.
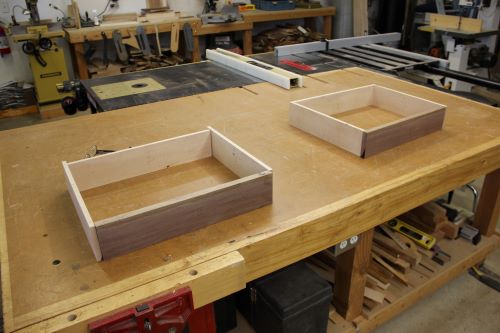
After completing the drawer dovetails, they are hand planed to fit the opening. The drawers will require several fine tunings with a hand plane over the coming weeks as they settle into place. I usually put a small amount of paraffin wax on the slides.
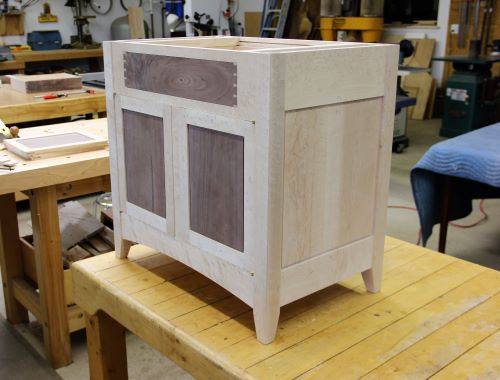
These doors will be installed with Brusso knife hinges on the top and bottom. I like to install doors with the case laying on its back, using a couple of clamps on the inside to provide temporary stops. I find this a convenient method to install the hinges and fine tune the door sizes.
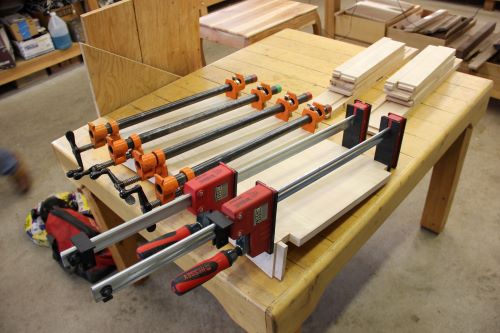
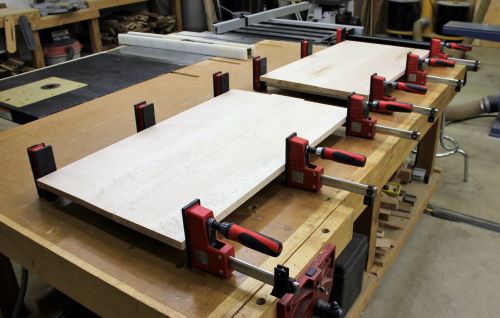
Tops are glued up from more birdseye maple that I have selected for figure and color to work with the legs and panels. Edge treatment will be a bevel on the front, higher bevel on the sides, and none on the back, leaving an approximate 1/2" overhang.
Back To Top Home