Posted December 21, 2016
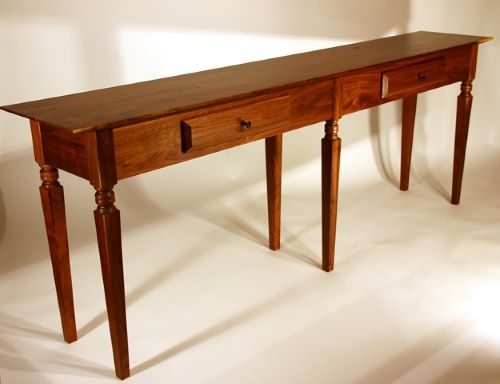

Walking through a retail furniture store, I noticed a flimsy hall table built from the usual fine-craftsman materials of particle board and staples-- nothing unusual here. But the 6-leg design in combination with turnings did catch my eye. Thinking about some wall space along a hallway in our house, I said to myself: "Maybe I could craft a real table from some ideas here". This would be a very long table and the key to a good balance would be in the proportions of width between the legs and the positioning of the drawers. I struck a balance at about 84" overall length on the top with about 36" between legs.
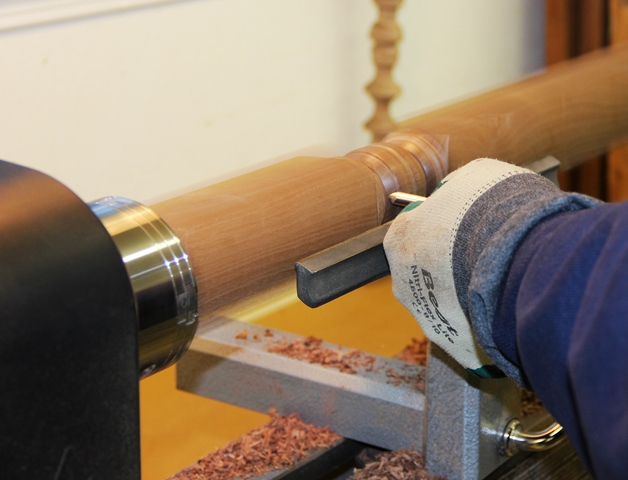

Adding a turning to the otherwise square leg would give the table a bit of flair, but instead of shaping the entire lower leg, only the area just below the aprons would have scroll work. I also decided to taper all of the legs beneath the scroll work on all sides instead of just the inward-facing sides, as would normally be the case on a hall table.
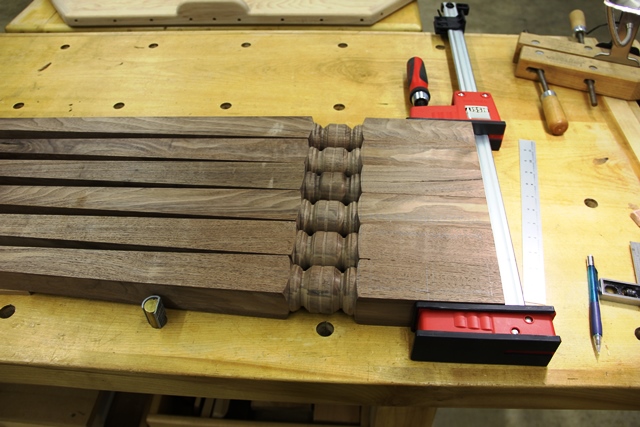
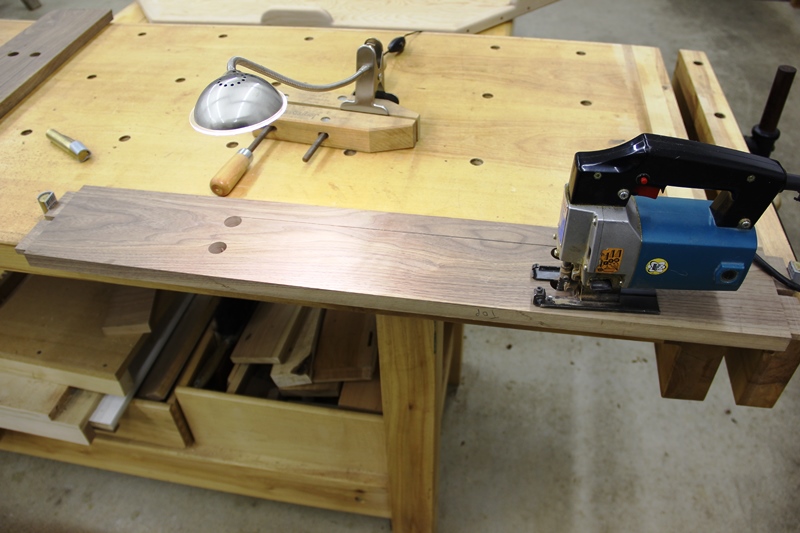
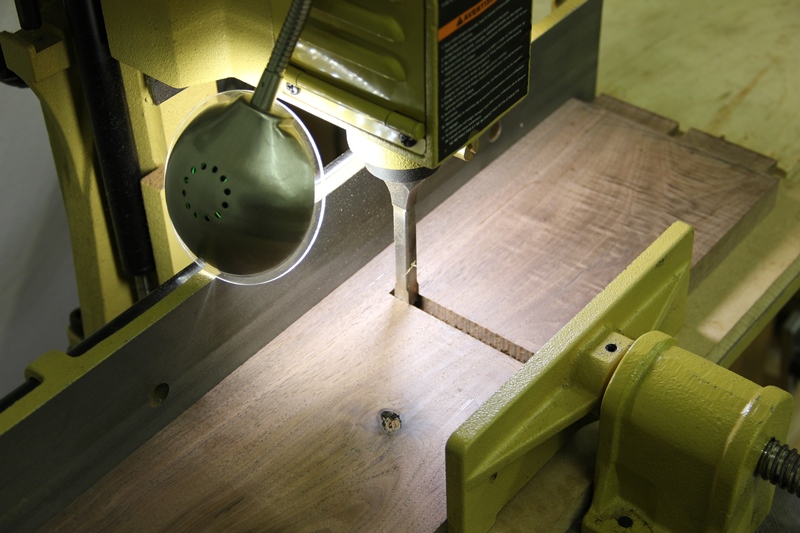
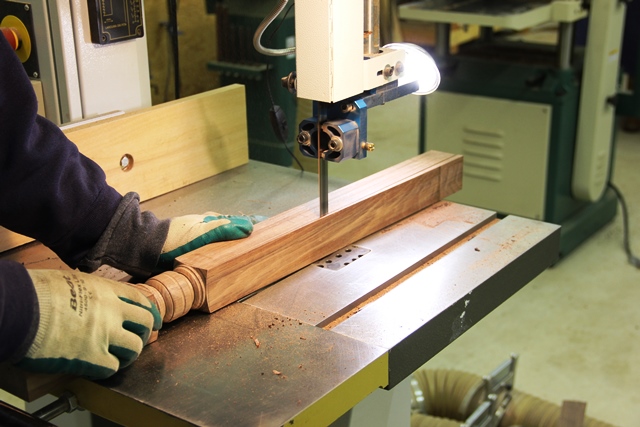
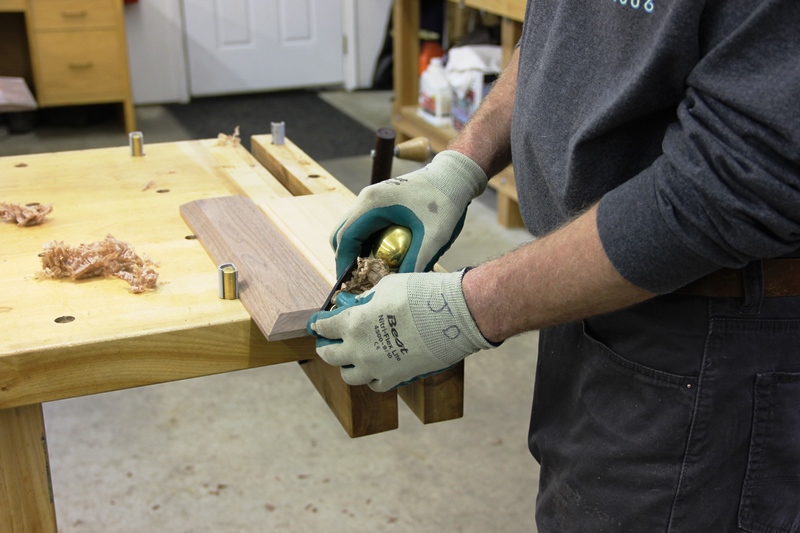
The tapers are hand planed on all sides to smooth them out, a labor of love because most walnut responds so nicely to a sharp plane. Now the legs (including one spare) are ready for mortise layout. After completing the mortises in all of the legs, the front, rear, drawer dividers, and side aprons are milled up and tenons are cut on each end. The front and rear aprons are fitted with vertical mortises for attaching the (4) drawer dividers.
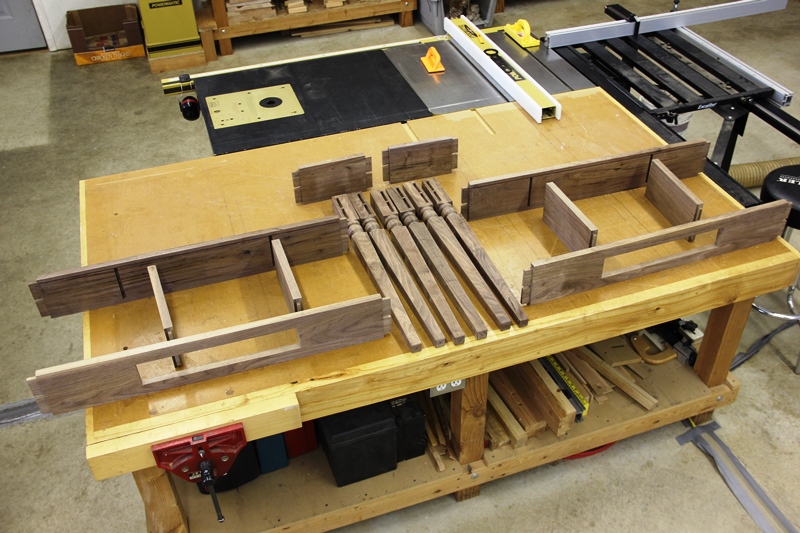
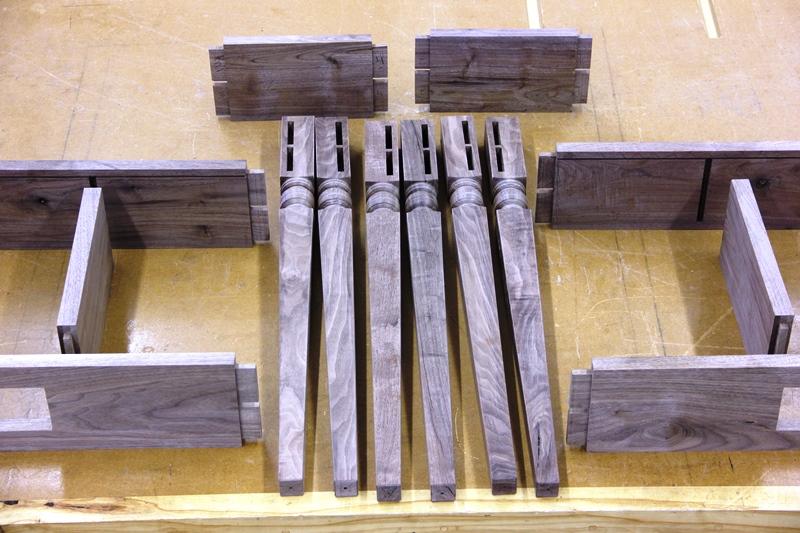
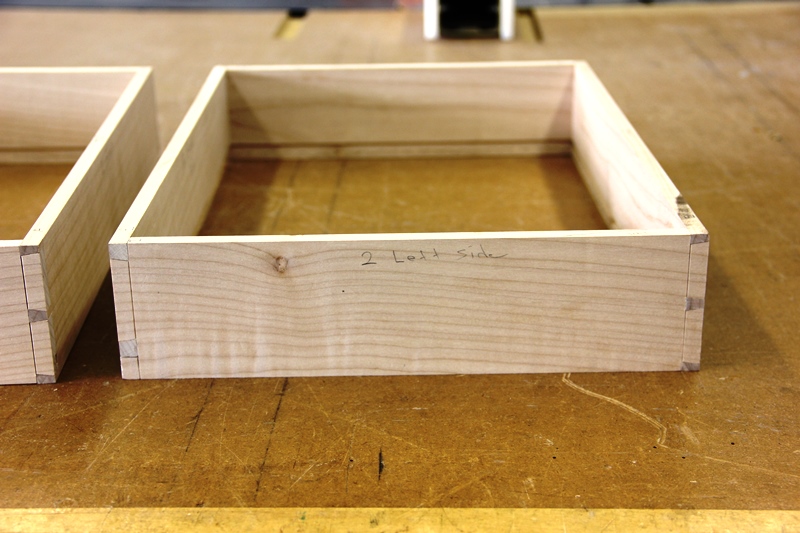
All the parts and pieces are now ready to begin assembly. As usual, I number all of the joinery uniquely so that confusion about what piece fits where can be avoided when glue is applied.
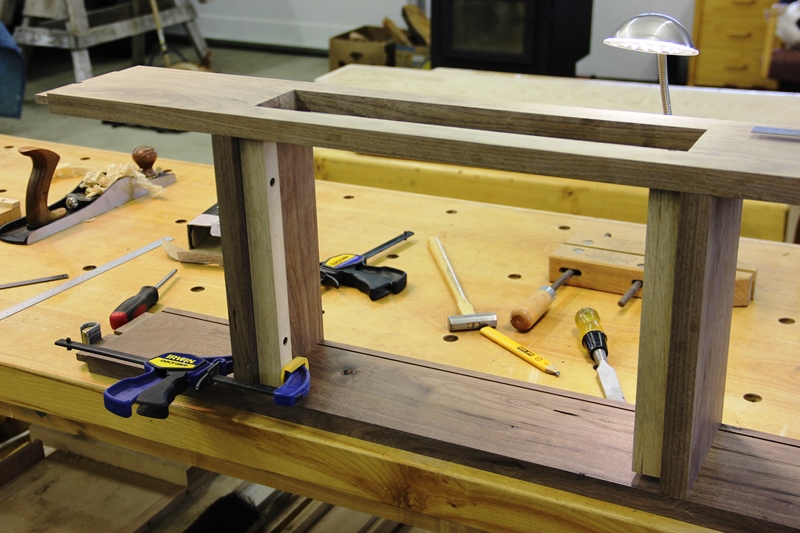
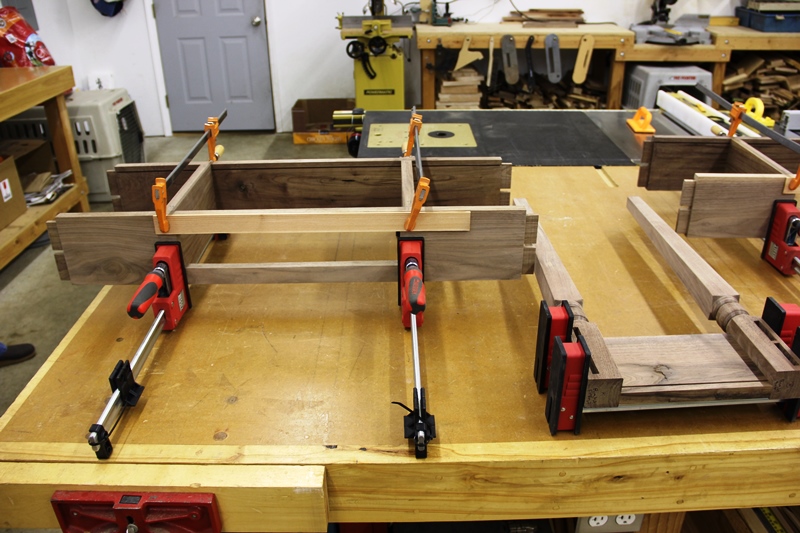
First, the end legs and end aprons are glued together. Then the drawer dividers are attached to the front and back aprons. Next, I added the persimmon drawer runners, finding it easier to attach them at this point instead of working with the finished glued-up table. The end leg and apron assemblies are then added to the drawer dividers and front/rear aprons. Finally, both sides are glued to the center legs.
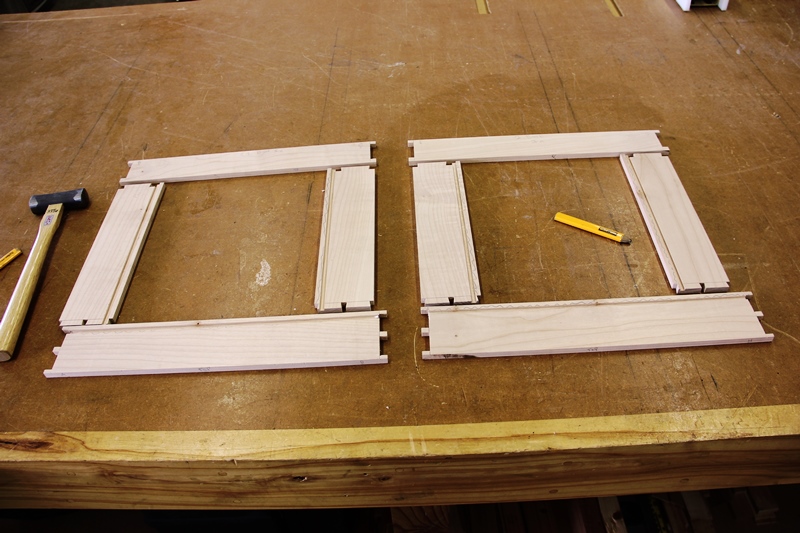
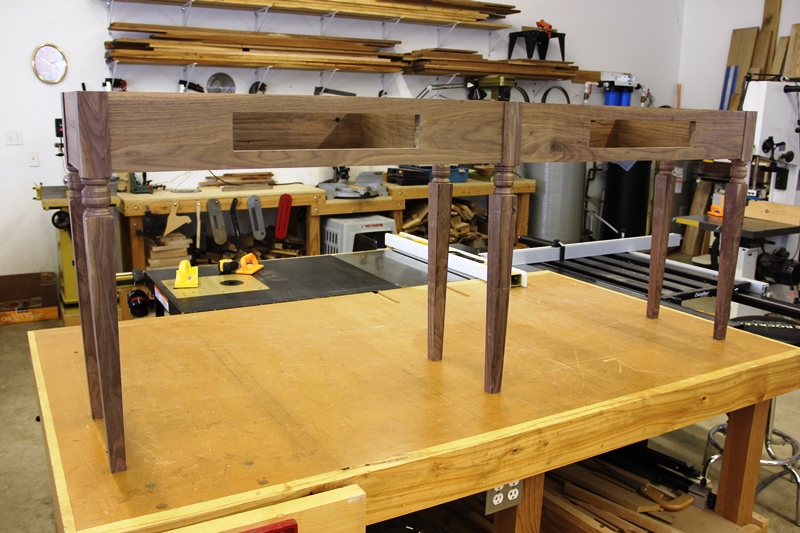
With glue-up completed, measurements for the drawers can be obtained. Drawers sides are built from Western Big-Leaf Maple, with the bottoms from Western Alder.
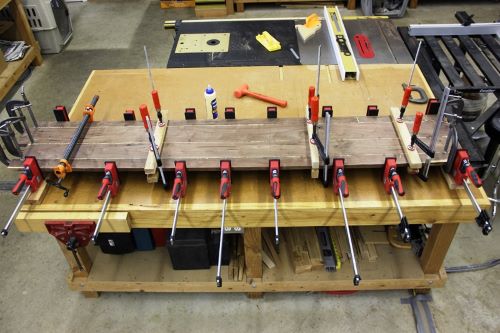
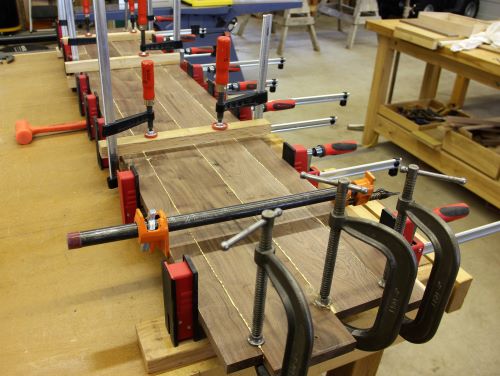
The drawers will have a walnut face glued to the front, which will be proud to the opening in the apron. I beveled the drawer front edges at about 45 deg., leaving a 1/4" lip around the perimeter. The top is very long and required numerous clamps and cauls for glue-up. It will overhand the ends of the table by about 3" and receive an approx. 3" taper to a 1/4" top perimeter. The front edge treatment will mirror the drawers.
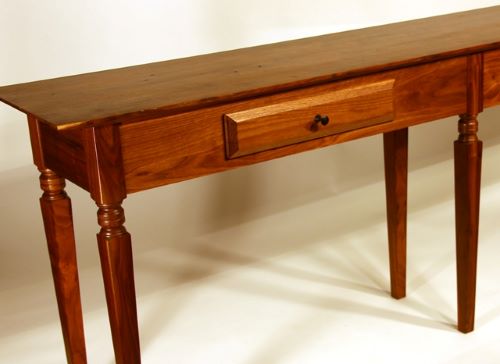
Drawer knobs were turned from Madagascar Ebony. The piece was finished with several coats of a combination wipe-on/brush-on urethane varnish.
Back To Top Home