Posted June 1, 2014


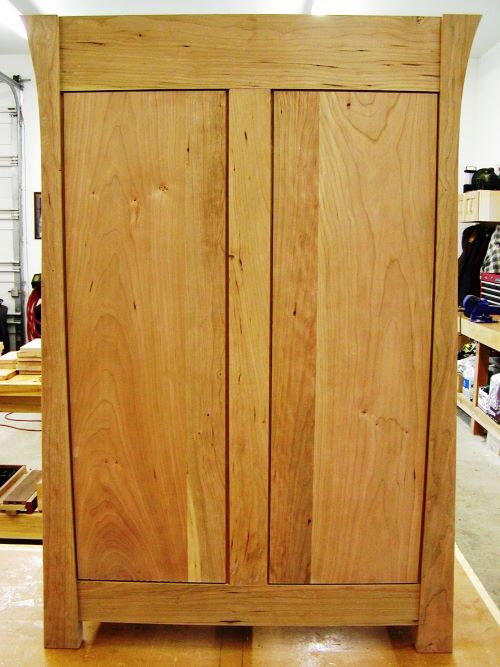
A cabinet in naturally finished cherry is going to be striking, whatever the design and size. It is just such a wonderful wood to work with and rewards the woodworker with a second bonus: the color darkens and picks up even more character as the piece ages, sort of like a fine vintage wine. An article (FWW# 141) by Becksvoort that demonstrates an easy, foolproof set of calculations for doing graduated drawers accurately. There being so many drawers in this piece, the size and spacing of them is critical to the overall design.
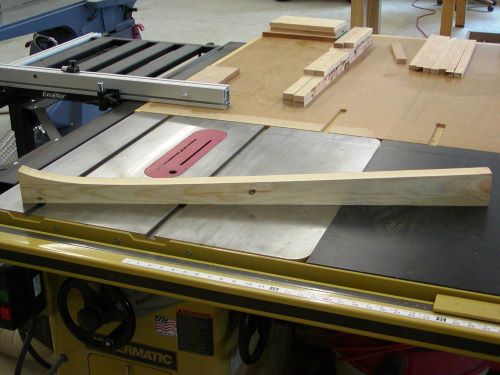
I made a pattern for the leg by bending and clamping a thin batten on edge on the face of a 2x4 until I got what I thought was an acceptable shape. I then traced the curve on the 2x4 and then cut it out with the band saw. From a photo of the pattern scanned into SketchUp I was then able to incorporate the scaled leg pattern into my drawing. I used double tenons for the blades to gain some additional strength for these small parts. I also put a divider stile into the back of the case in order to divide up the back panels into smaller, more manageable pieces, with less overall seasonal movement.
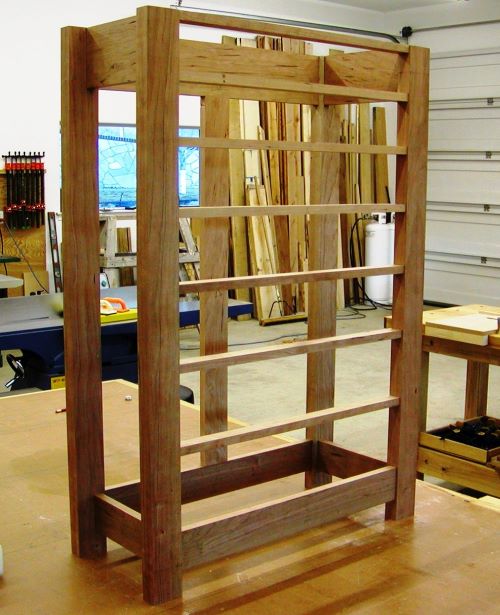
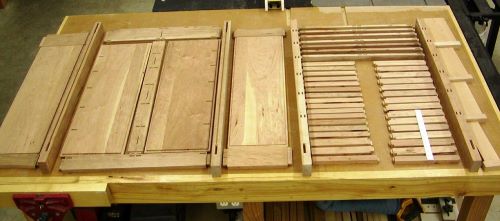
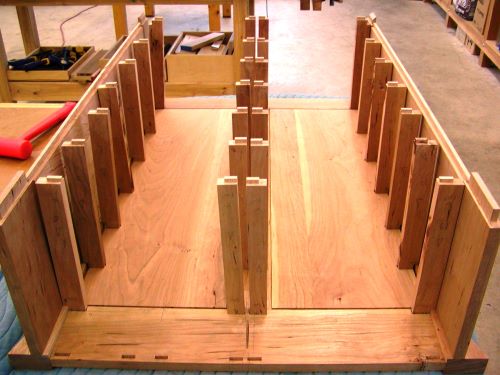
By my last count, this chest was already up to 75 individual pieces (before glue-up), excluding of course the drawers and top. That is probably a new piece record for me, even though I’ve built much larger items. Because of the 11 drawers of different sizes and all of the runners, kickers and dividers, how to deal with all of those pieces at glue-up and how seasonal wood-movement will impact the finished case must be given careful consideration. These were items that I had not given a lot of thought to when designing the piece, but were now confronting me head-on when looking at the reality of gluing up such a complex case. While SketchUp allows you to do some incredible modeling in almost any perspective and zero-in on the look you want at design time, at some point you will need to engineer all of those pieces into a manageable glue-up. And, of course, SketchUp doesn’t care about seasonal wood movement.
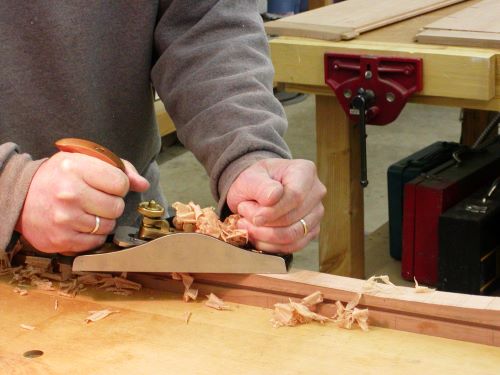
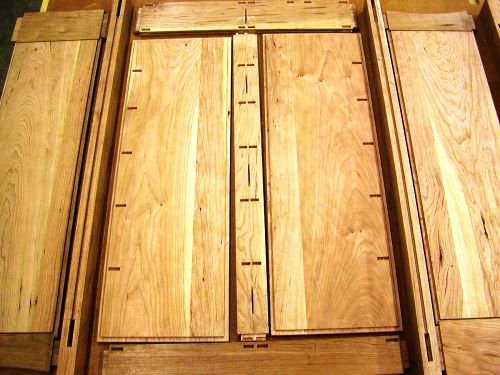
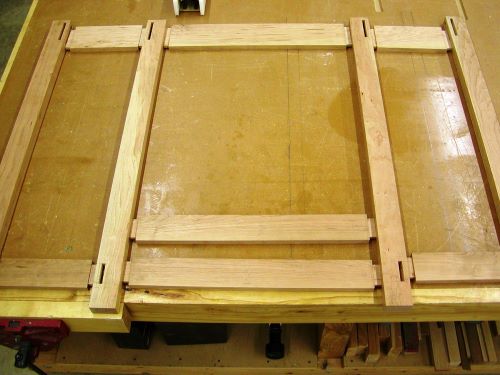
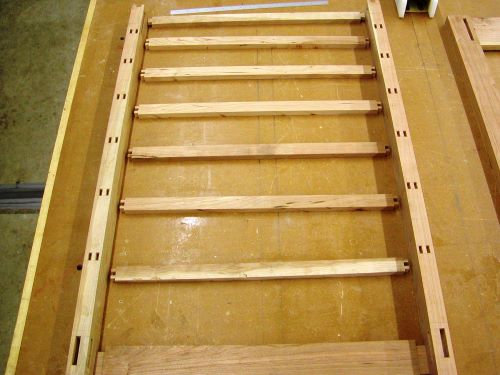
After cutting the dadoes in the legs for the side and back panels, the curves were scribed onto them from the pattern and then cut on the band saw. Most of the cleanup was done with a smoothing plane and spokeshave. All of the drawer runners and kickers are mortised into the front rails-dividers and into the back center-stile. While most of these joints will be glued at assembly, the connections with the back panels fit tightly and will not be glued to allow for seasonal movement within the over sized mortises. This will also somewhat simplify the glue up process, while the case will still be stoutly held together by the back center-stile glued joints. I tried to look at each part of the case with the possibility of gluing up some of the items separately and then adding them after the initial case assembly. Of course the 2 side panels and the entire back panel could be glued up separately, applying the glue sparingly only to the center of each panel tongue where they fit in the upper and lower rails. This would allow the panel to move seasonally within the grooves of both the center stiles and legs. I constructed the drawer vertical dividers by attaching the front-end vertical piece with a biscuit and then grooving the back center stile and ends of the dividers for a biscuit. In this way, the entire divider assembly could be added later after initial assembly. Although these dividers run horizontally within the opening, I made then a little less than the exact opening height, so as to allow them to expand seasonally.
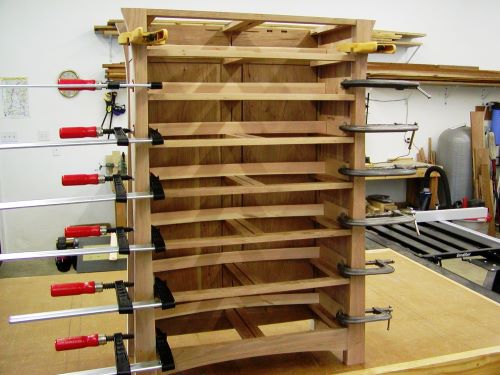
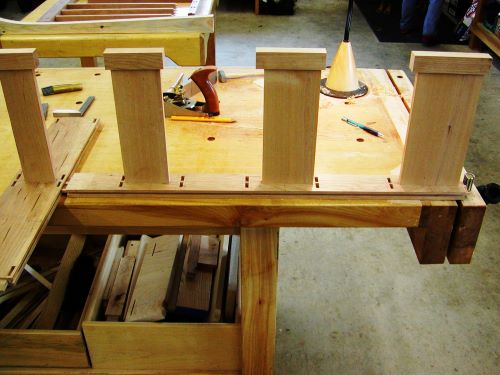
I glued up the front panel with all of the drawer horizontal dividers separately the day before and made sure it was square. I had also previously glued the side panels into the back legs. All of the interior pieces (kickers and runners) were numbered and a dry fit trial-run seemed to indicate that the best assembly process would be to put them place with the case on its back and then attach the front, starting at the bottom and working up.
Next, building the drawers...
Drawers Home