Posted March 10 2016
I have never attempted to build any kind of seating -- chairs, bar stools, benches, etc. -- all of that ergonomics and curvy joinery is in a woodworking class all by itself. We definitely had the need for a bench-- guests were leaning on walls and jumping around on one foot as they tried to remove their boots in our entry hallway.

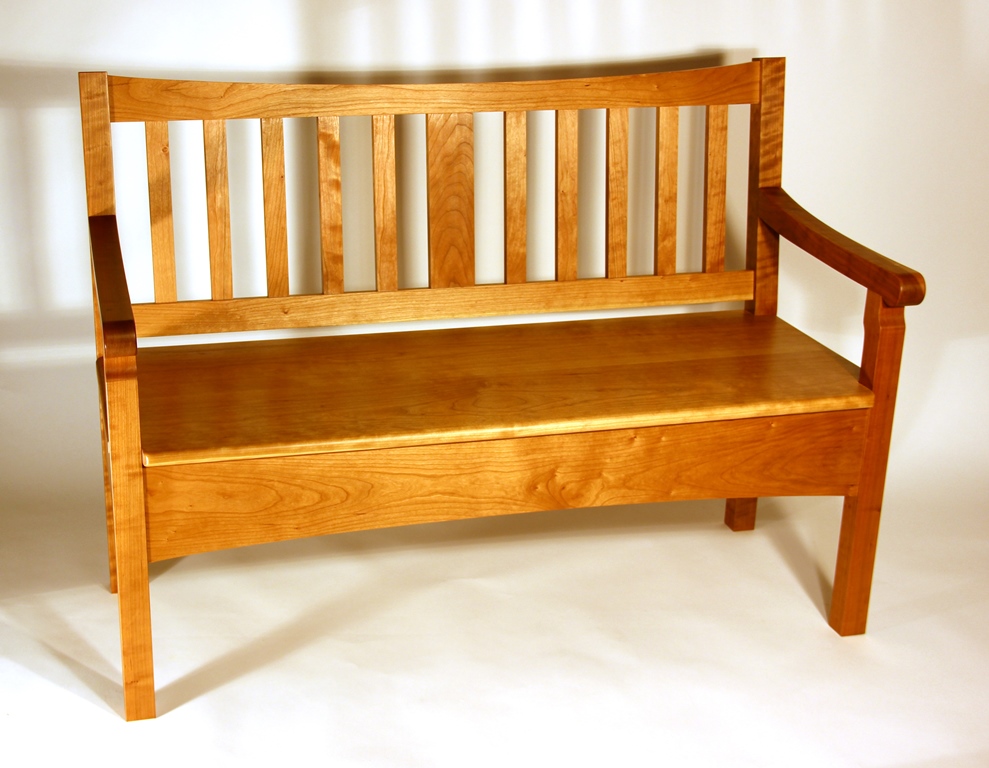
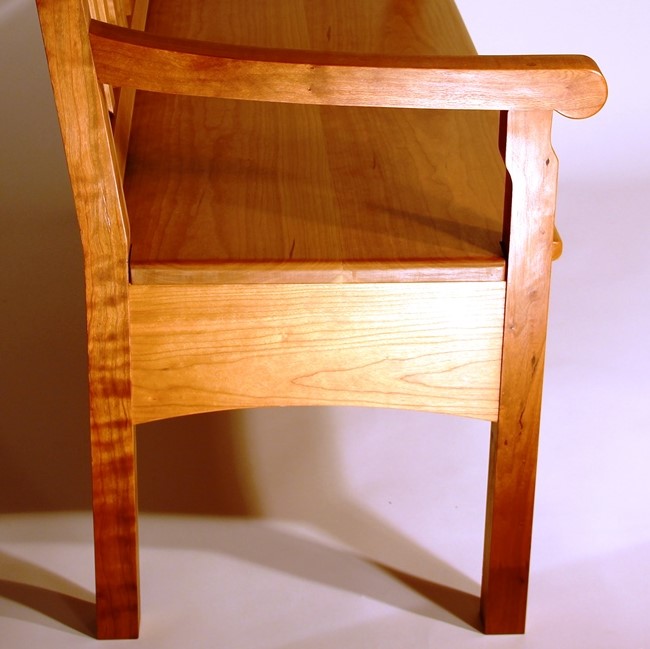
At first, I was going to build a simple straight-back bench, without arms, just the basic sitting bench without out any flair. All of the designs I came up with were boring to my eye, so I decided to tilt the back 10 degrees, add arms, and modify the front legs with a little jog in order to give them some character. This was enough to get the bench I wanted, but shouldn't be that difficult to construct, the joinery still being mostly just simple mortise and tenon. It would be a basic Mission Style bench, with a few Harvey Ellis arcs to liven it up.

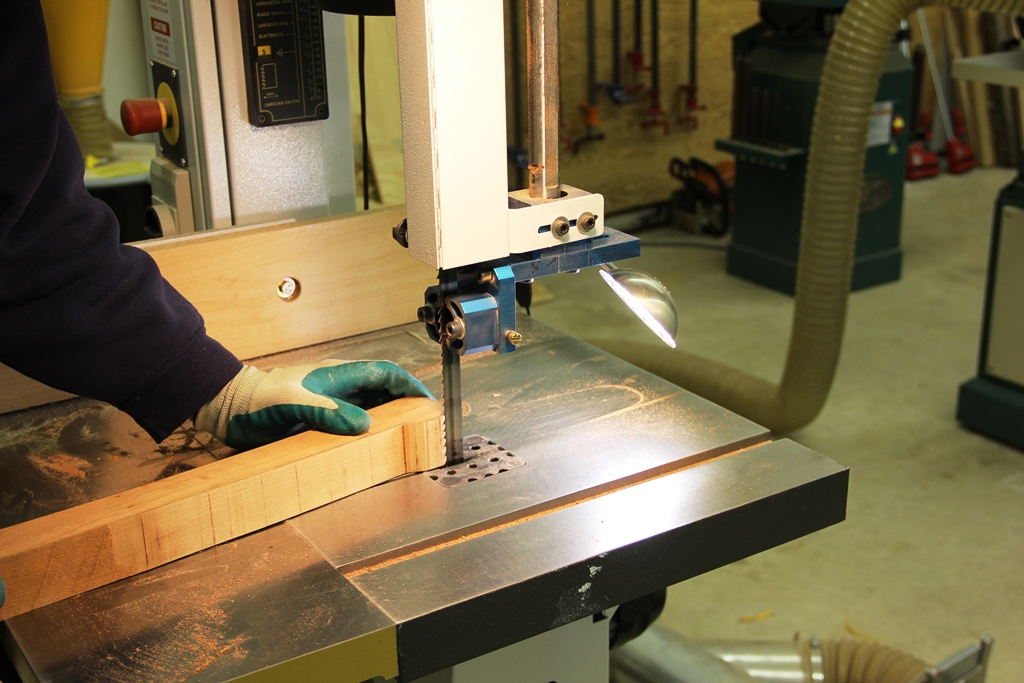
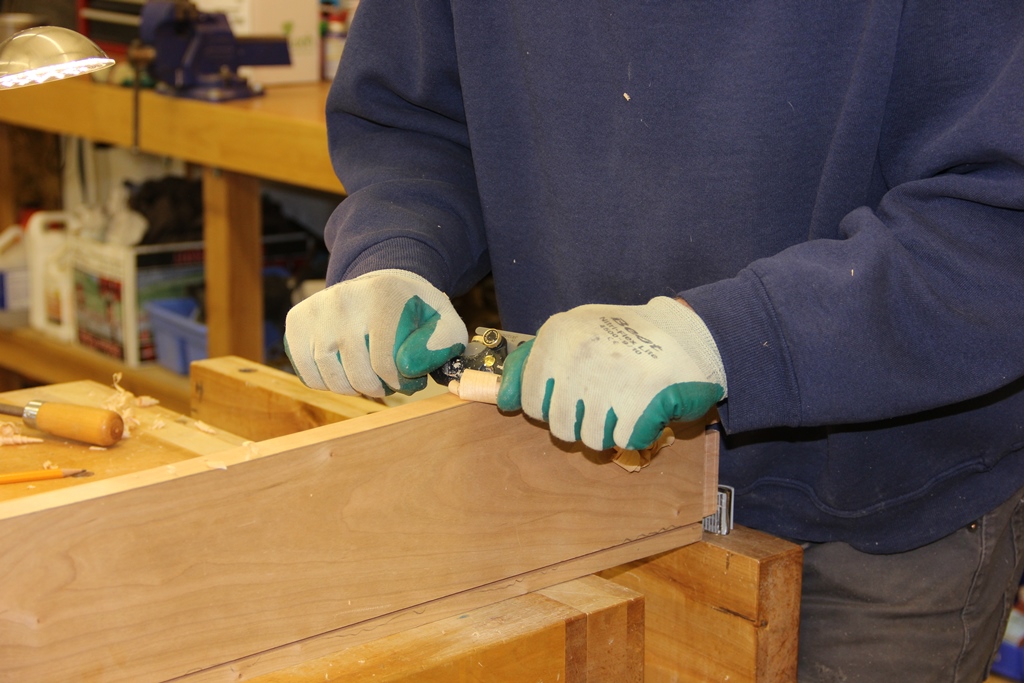
The first step was to develop some patterns for the legs and arms. Then I selected some 8/4 cherry that was suitably clear of knots and checks for building strong legs. After tracing the pattern on to the cherry, the bandsaw made quick work of roughing them out. As usual, my favorite part of the process was smoothing the legs with a sharp Lie-Nielson plane.
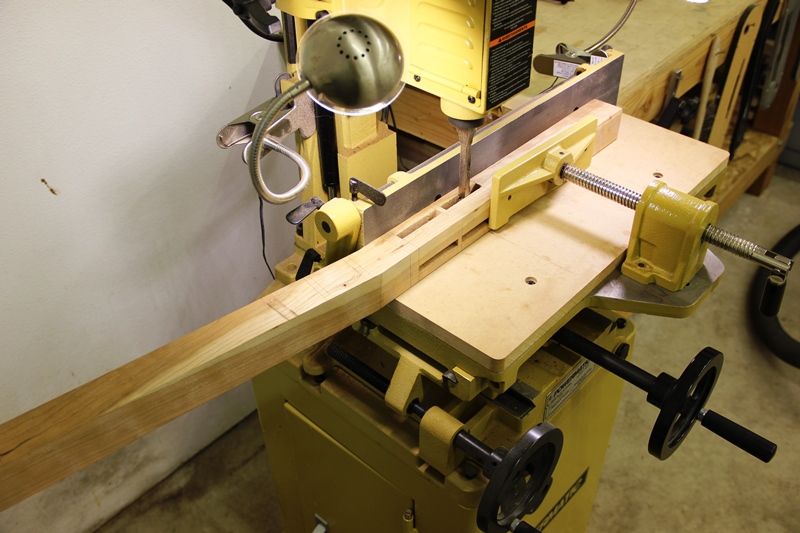
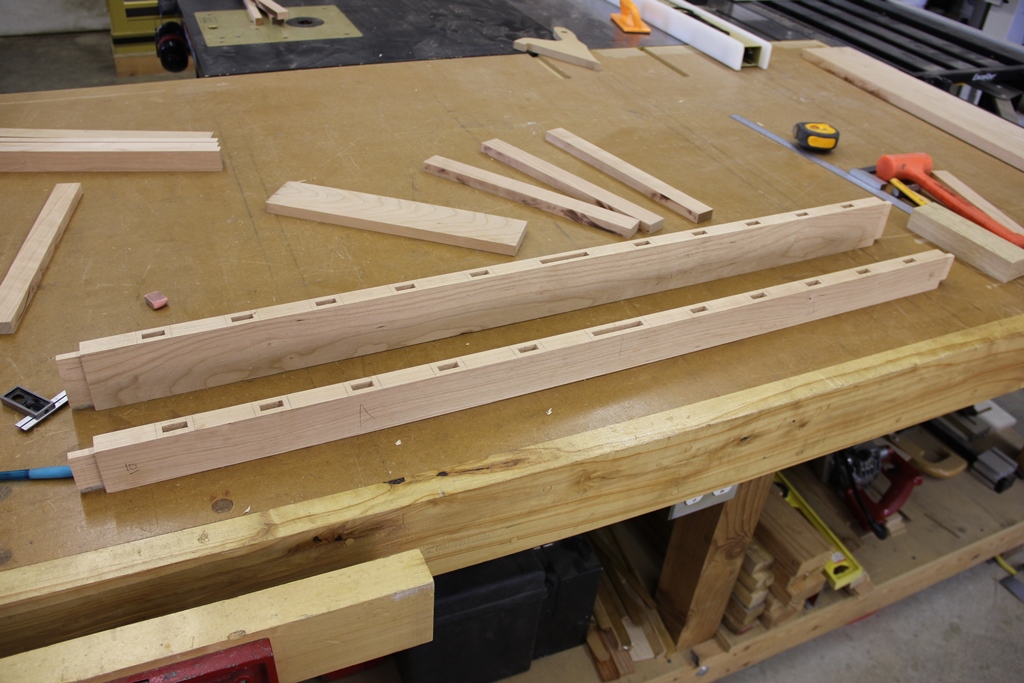
My hollow chisel mortiser allows precise movements both front and back as well as side to side. That allowed me to drill the mortises easily in the legs without having to build a jig to accommodate the 10 deg. angle. Next the side, rear, and front rails for the base, as well as the top and lower rails for the back, were milled and the tenons cut using the a dado blade on the table saw.
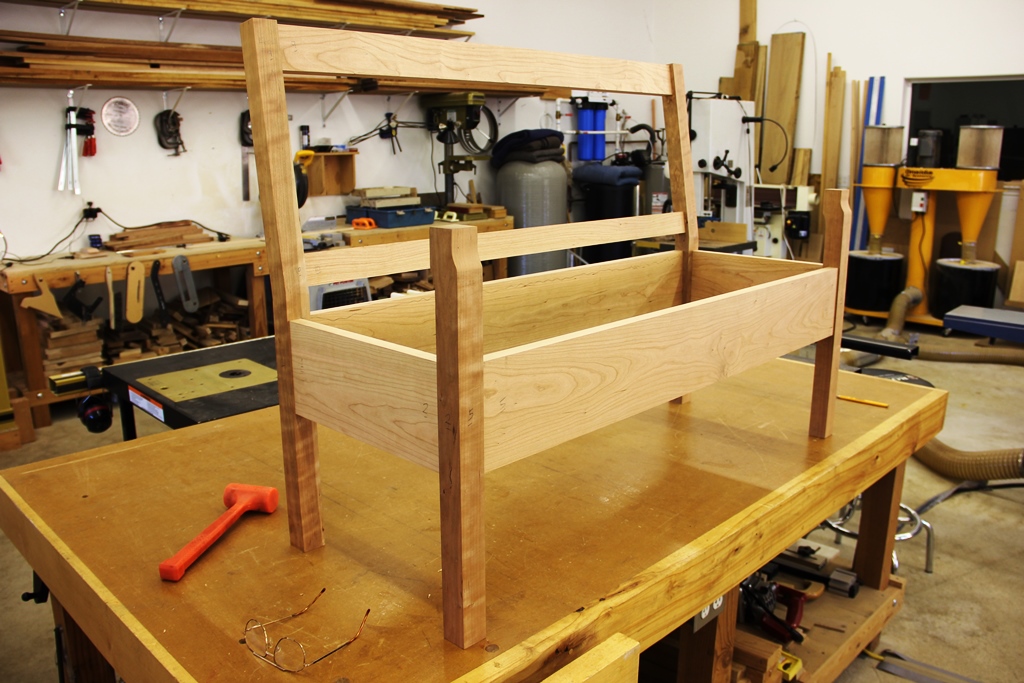
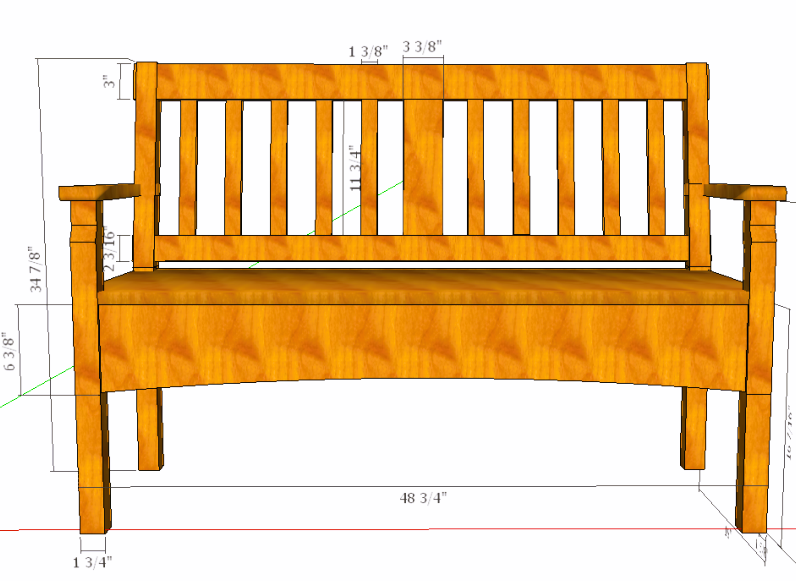
After fitting all the rails, the bench is dry assembled to get measurements for the vertical stiles in the back rest and rough out the arms. Arcs will be cut on the underside of the bottom rails prior to assembly. For the seat to fit in place, it was necessary to glue the 2 boards together while laying on the finished rails, overcoming the jogs in the front legs.
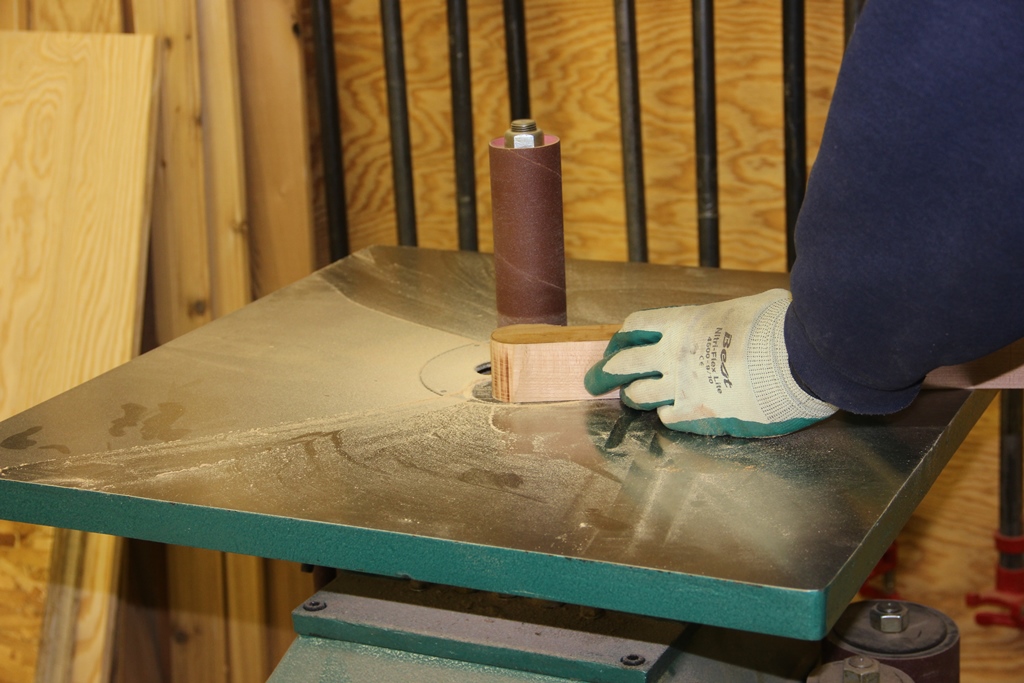
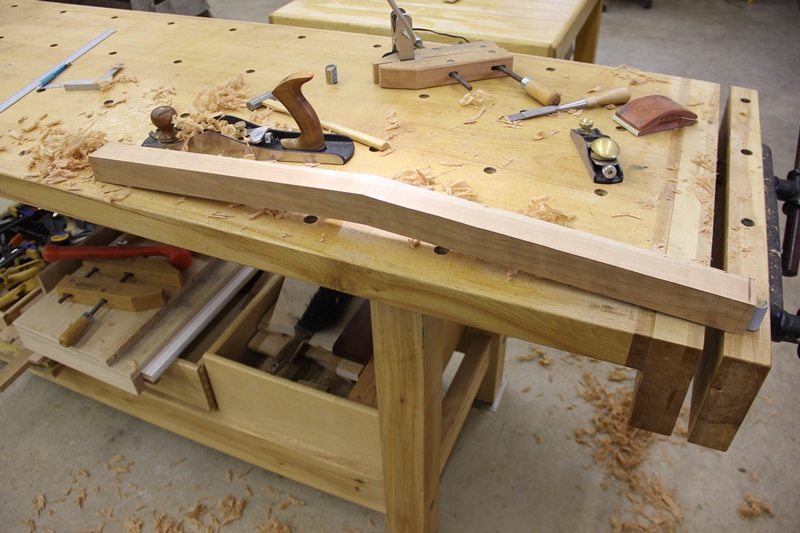
After tracing the arms onto some 8/4 cherry stock, the arms are roughed out on the bandsaw and then cleaned up with a spoke shave and spindle sander. Their fit can also be now fine-tuned with the dry-assembled bench.
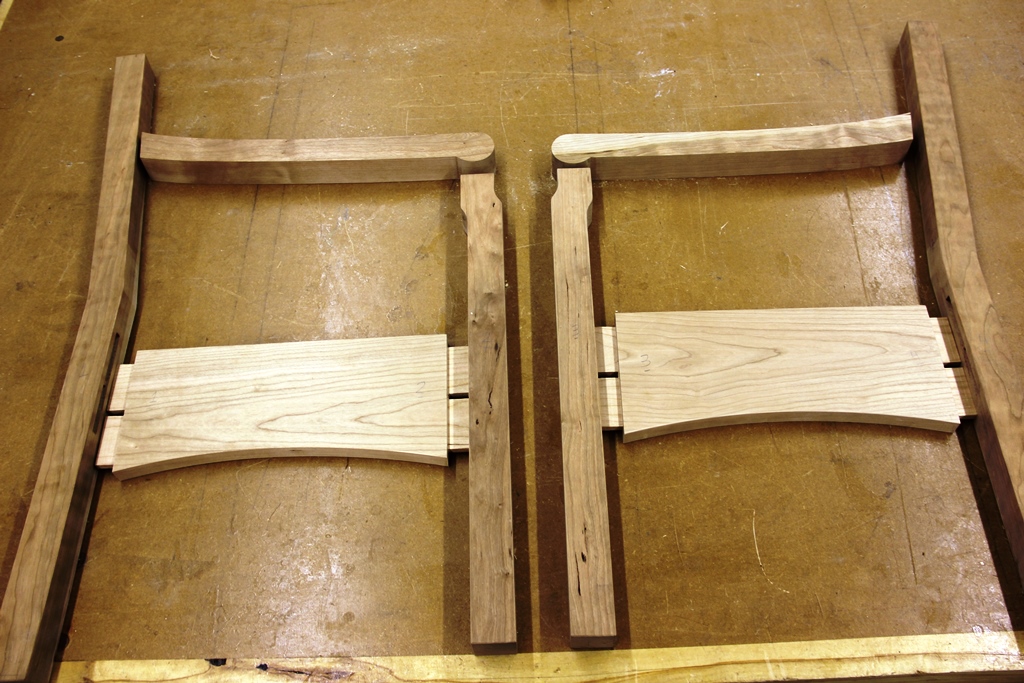
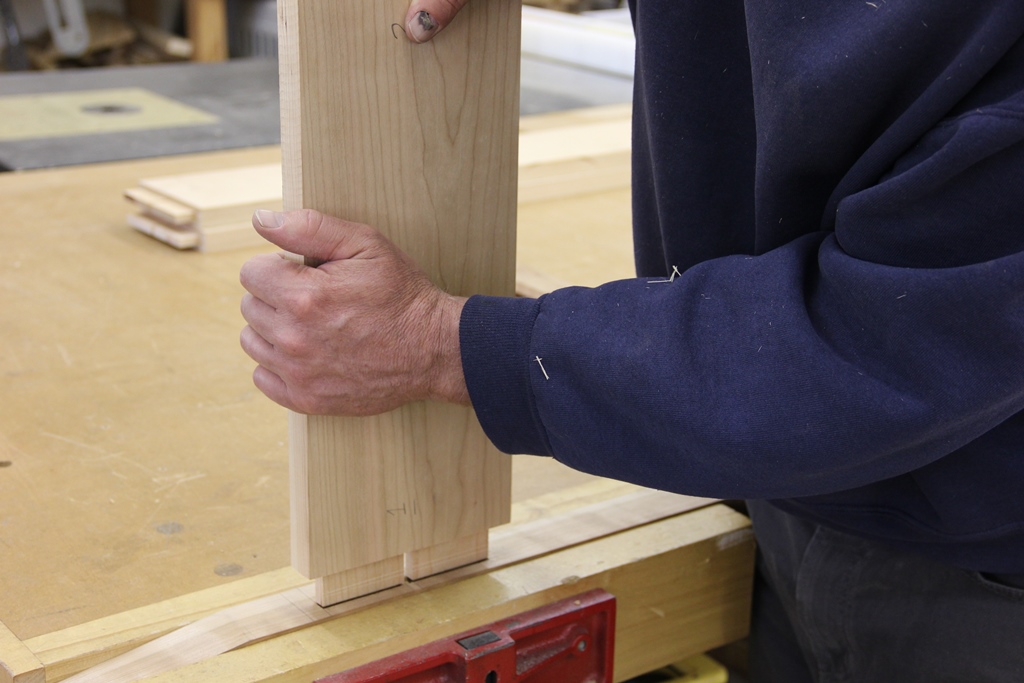
The ends (minus the arms) will be assembled and glued up first, allowing me to get accurate measurements for the arm fitting. Arcs the all the rails are cut and cleaned up with a spoke shave.

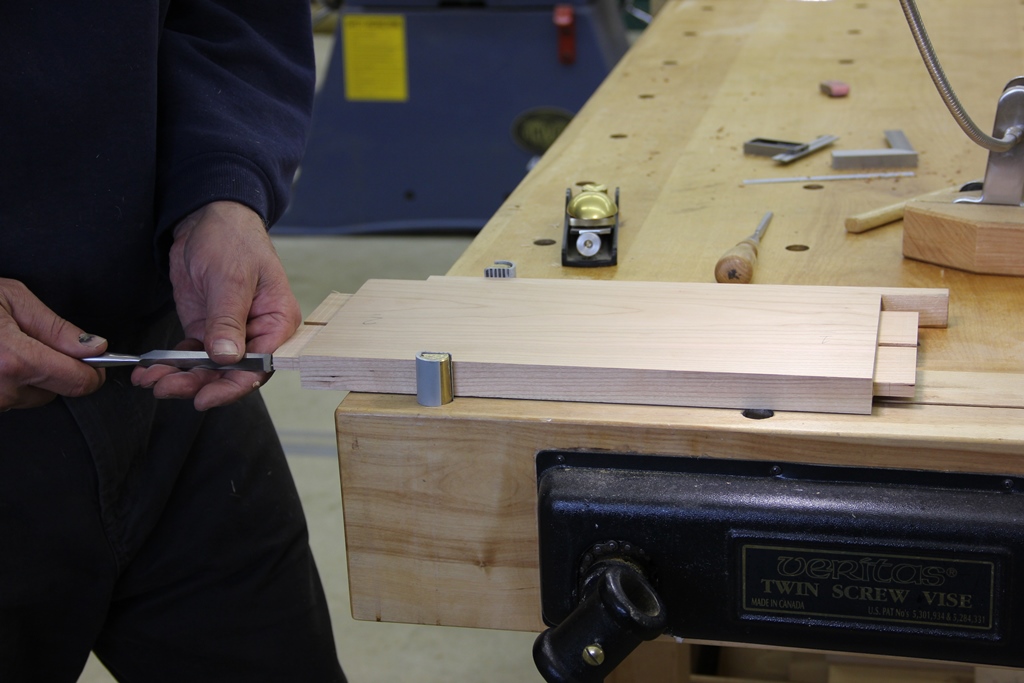
After doing the layout for the vertical stiles in the backrest, the stiles are fitted with tenons on each end and the mortises are cut in the upper and lower rails. Assembling the backrest this way, as a single, separate unit, simplifies the overall glue up of the bench. The basic bench is assembled and the arms added last, securing them with dowels to the backrest and legs. The bench is finished with 3 coats of polyurethane.
Back To Top Home