Posted March 23 2017
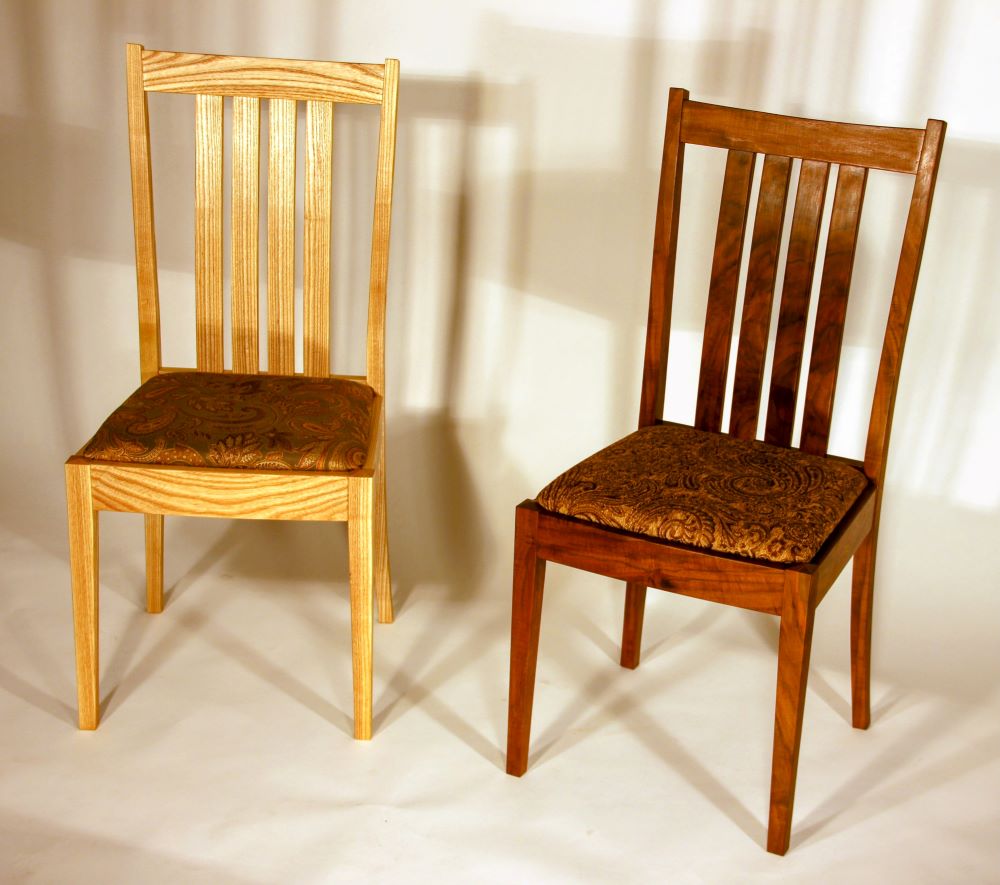
After making a slant-back cherry bench for our hallway, I thought it was time to tackle some chair-building. The claro-walnut desk built for my wife was screaming for a matching chair and, aside from that, chair building looked to be new ground for this woodworker. Practically every piece would have some angles, curves, arcs, or unique joinery to present new challenges and learn new techniques.

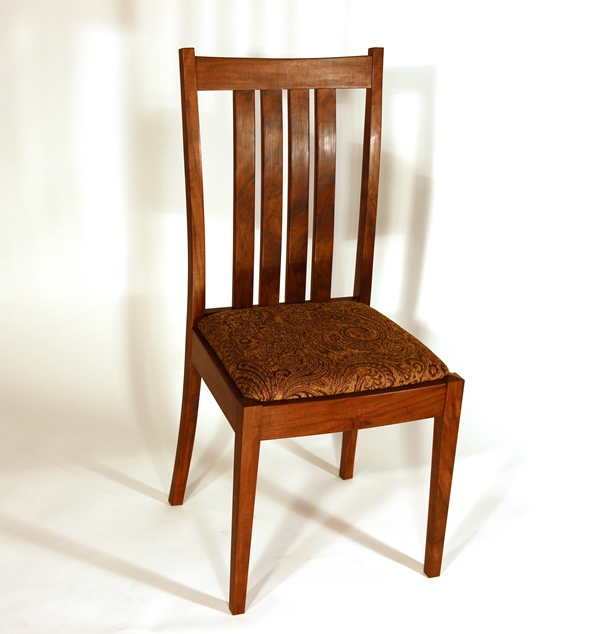
Reading an article in Fine Wood Working (FFW#166) by Garrett Hack on simplifying chair construction, I decided his basic design would be a good starting point. I would then modify the details as suited my taste and skills. First step would be to construct some patterns for the legs and rails. The legs would require a front view as well as a side view, as they would arc in both directions. From the front, the legs would bend out at the top; from the side, the legs would sweep back, enabling the arched-slats to give the chair comfortable lumbar support. These patterns were made from 1/4" plywood. The crest rail would have an arc also and the tenons would be angled to fit the back legs at the top of the chair.
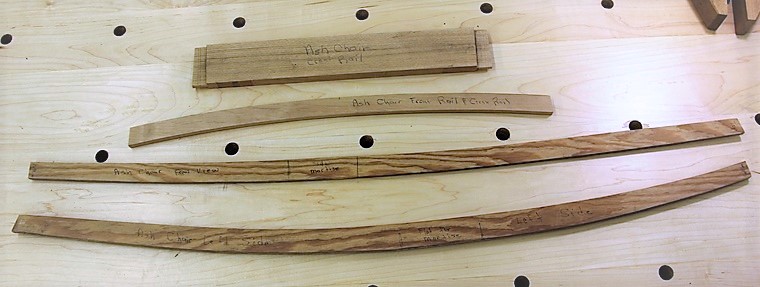

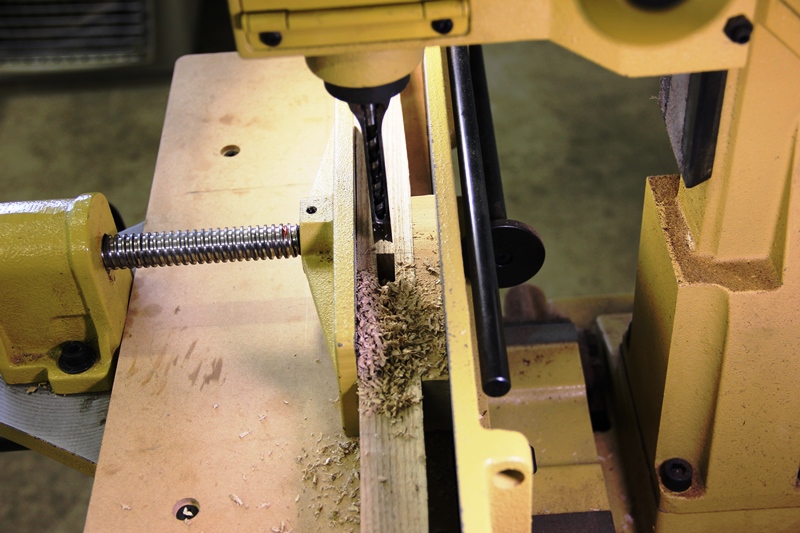
Legs patterns are traced onto the front and sides of the stock and roughed out on the band saw. Next the legs are cleaned up to fit the pattern closely with a small plane and spokeshave, paying particular attention to keep the areas flat where mortises will be cut. Most of these mortises will need to be angled. Garrett cleverly builds a jig to cut the mortises on an angle, using a plunge router and angled-wedges to get the correct angle. I accomplished the same, more or less, by using the angled wedges on my Powermatic Mortiser.
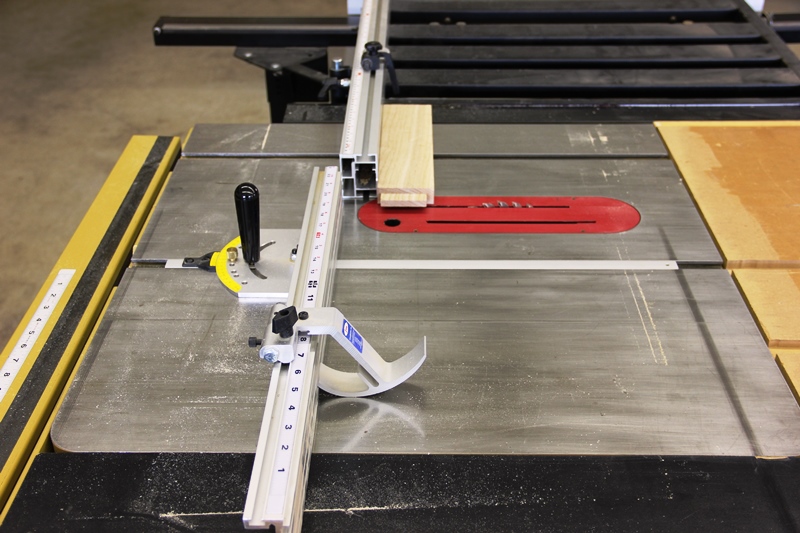
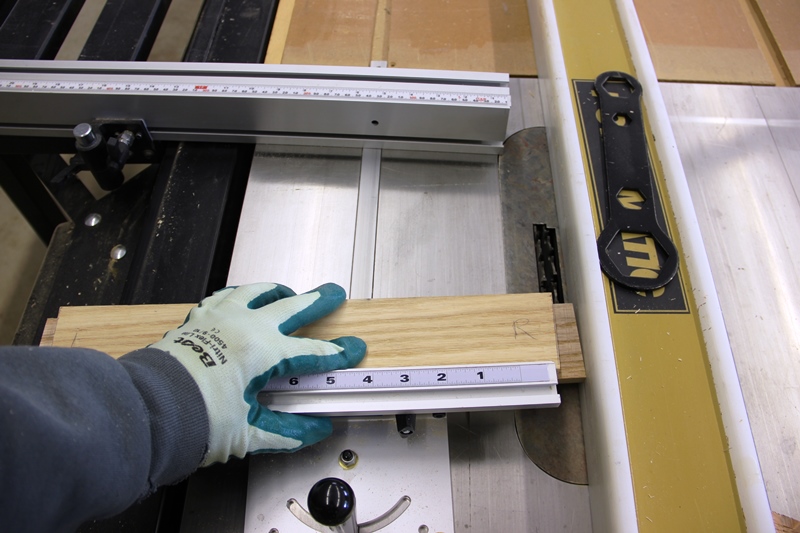
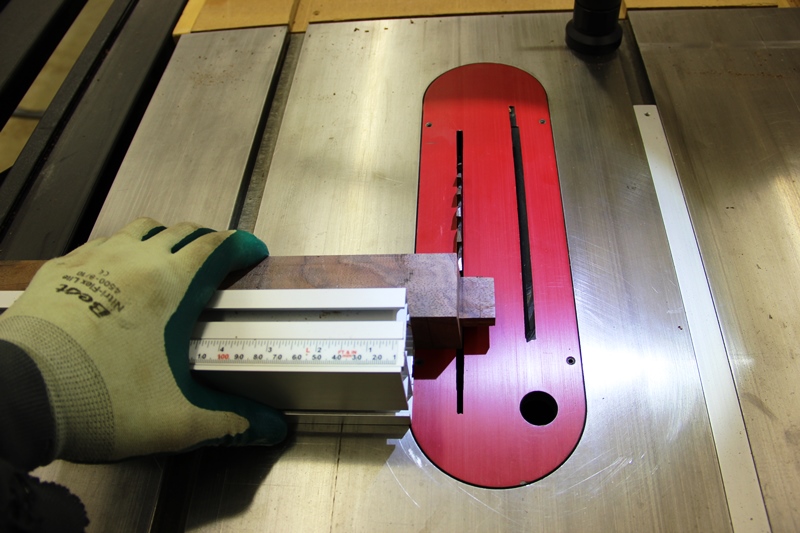
The shoulders on the rail tenons will need to also be angled, as the front rail will be longer than the rear, making the seat wider at the front of the chair. I cut the tenons a little oversize with a dado, and then set the correct angle for the shoulders on the table saw blade. Using both the sliding table saw extension and miter gauge, I can cut both ends of the rail tenon shoulders to the correct angle and length simply by turning the work over end-to-end and making the cuts. This allows me to sneak up on the correct rail length for each side and front. The back rail tenons and mortises are cut on square.
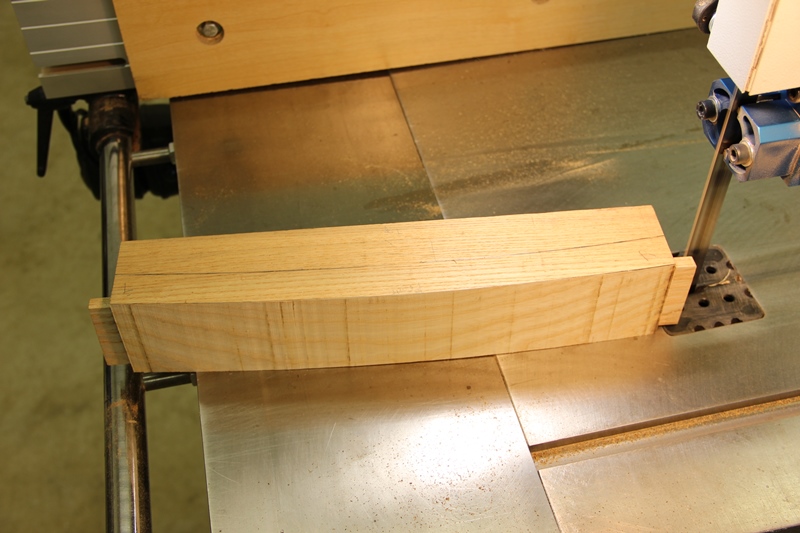
The front rail has complimentary arcs on both the front and back. These are cut with the band saw after first cutting and fitting the tenons. That simplifies doing the tenons to just a piece of square stock. The front legs have square mortises to meet the front rail, but must be angled to meet the side rails. This is also done with angled wedges on the Powermatic Mortise.
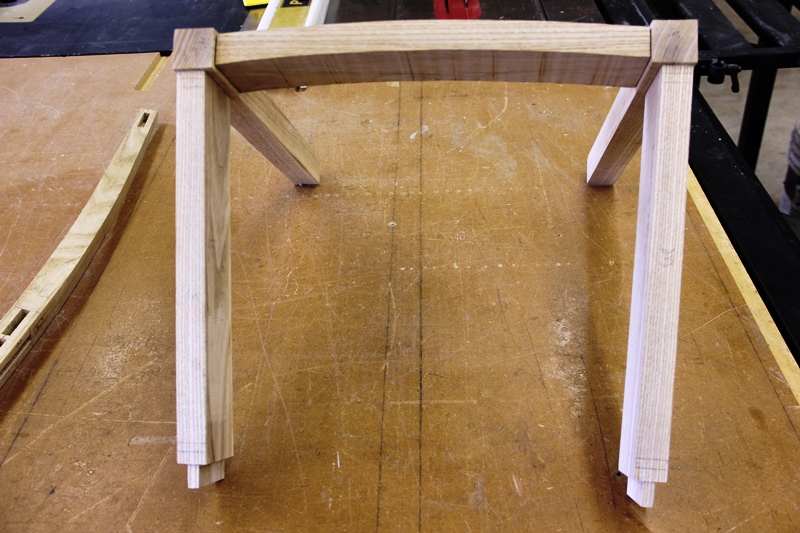
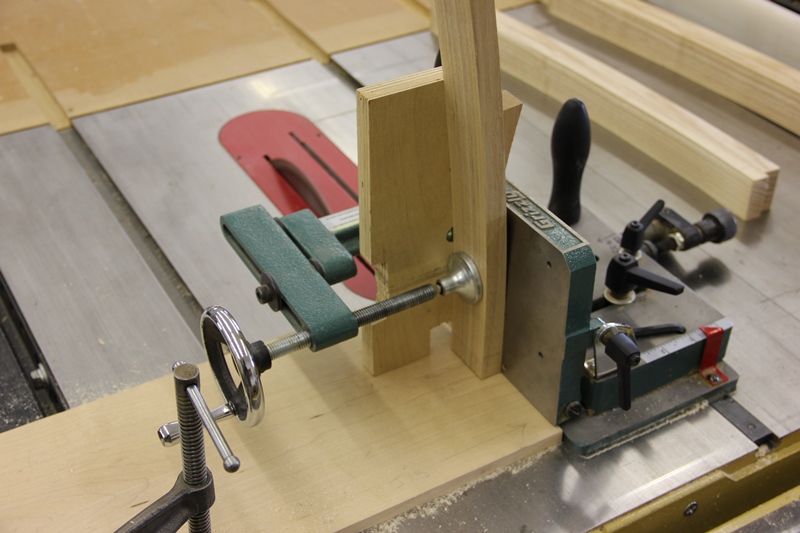
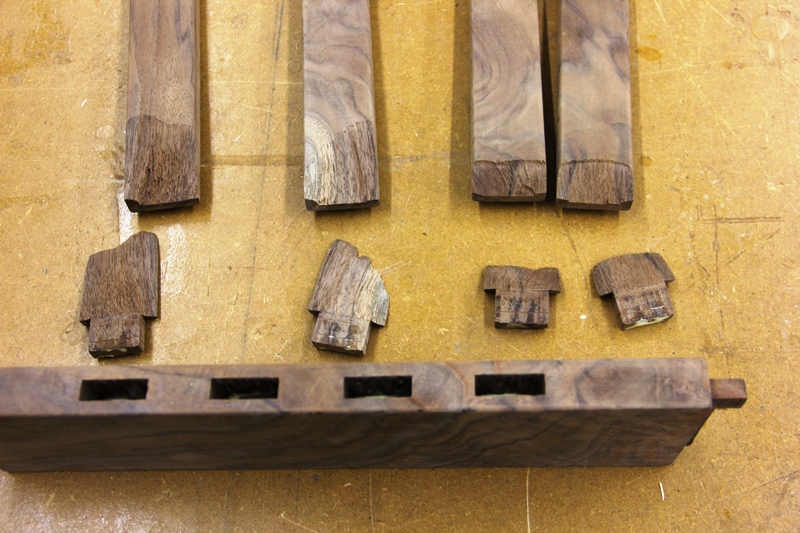
With all of the seat rails cut and fit, it's time to make a pattern for the crest rail. The crest rail will have the tenons angled to fit the sweep of the upper rear legs. I cut the tenons with a dado blade, but also use both the sliding table extension and miter gauge simultaneously in order to sneak up on both the correct angle and length.
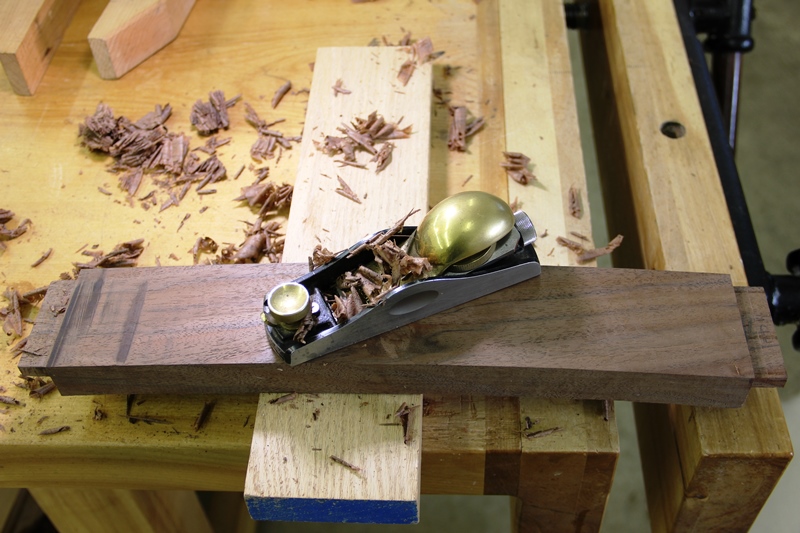
The crest rail will need an arc both front and back, as well as on the top. After fitting the joinery using a square piece of stock, the arcs are cut on the band saw and smoothed with a plane and spokeshave.
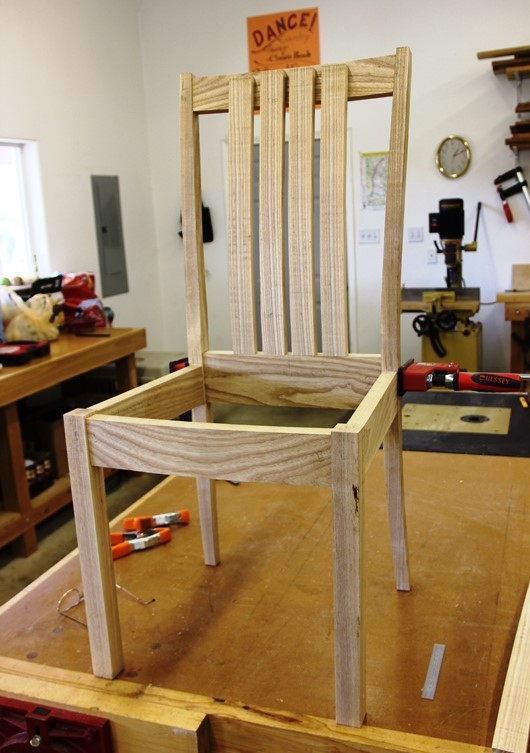
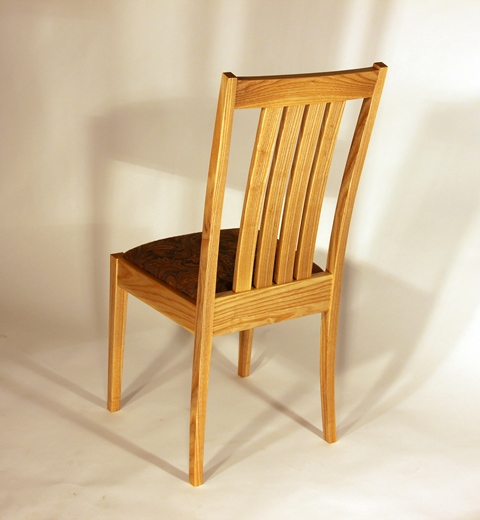
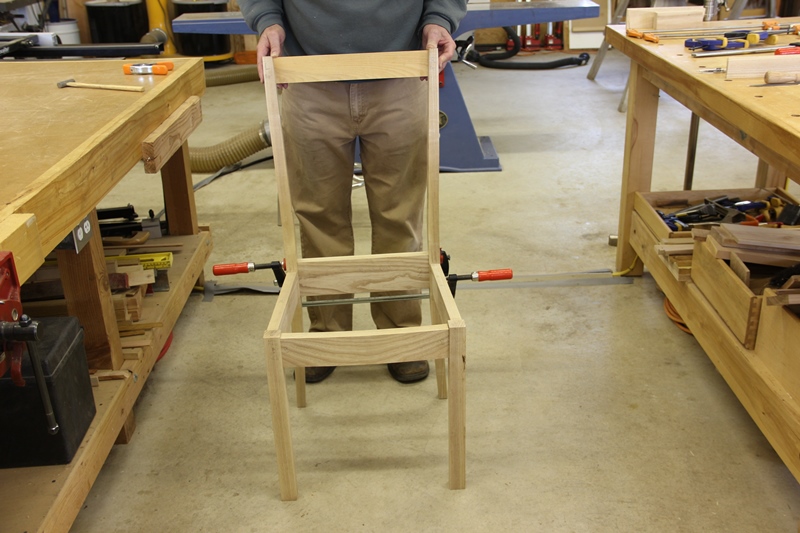
With the chair dry-fitted together, measurements for the back slats could be made. I followed the same sweep as the chair back legs and tried some different thicknesses and widths of patterns before arriving at what I though would be both comfortable and pleasing to the eye. Cutting and fitting these pieces would be the most difficult part of the project for me.
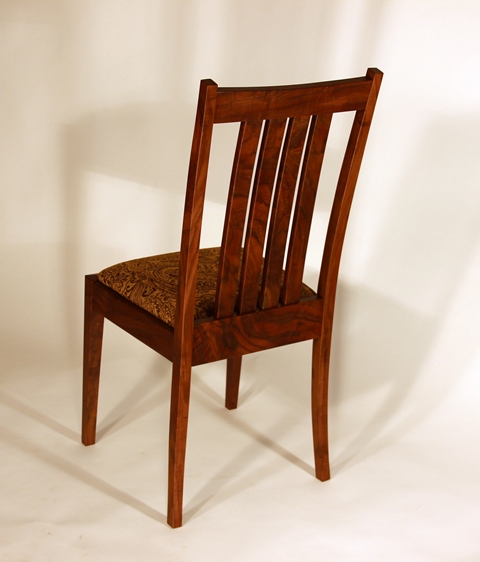
I used a different technique to cut these pieces on each chair. For the ash, after cutting the arcs on the band saw, the table saw tenon jig was setup with a wedge to get the correct angle on the tenon, the mortises being cut square. For the walnut chair, the tenons were cut on square stock before cutting the arcs. The mortises were then angled and the tenons cut square with a dado and the shoulders angled with the saw blade.

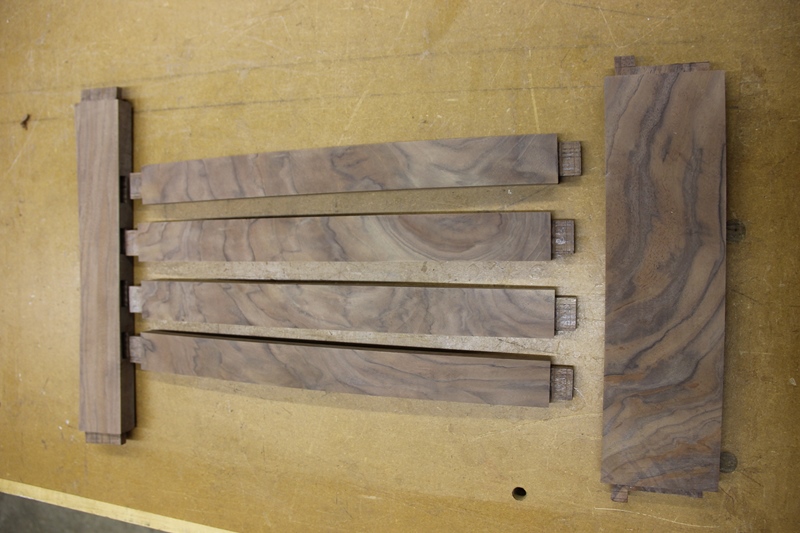
Although working with square stock does waste a little when the arcs are band sawed, it does simplify fitting the joinery. I think this was the easiest and quickest method of doing the slat joinery.
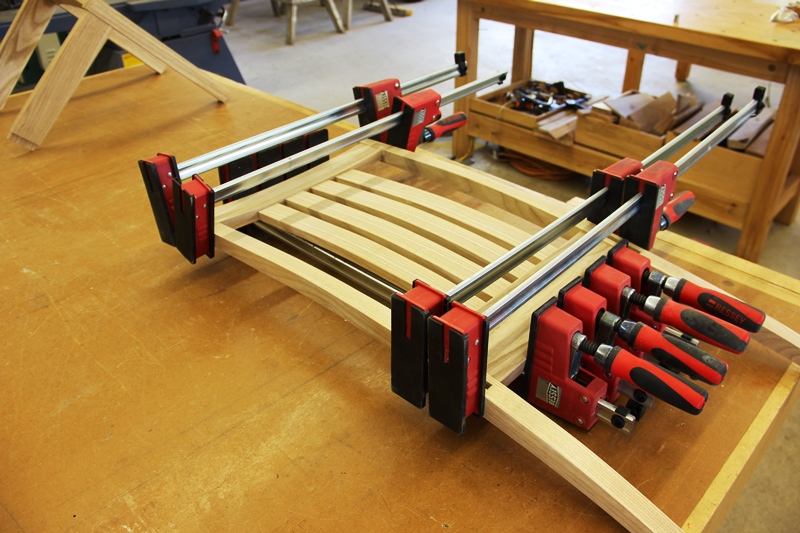
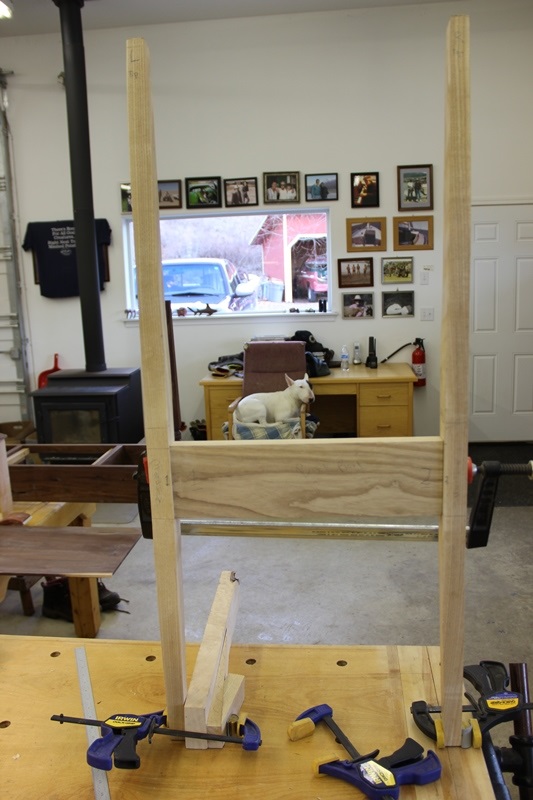
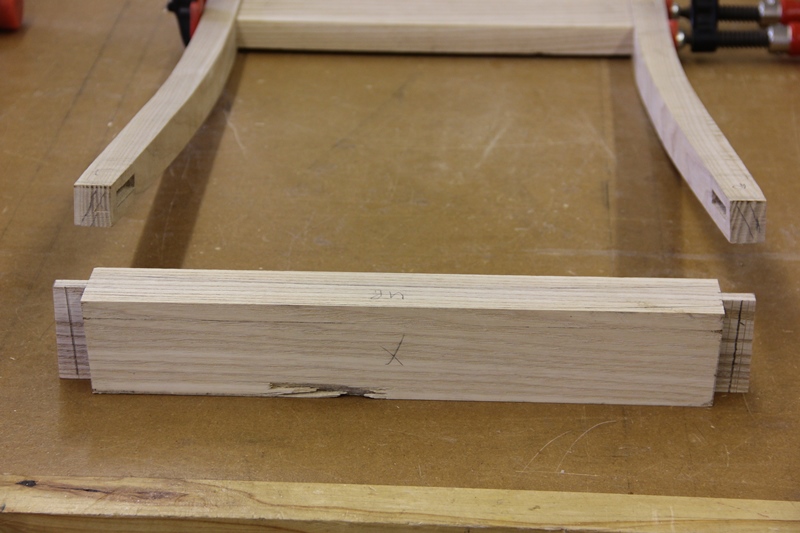
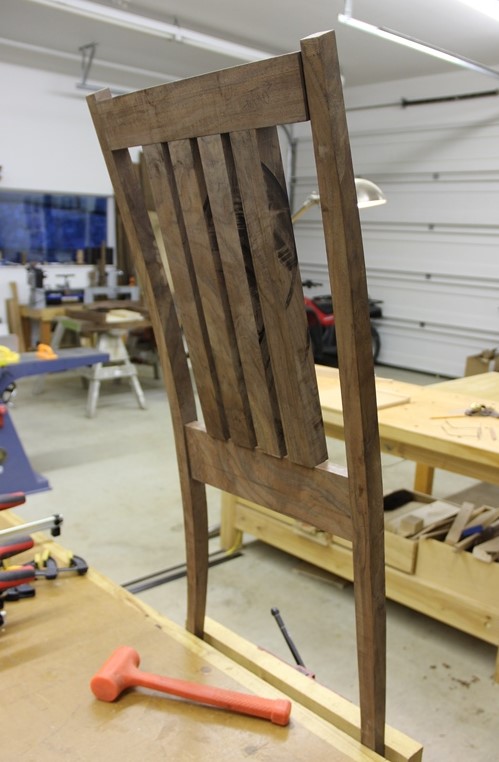
The chair back glue-up was straightforward (assuming you have enough clamps and hands!), but disaster struck when clamping the walnut slats to the back and crest rails; I had cut all of the slats from the same board, but didn't notice a hairline fracture across one end of the stock. Applying the clamp pressure with a little too much vigor, all of the lower ends of the slats broke off with a bang, right along the fracture. I quickly removed the broken pieces from the mortises before the glue could setup. Fortunately, the breaks were about as clean as they could be. With a little glue, clamps, spoke-shaving and sanding... the slats were better than new with no evidence of the break in the finished pieces.
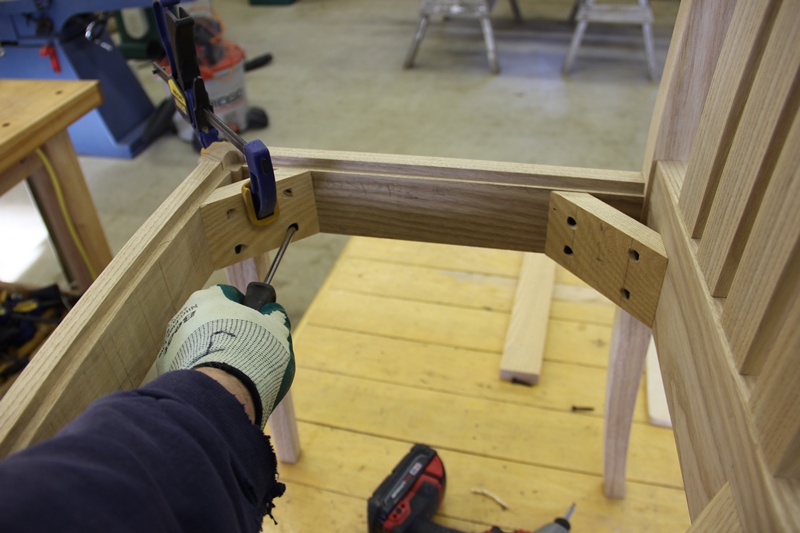
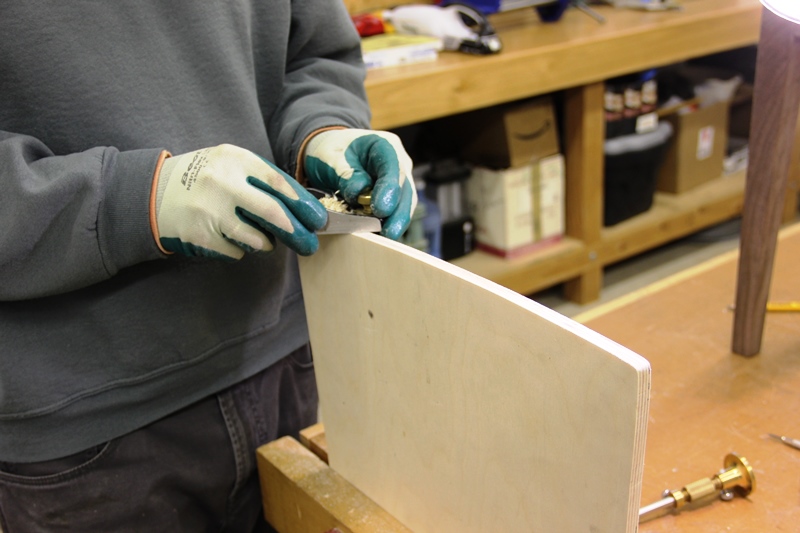
For extra strength on each intersection of the rails, a mitered corner piece is screwed into the sides. This is especially important at the back rails as this joint can be severely stressed by the chair user. These will be slip-seat chairs, the seat will be fashioned from a piece of Baltic birch plywood and then taken to our local upholster for padding and cloth.
These chairs are very comfortable for sitting and work well in almost any room with our existing furniture. Garrett was right: make one chair and you'll probably make another one soon!
Back To Top Home