Posted October 15 2021
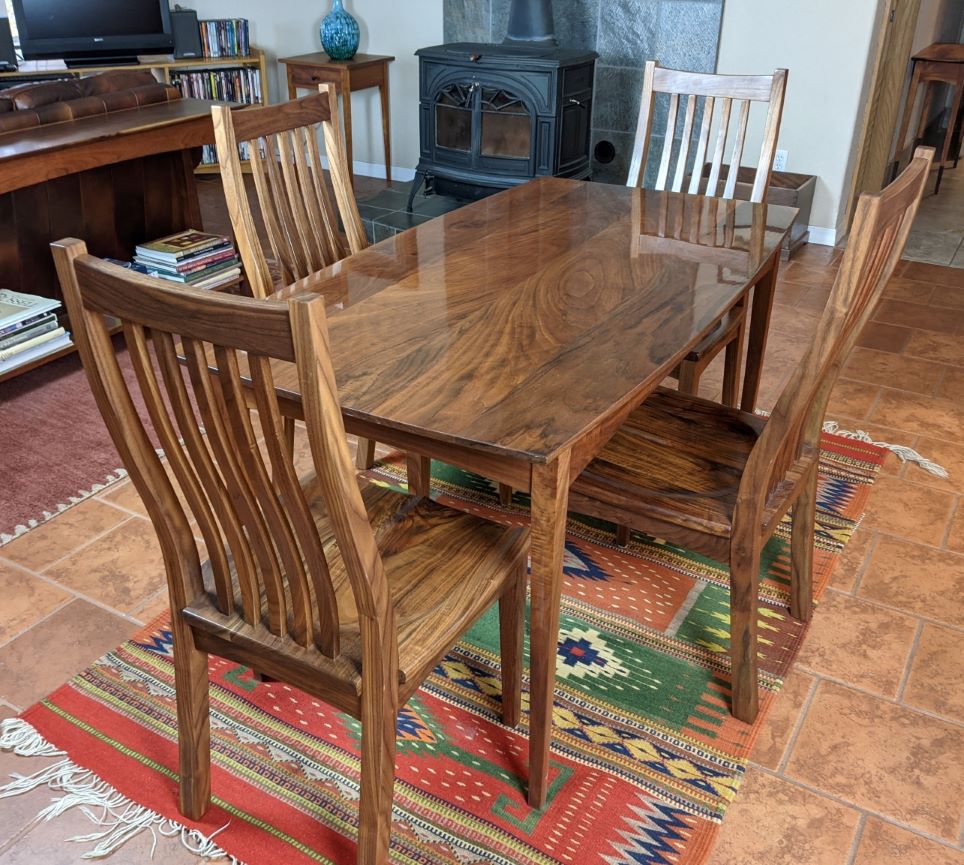
Not having seen many all-walnut dining sets, I thought I might do one out of my black and claro walnut stash. Most dining sets I've admired are usually of lighter woods like cherry or maple. A dark walnut set would certainly like a well-lit area to set it off and we have such a place in our guest house. While the table is straightforward, making a set of 4 hand-made chairs always challenges the woodworker. All those arcs and angles are a chance to dust-off and refine those speciality hand-tool skills. The Ash and Walnut Chairs I've built in the past used an upholstered slip-seat while these dining chairs would have sculpted seats. That will require building and perfecting a special jig for the table saw.
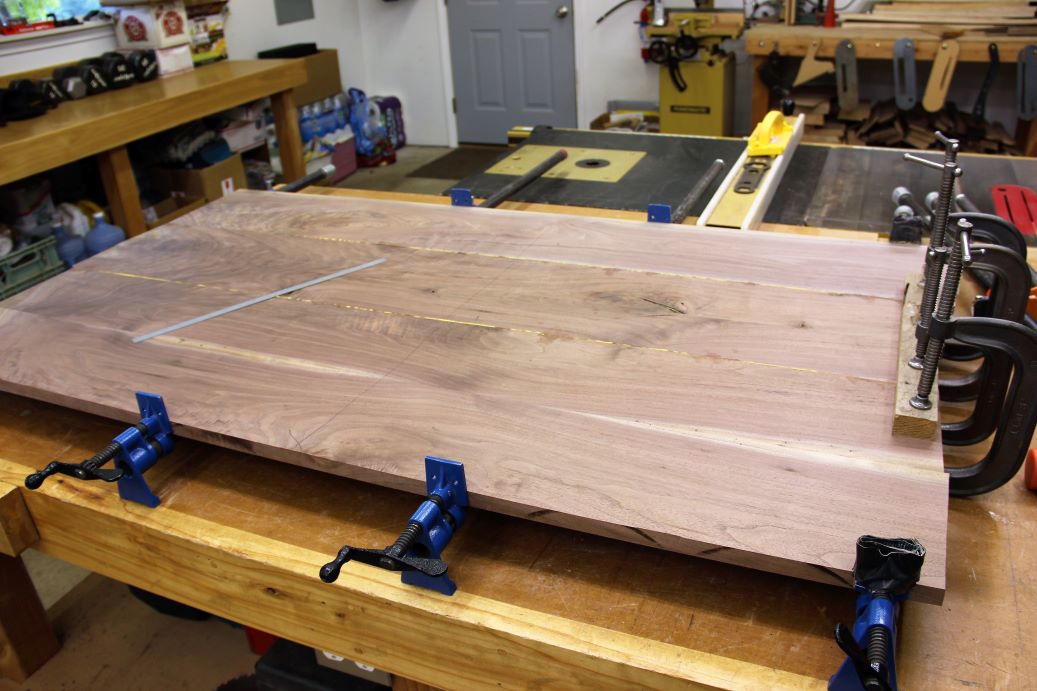
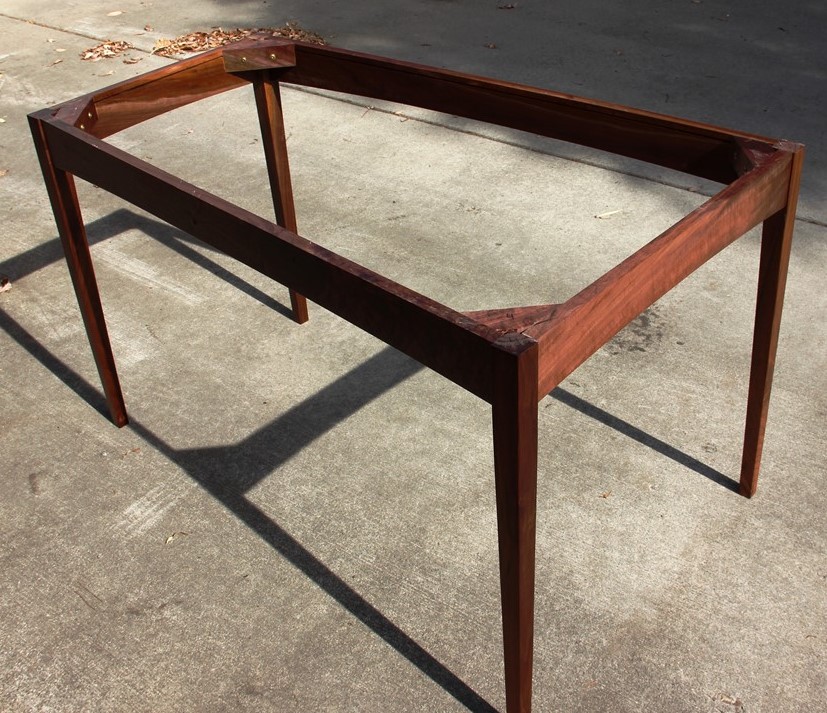
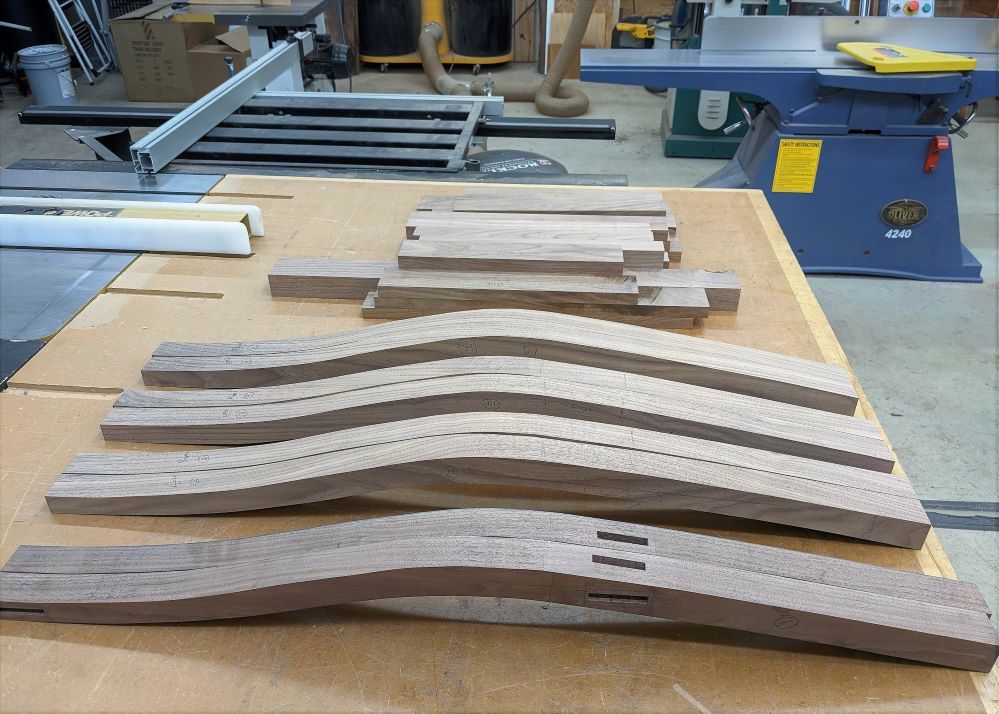
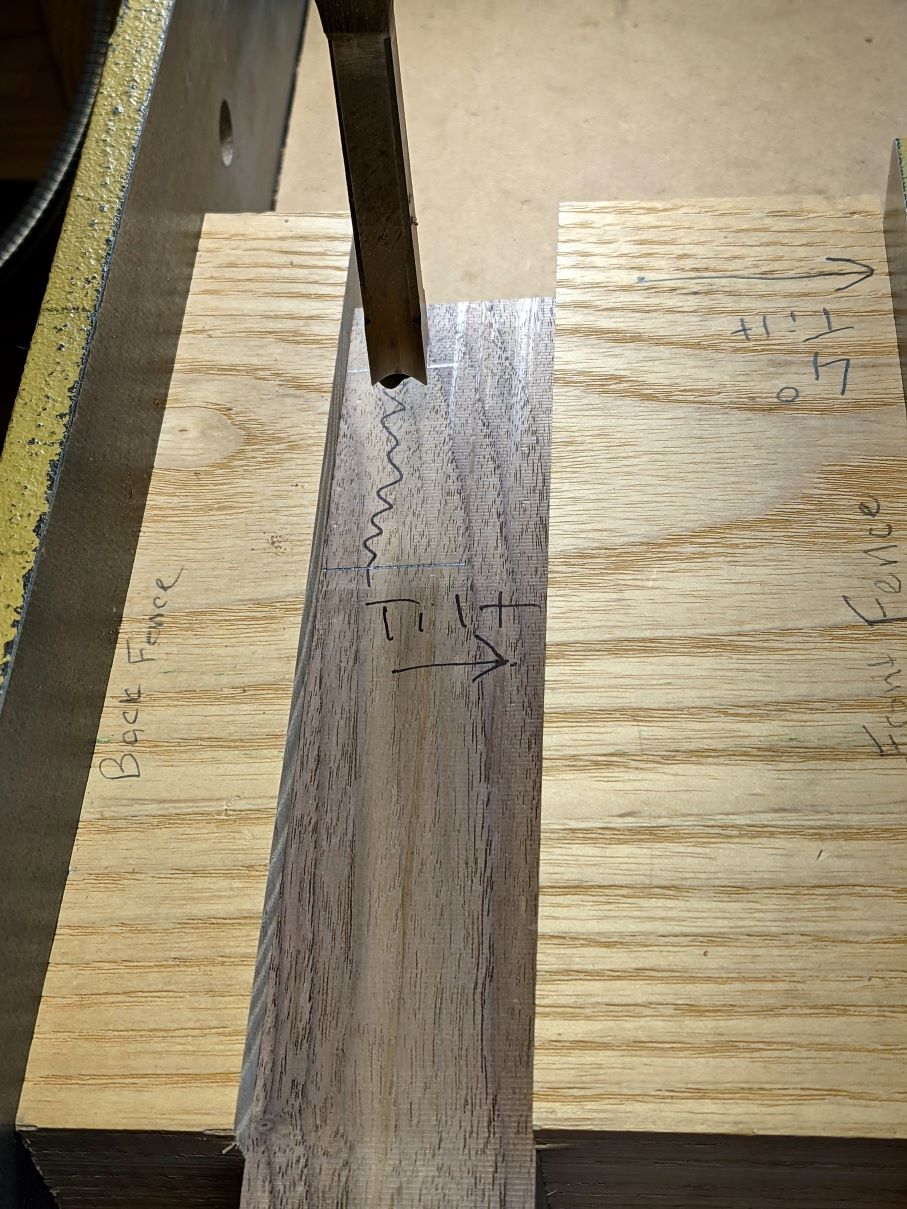
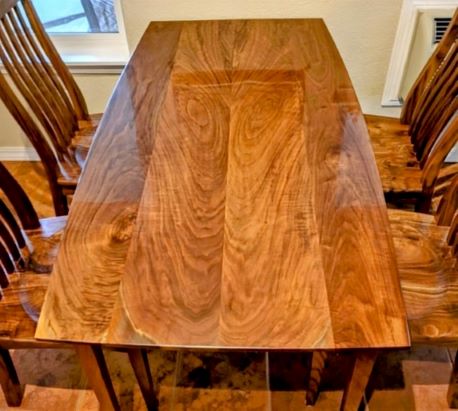
The top is glued up from several pieces of book-matched walnut. A slight arc is added to each edge and the underside is tapered to leave a 1/4" revel. Now having the exact top diminsions, the base is built from 8/4 legs and 4/4 aprons, also with a slight arc on the bottom. After arriving at a shape for the chair rear-legs, a pattern is made to transfer the shape to a piece of 8/4 walnut which all of the legs will be cut from on the band saw. Mortises for the bottom rail and crest rail are done with the hollow-chisel mortiser using a wedge to hold the legs at the proper angle in the tool for the side mortises.
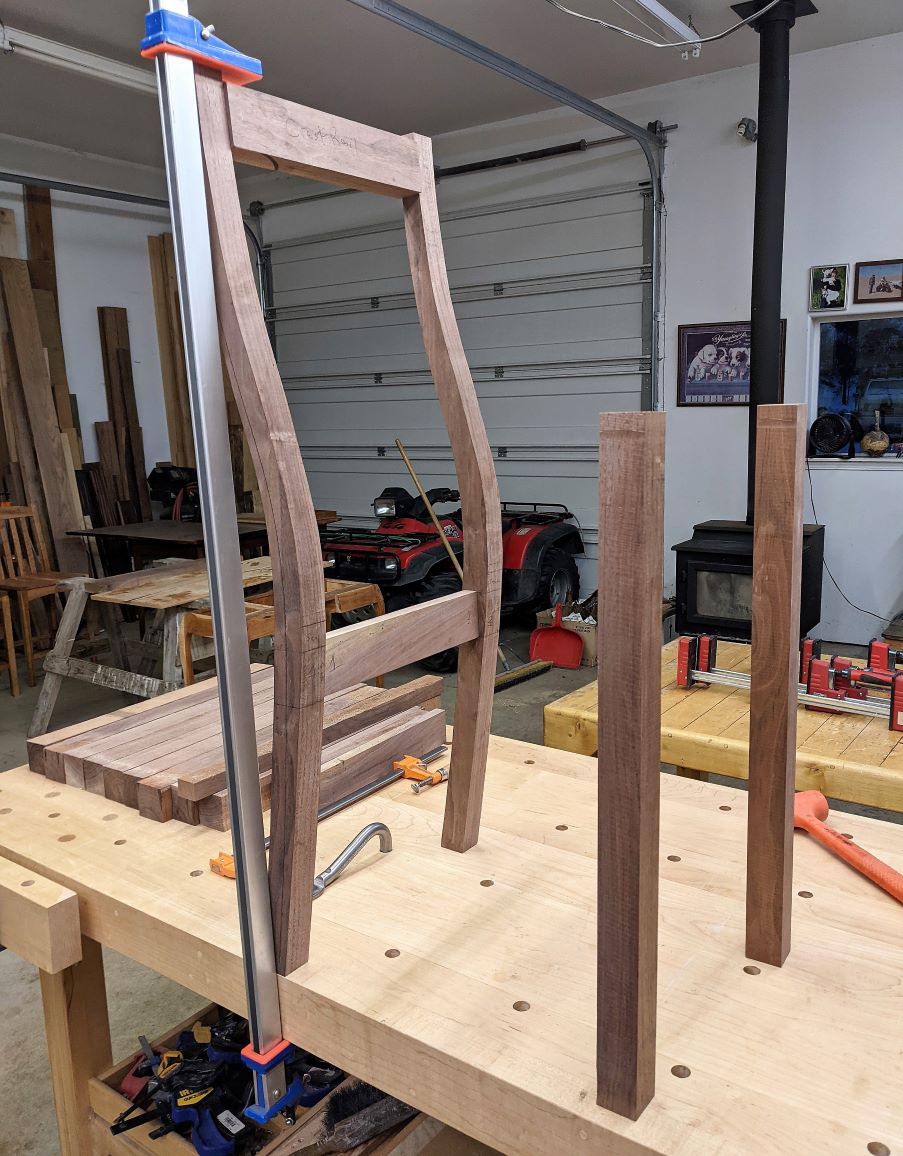
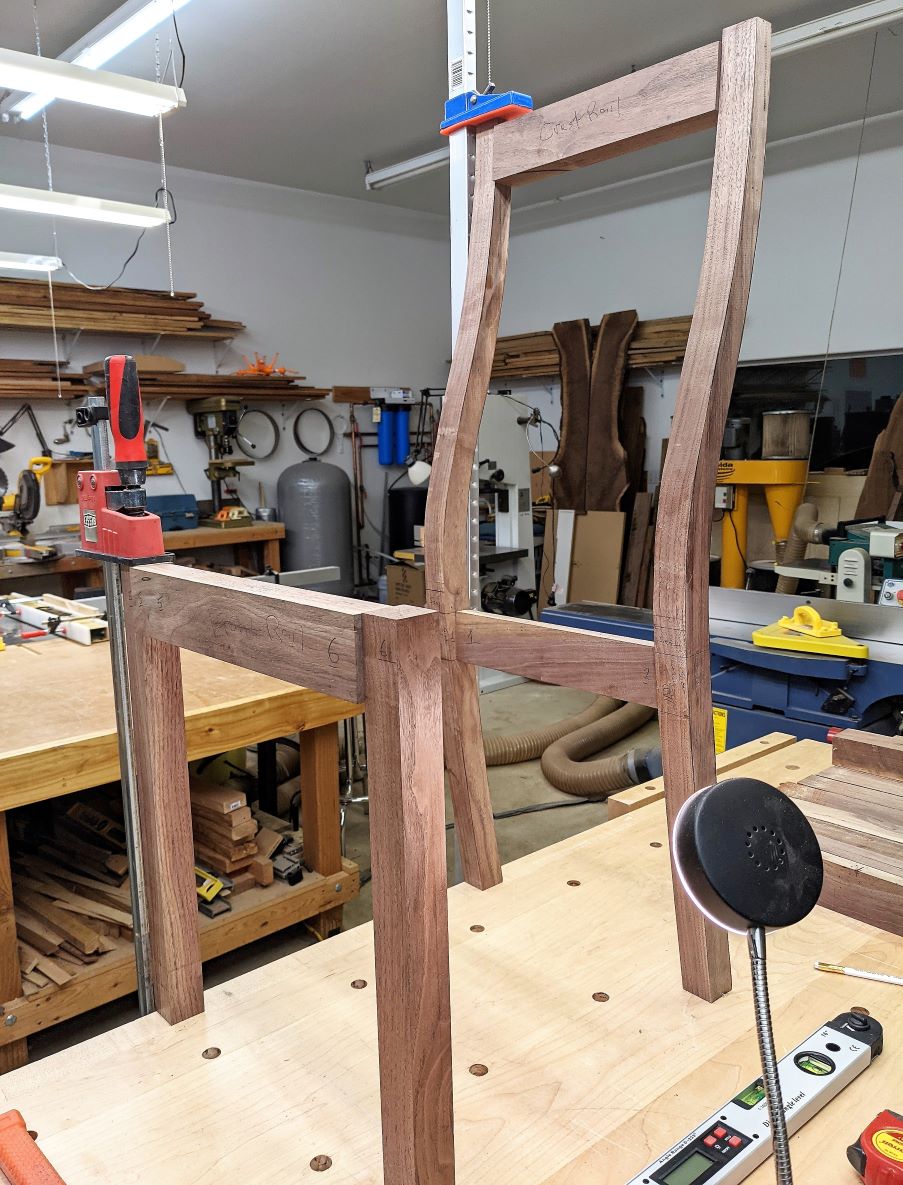
The rear legs, crest rail and back rail are dry-fit together to measure for the side and front rail sizes. The side rails will have a slight angle both out and up in order to make the seat more comfortable. The front rail will have an arc on the front side. Mortises for the front legs are also made with a wedge to get the outward angles. The side rail tenons on each end will have their shoulders angled also.
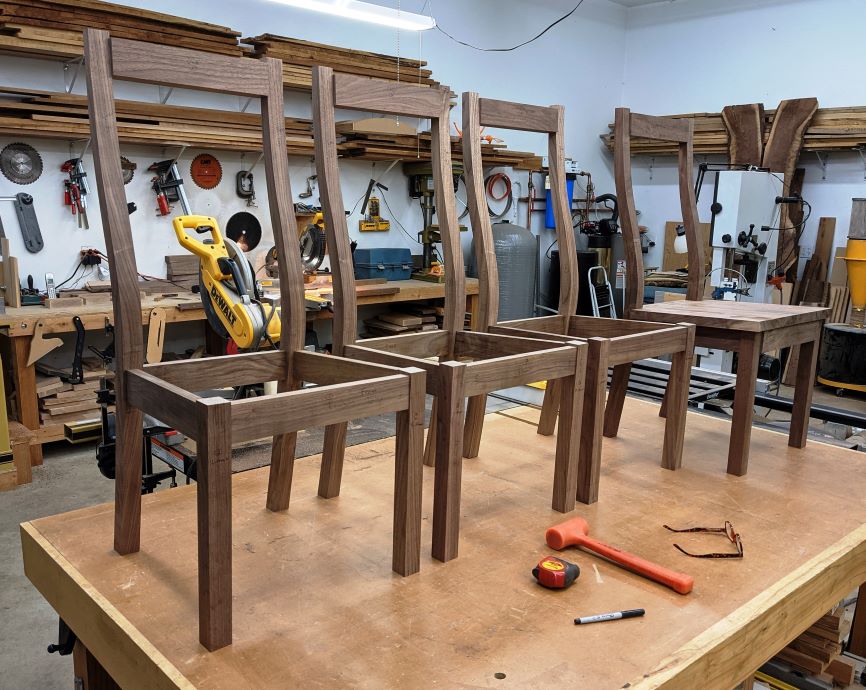
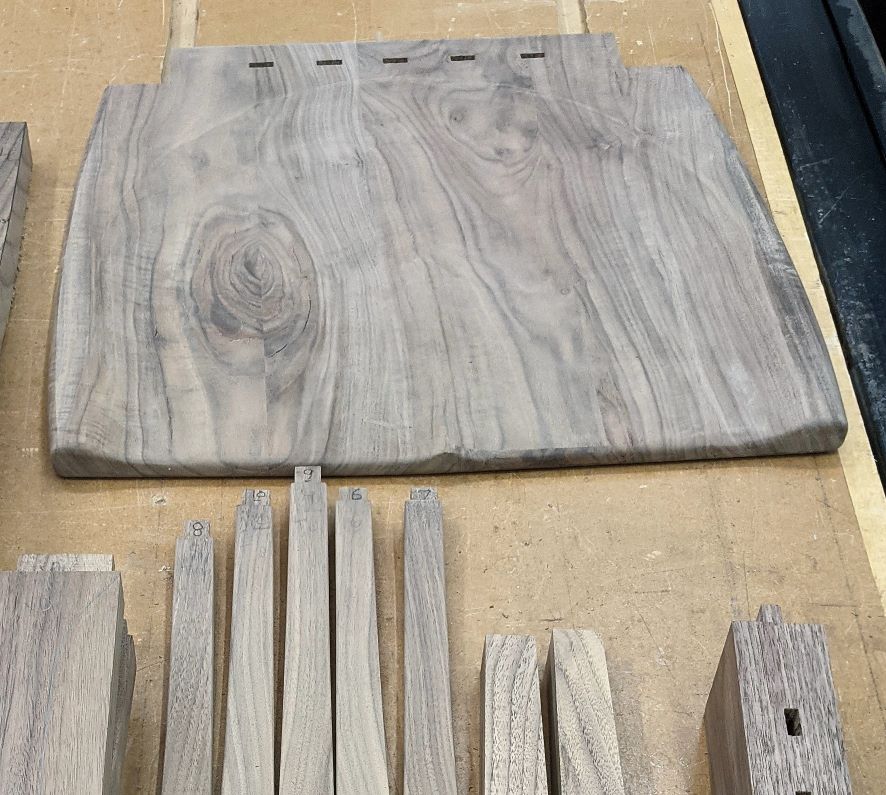

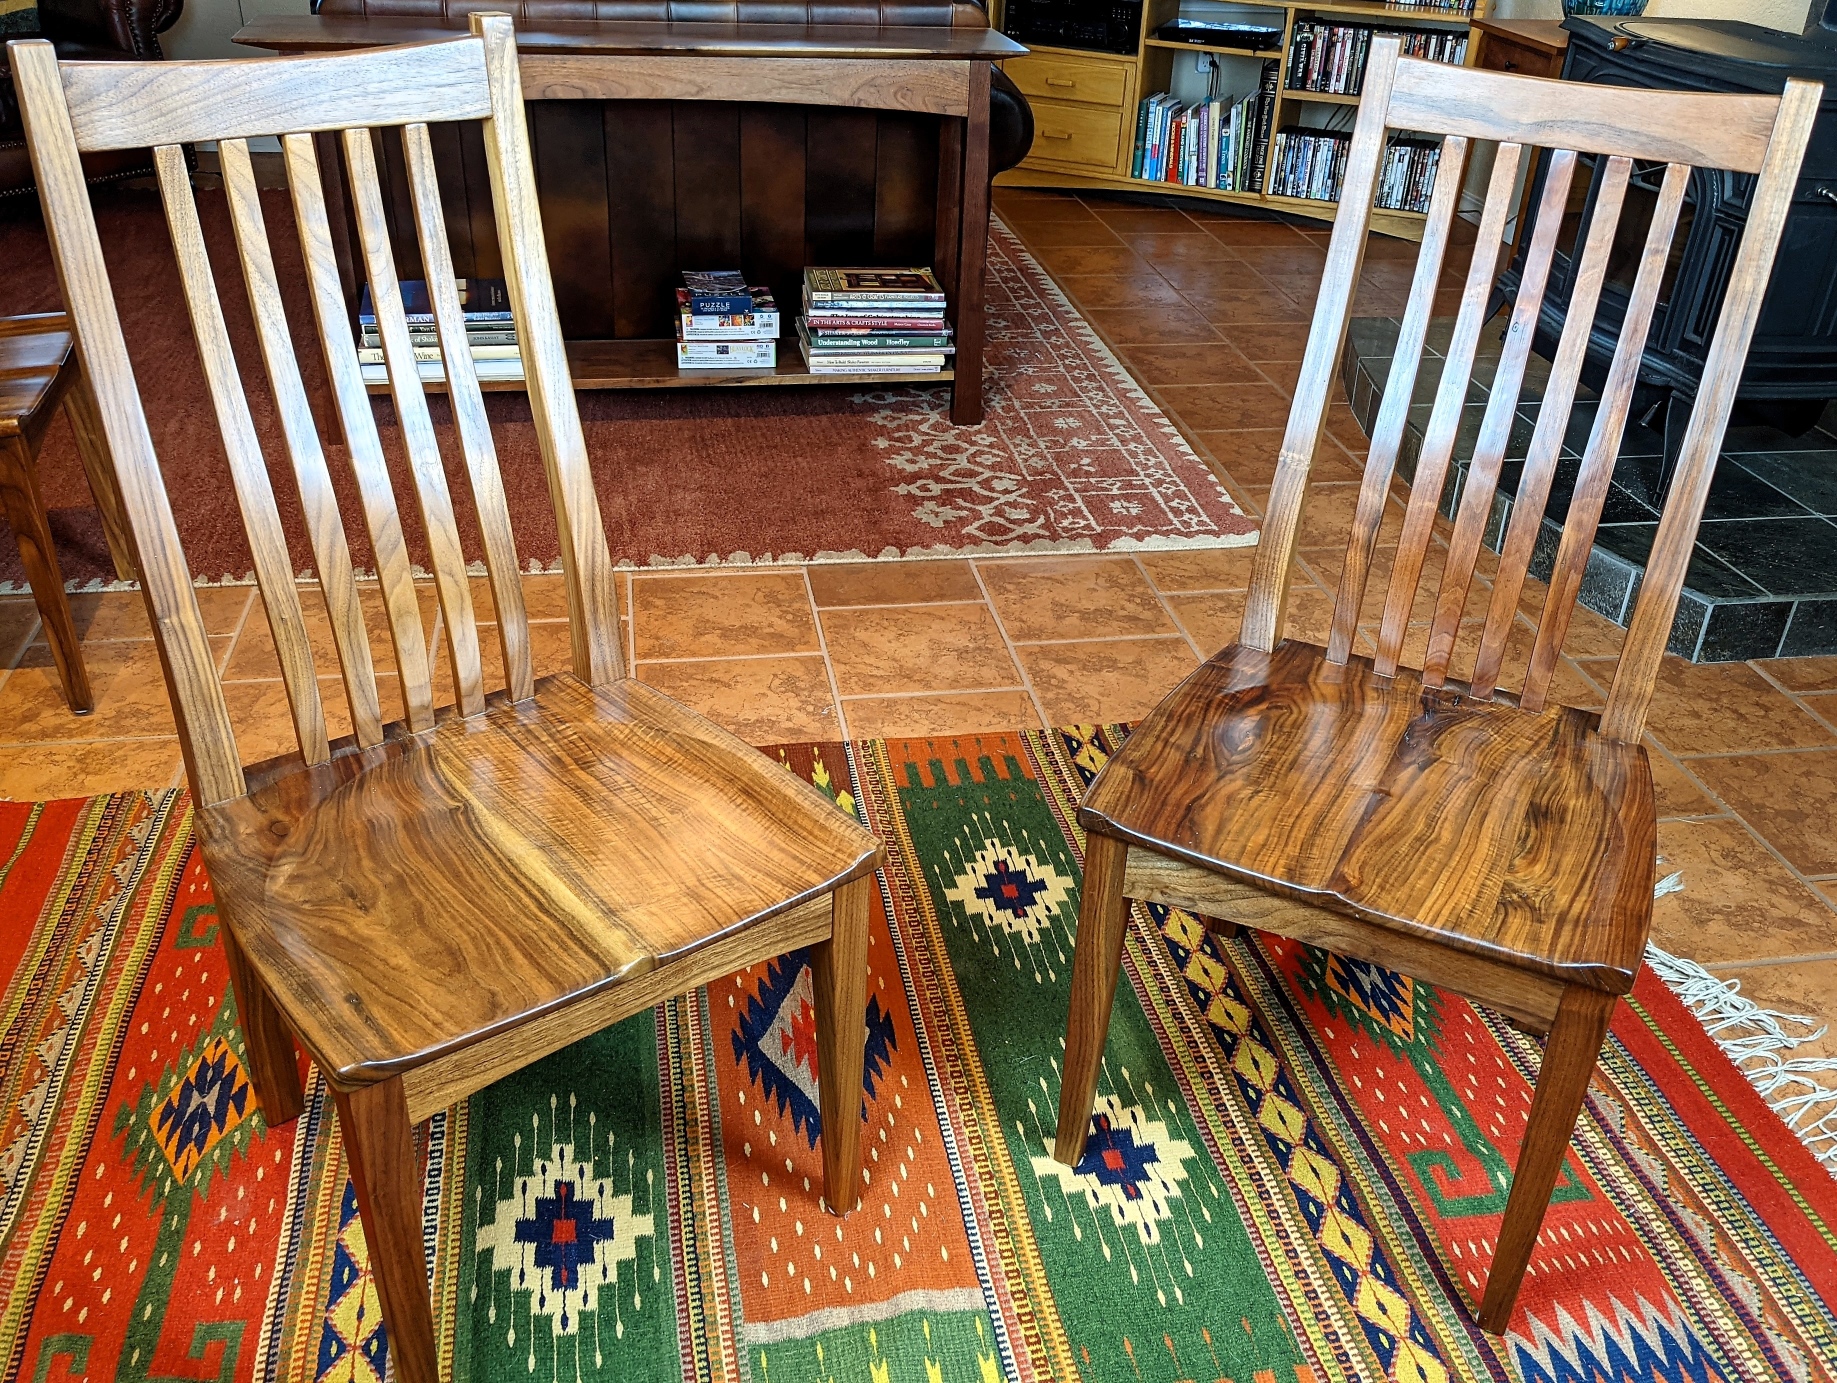
The chairs are dry-fit in order to get the seat dimensions. Although patterns were used to make the parts, each chair is slightly unique in size. The seats are glued up from Claro Walnut pieces and fitted to the chairs. Mortises in the rear for the slats are cut on the hollow-chisel mortiser and are slightly angled forward. Then the seats are sculpted on the table saw using a Table Saw Jig modeled after one built by Mario Rodgriquez. An arc is also added to the sides and front of the seats. With the chairs dry-fitted again, a pattern can now be developed for the arcs in the back slats which mostly conforms to the arc in the upper legs.
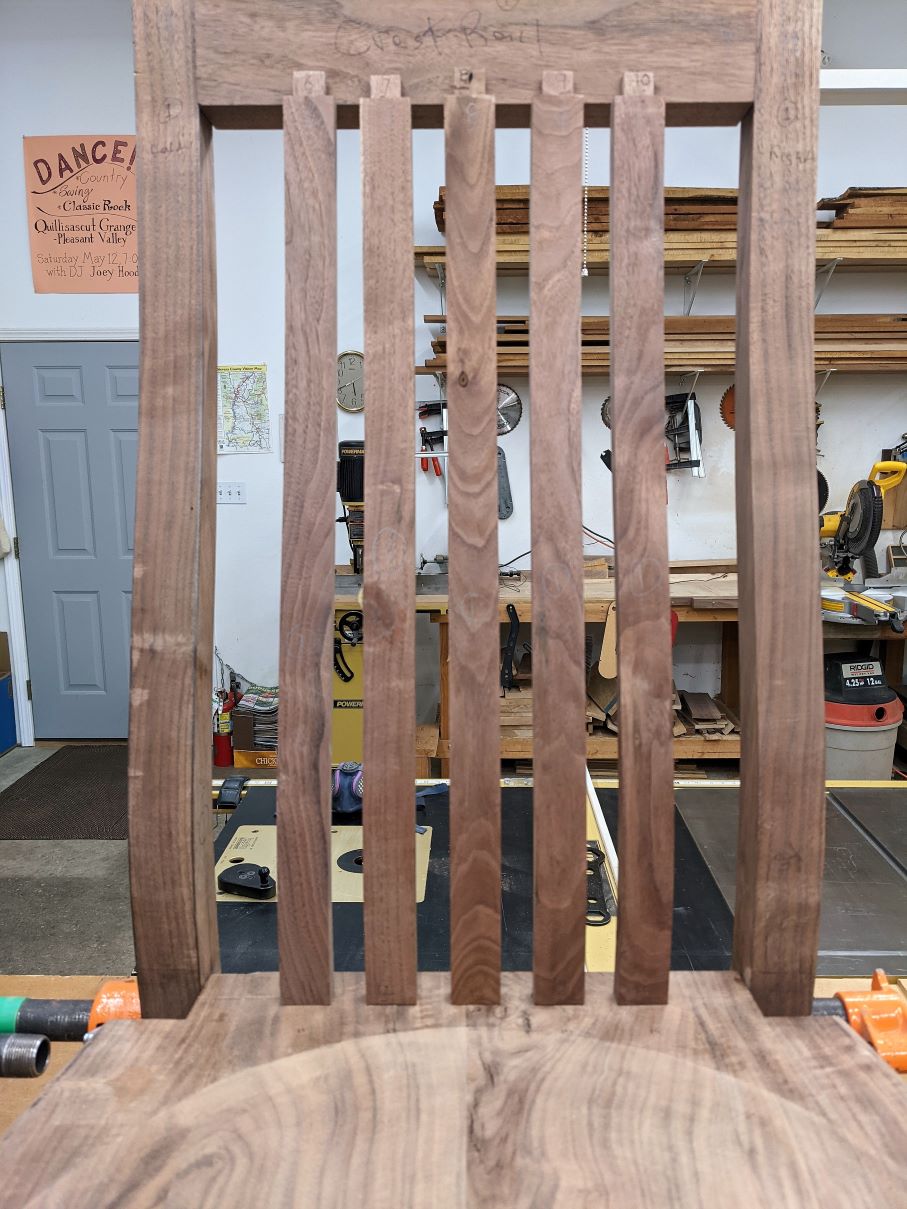
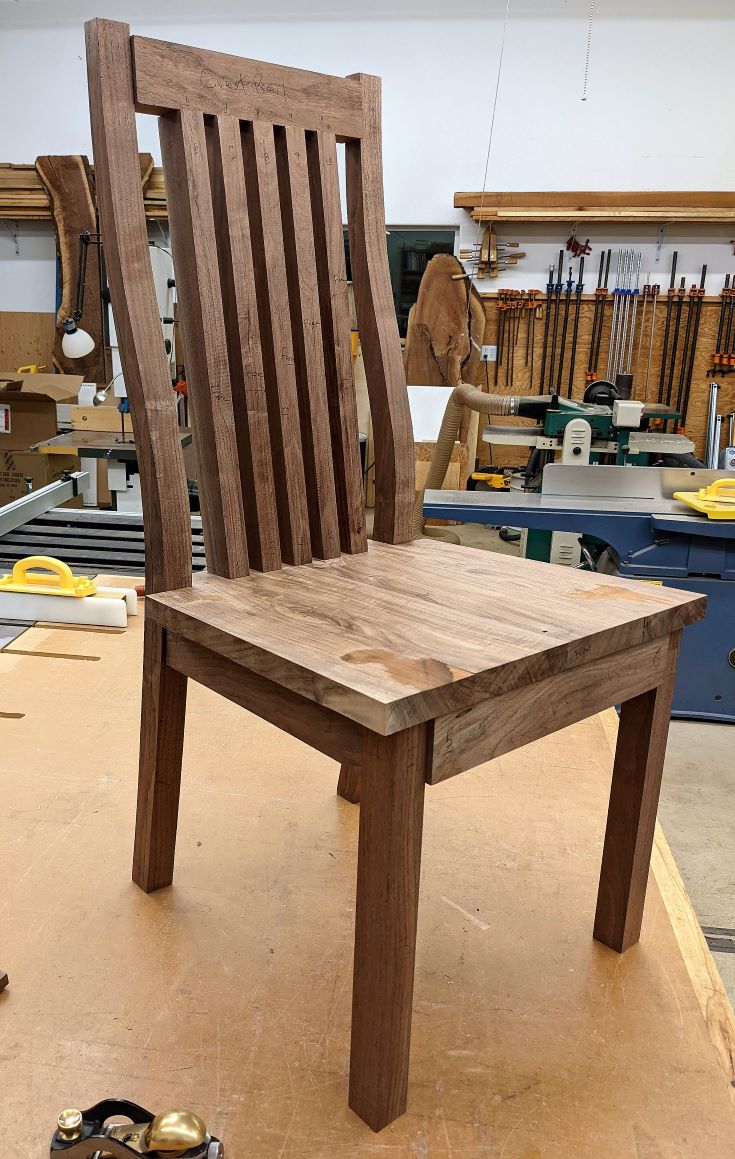
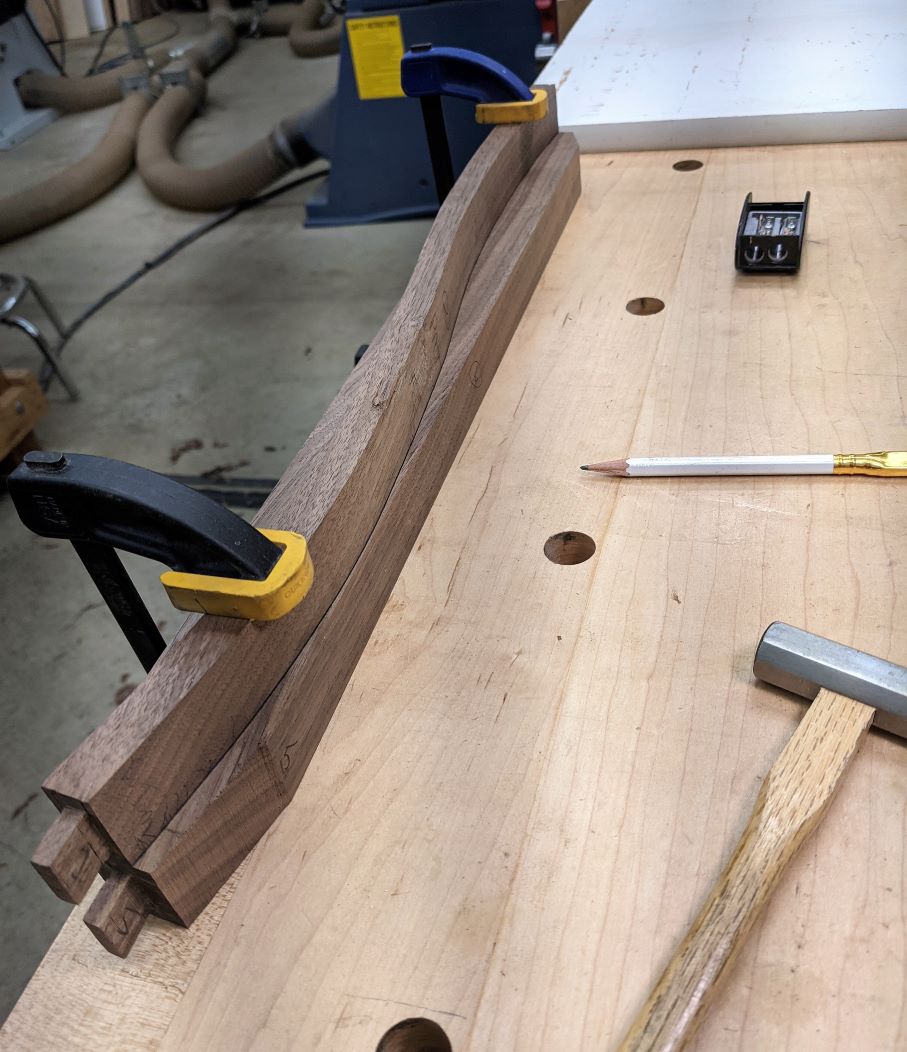
Angled tenons are cut with the table saw dado on both ends of the slats before cutting out the arcs on the band saw. Once the shoulders on the tenons are matched carefully with the crest-rail mortises and seat mortises, the arcs are then cut. After cutting the arc on the front and rear of the crest-rail, the seat, slats and crest-rail can then be glued up as a single unit.
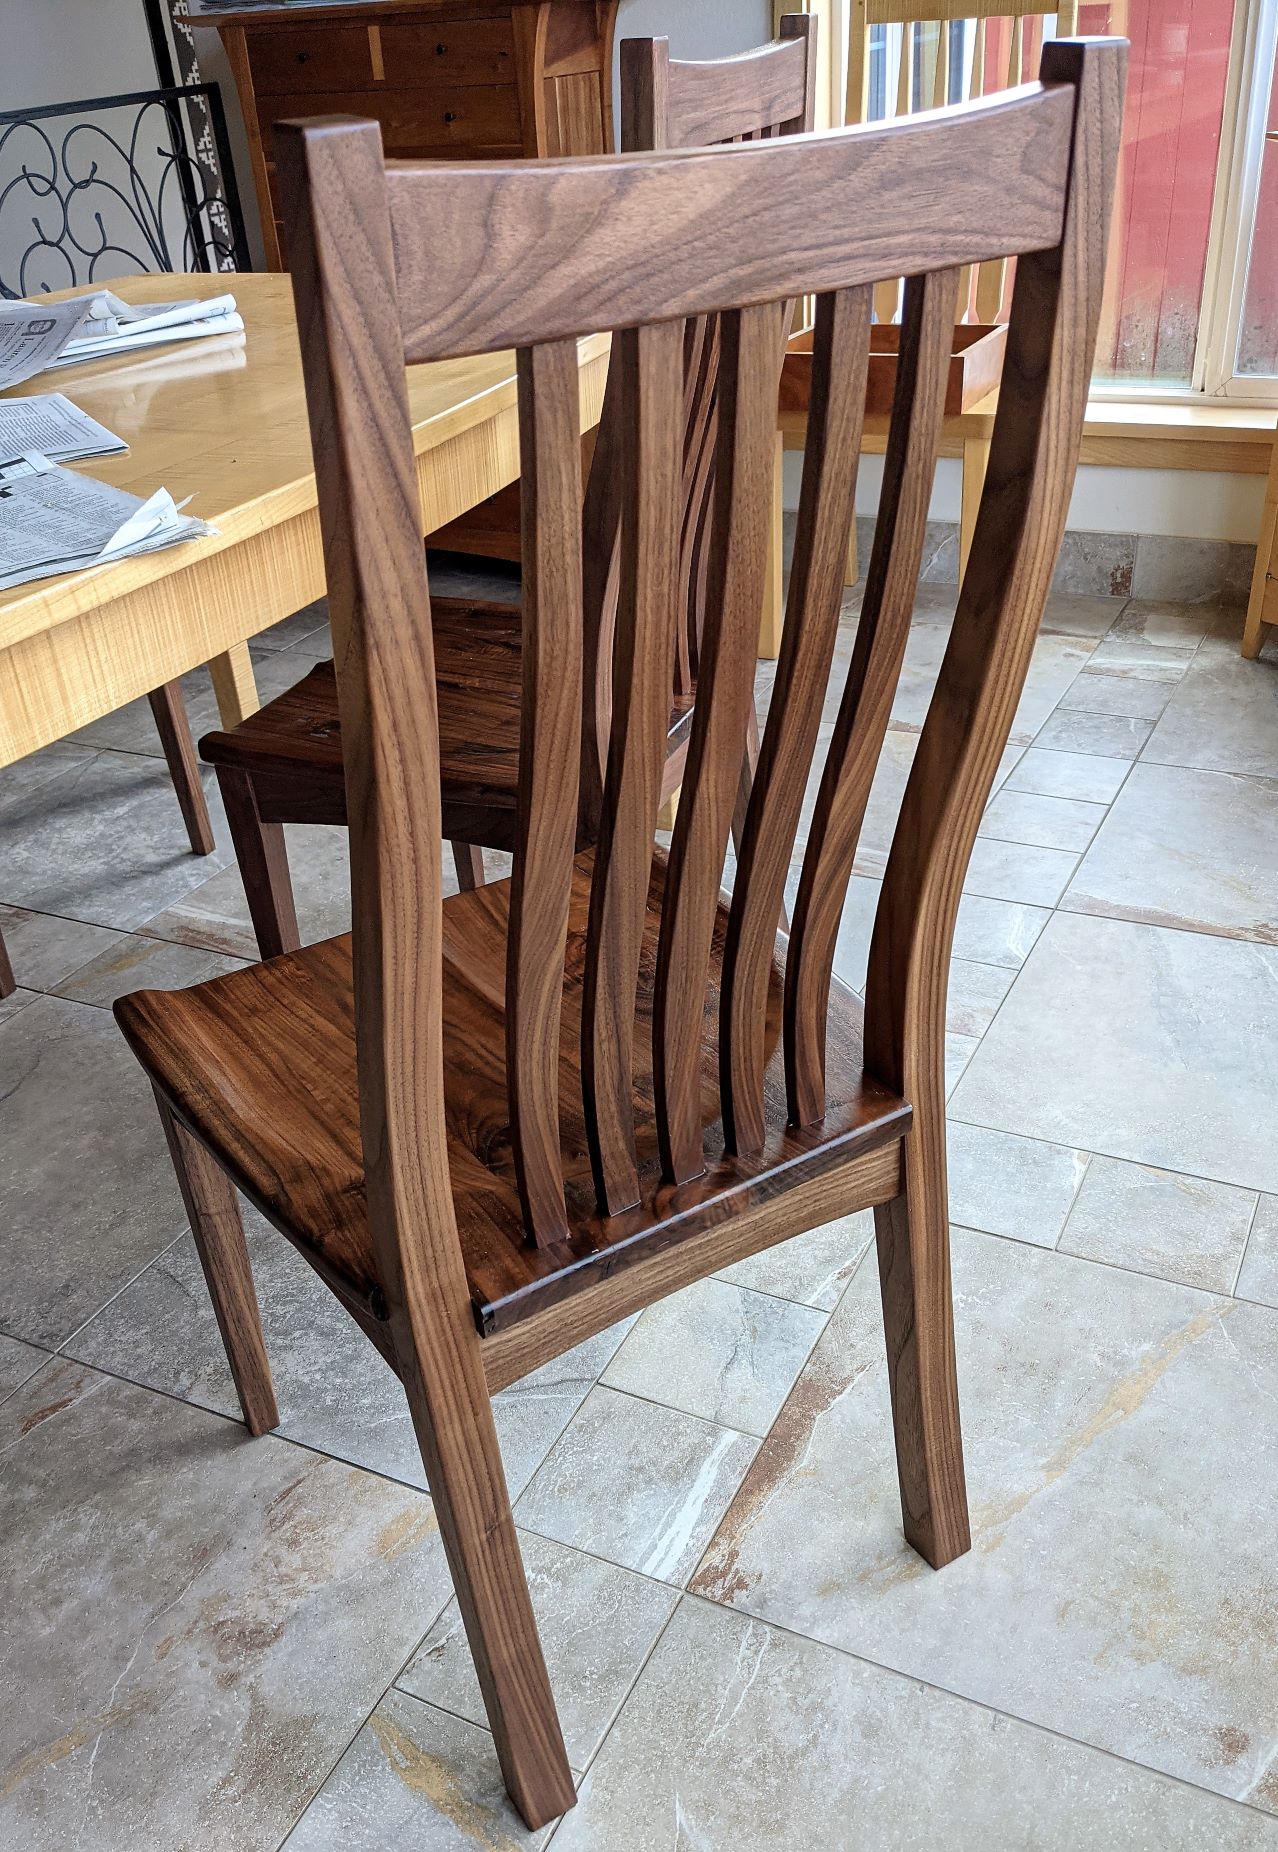
The chair back legs are glued to the side rails and front legs, also as a single unit. The final assembly is then to glue those units to the previously constructed seat and slats assembly. The chairs are finished with 3 coats of polyurethane. The top is finished with 4 coats of poly and then sanded with successively fine sandpapers and buffed out to a glossy finish.
Back To Top Home