June 1, 2015
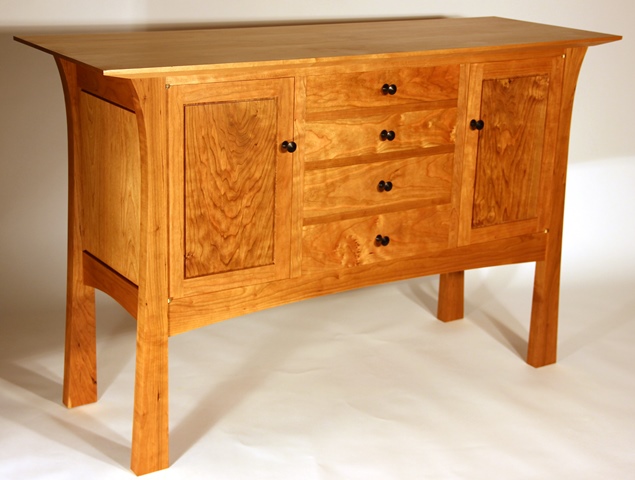
It is easy to see how woodworkers can fall under the spell of working with cherry. Few woods can offer so many rewards in one package -- ease of working, beautiful grain and color, lightweight but strong joinery -- these are just some of the reasons. But my favorite characteristic of this wood is the rich patina that the finished surface will develop over time. It just continually rewards the woodworker for his efforts.


While traveling through rural central Pennsylvania a few years ago, we stopped at a sign for locally made maple syrup, but also found a family-run cabinet shop. A German Baptist family of 10 had all the boys working the shop, while the girls did the maple syrup business. Quite a thriving little enterprise, but what really caught my eye was the pile of beautiful local cherry in the back of the shop. It was dry, very straight and free of knots and checks, so I did a deal with the father (cherry cabinet-stock is uncommon and expensive where I live in Eastern Washington State) for about 50 bf and we were on our way. I had been contemplating a follow-up sideboard to compliment a cherry chest of drawers that I built a few years ago. This sideboard would again incorporate a shinto-style curved leg that I find pleasing to the eye, but would also be built with a larger and wider case along with flanking panel doors.


The first step was to build a pattern for the legs that would be pleasing to the eye but still sturdy enough to support the case. As this would be an all solid-wood piece, the finished weight would be substantial and the joinery must hold everything together rigidly. After cutting the legs (but leaving the curve out initially to simplify construction of the joinery), the back, side, and lower front rails are mortised into the legs.


Next was gluing up several panels for the cabinet sides, back, and bottom. The back lower-rail was dadoed to accept the bottom, which will be biscuted to the front rail. Both upper and lower rear rails were dadoed to accept the tongues on the back panels. The two dividing stiles in the back were mortised into the back rails and dadoed to accept the tongue on the panels as well. Now the entire back could be put together and glued as a separate assembly, which will simplify the glue-up of the case. After assembling the back, the legs were now cut to my pattern curve and, along with the side upper and lower rails, dadoed to accept the tongue of the side panels. The two side lower-rails are dadoed to accept the bottom which will only be attached to the front lower rail so as to allow for seasonal wood movement. The sides were then assembled and glued up as seperate units. Now the case was ready to be dry-assembled and measurements obtained for the front stretcher, front bottom rail and bottom panel.


The front stretcher will be dovetailed into the top of the two front legs. Along with the lower front rail, it will also be mortised to accept the two front stiles that will form the vertical front sides of the drawer container. These two stiles will be mortised and tenoned so as to be flush with the front edges of the stretcher and front rail.


The interior dividers are built from western alder, notched at the top for the top stretcher and then biscuted to the backs of the front stiles. The dividers will be flush on the door sides and about 1/4" proud to the drawer sides to allow for spacers when fitting the drawers. The three front horizontal drawer dividers are double-tenoned and mortised into the sides of the front stiles. The interior dividers will be attached to the top stretcher and bottom front rail. They will also receive a screw through the bottom, but will not be attached to the back so as to allow for seasonal wood movement.


After insuring the drawer dividers fit well, the inside back on both ends are mortised to accept the drawer kickers/runners. The kickers will be glued at the horizontal divider end and screwed to the interior dividers to allow for adjustment.


The entire drawer cage is now glued up as a solid unit and can then be put into place in the case as one piece. The fit can be dry tested before any actual glue is applied. One more item to attend to before gluing in the top stretcher is to mortise for the knife hinges that will attach to the top of the doors. They are roughed-out with a small router and then finished up by chisel. The lower hinges have already been mortised into the top of the front lower rail.


The drawer cage is glued into place and the front stretcher is added. A top drawer kicker is also put into place on the drawer side top of the interior dividers that is also mortised into the front stretcher and attached to the side of the interior divider.


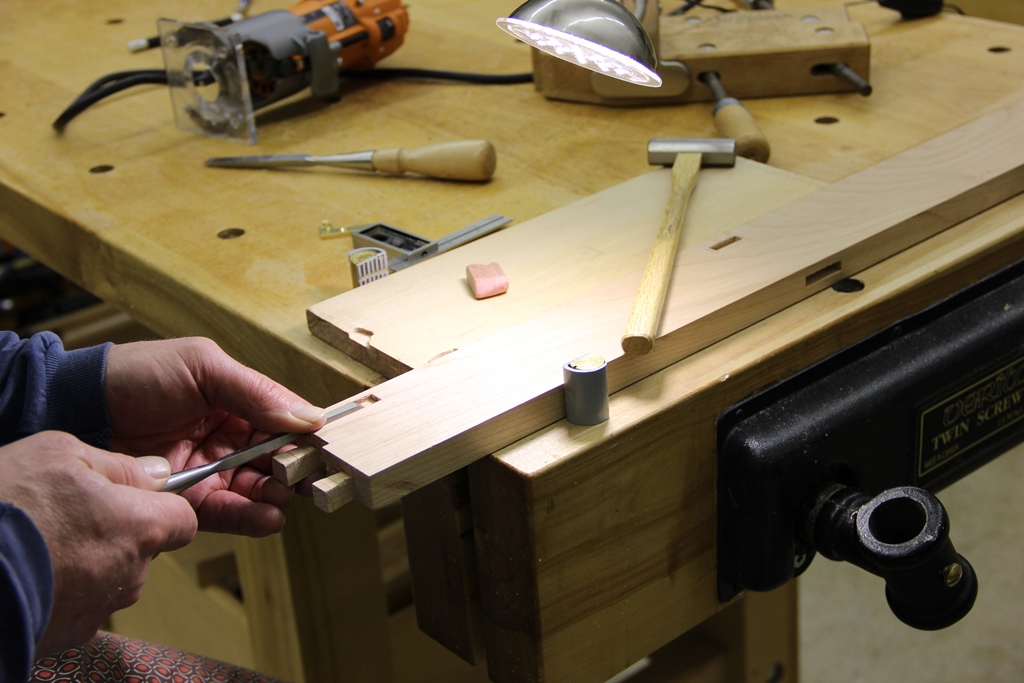
Drawers were built with Western maple sides, alder bottoms, and cherry fronts using the same hand cut dovetails techniques that I have used in past projects. The two front panel door frames were done with bridal joint construction (the first I've done with this type of joinery), using the table saw tenoning jig for the mortises and dado stack for cutting the tenons. Now that I have done this joint, I prefer it over just mortise and tenon construction for the door frames, as I think it gives a stronger joint that more resists warping.
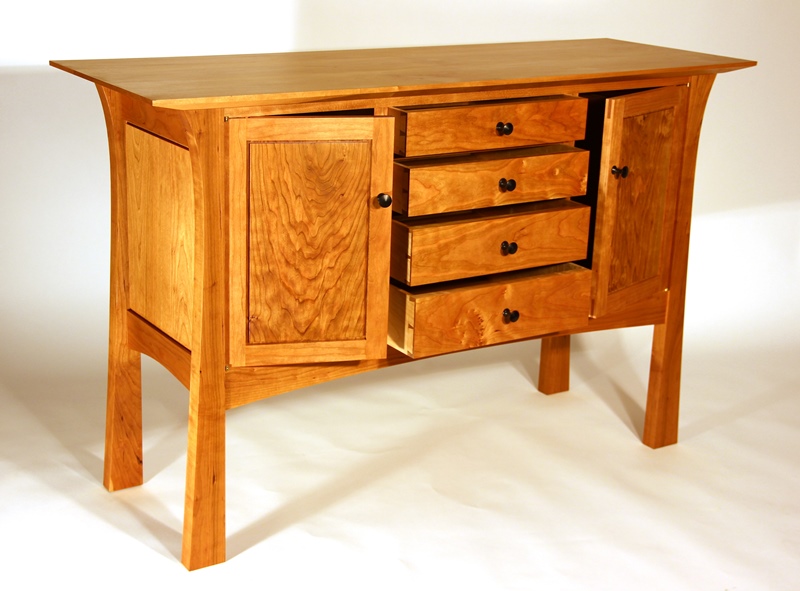
I turned some Gabon Ebony on my lathe into some custom knobs for the drawers and doors, believing they would make a nice contrast to the finished cherry. The sideboard is finished with a combination of shellac and wipe-on polyurethane from General Finishes. While this piece presented some unique challenges to my skillset, I can say that I am very happy with the overall result.

This piece was featured in the Reader's Gallery of the April 2016 issue of Fine Woodworking Magazine. Thanks to the Editors.